1.6.4 - RS232 Cable Installation Guide
To connect the CR3 to your host computer via RS232 interface:
1.Make sure the RS232 cable is suffi ciently attached to your unit.
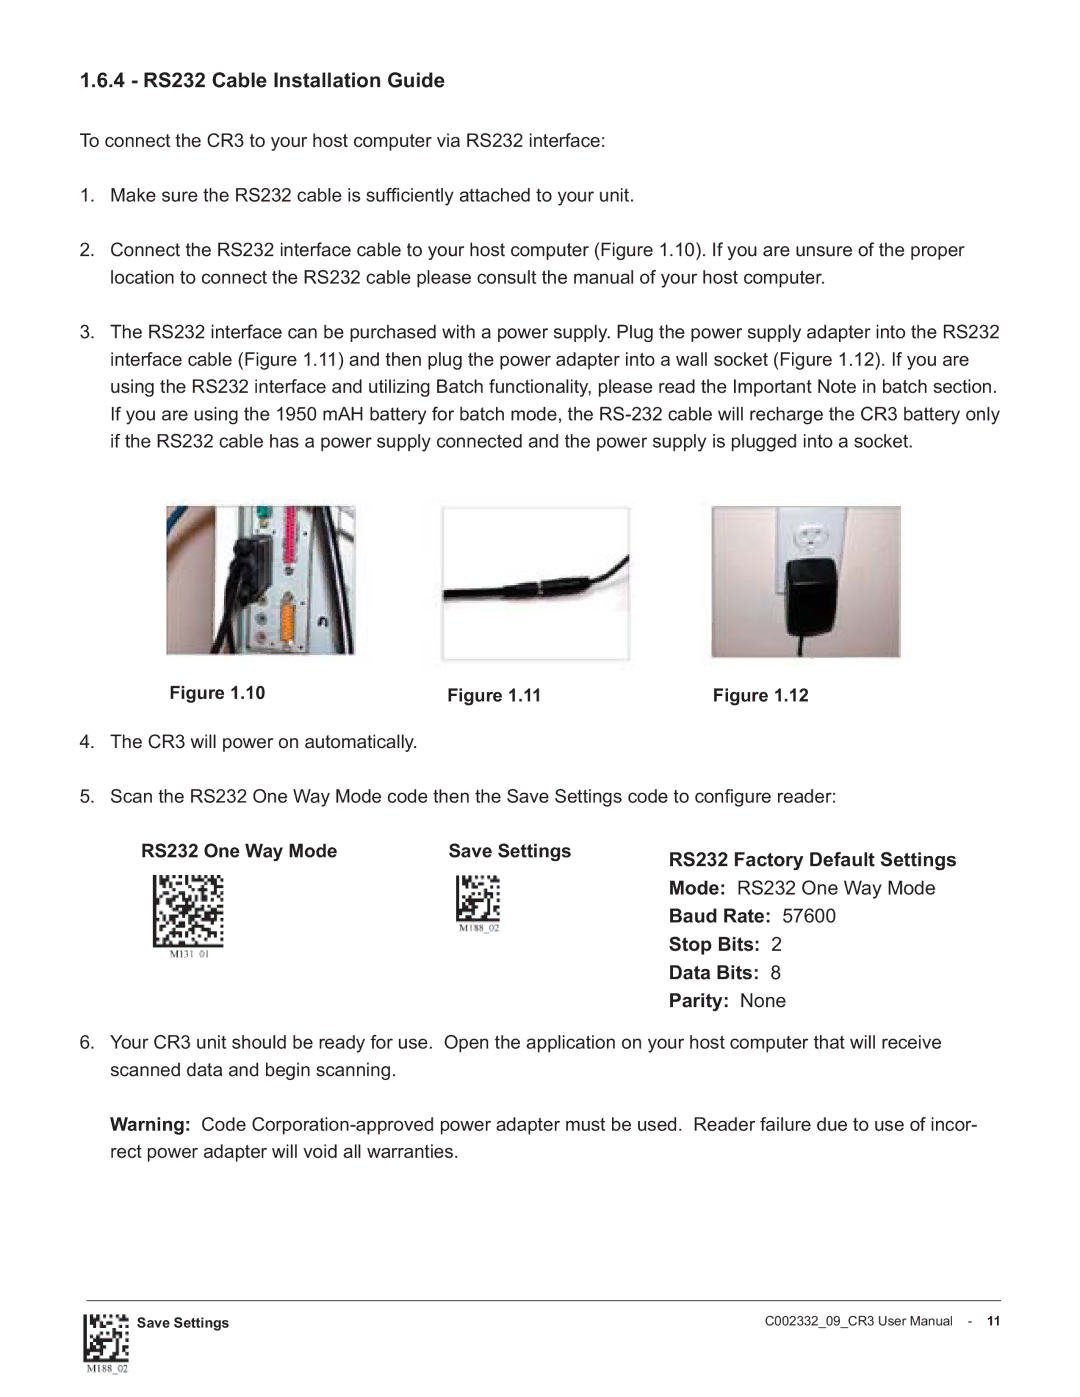
2.Connect the RS232 interface cable to your host computer (Figure 1.10). If you are unsure of the proper location to connect the RS232 cable please consult the manual of your host computer.
3.The RS232 interface can be purchased with a power supply. Plug the power supply adapter into the RS232 interface cable (Figure 1.11) and then plug the power adapter into a wall socket (Figure 1.12). If you are using the RS232 interface and utilizing Batch functionality, please read the Important Note in batch section. If you are using the 1950 mAH battery for batch mode, the
Figure 1.10 | Figure 1.11 | Figure 1.12 |
4.The CR3 will power on automatically.
5.Scan the RS232 One Way Mode code then the Save Settings code to confi gure reader:
RS232 One Way Mode | Save Settings | RS232 Factory Default Settings | |
|
| ||
|
| Mode: RS232 One Way Mode | |
|
| Baud Rate: 57600 | |
|
| Stop Bits: | 2 |
|
| Data Bits: | 8 |
Parity: None
6.Your CR3 unit should be ready for use. Open the application on your host computer that will receive scanned data and begin scanning.
Warning: Code
Save Settings | C002332_09_CR3 User Manual - 11 |