Using the Corinex Softphone software
4.3.4 Configuration of the Softphone
The configuration dialog can be accessed by clicking on the Menu button. It consists of four sections.
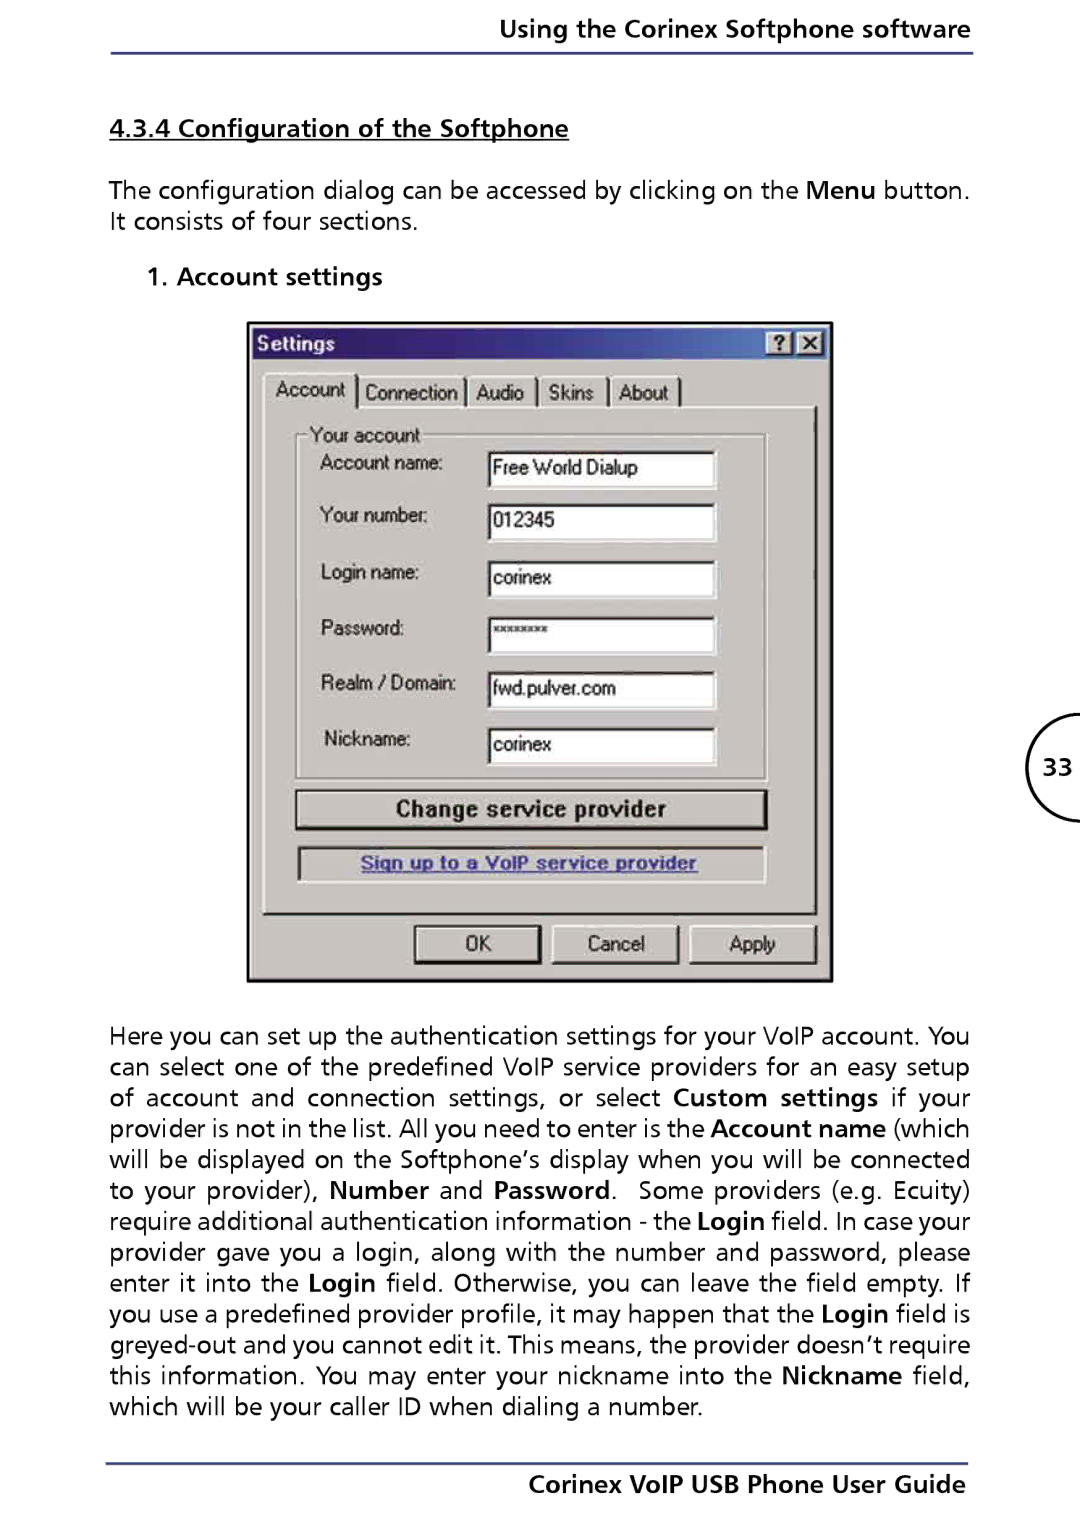
1. Account settings
33
Here you can set up the authentication settings for your VoIP account. You can select one of the predefined VoIP service providers for an easy setup of account and connection settings, or select Custom settings if your provider is not in the list. All you need to enter is the Account name (which will be displayed on the Softphone’s display when you will be connected to your provider), Number and Password. Some providers (e.g. Ecuity) require additional authentication information - the Login field. In case your provider gave you a login, along with the number and password, please enter it into the Login field. Otherwise, you can leave the field empty. If you use a predefined provider profile, it may happen that the Login field is