TO MAKE A COMPOUND CUT WITH
YOUR MITER SAW:
•Pull out the lock pin and lift saw arm to itsfull height.
•Loosen the miter lock handle. Rotate the miter lock
handle
•Press the miter lock plate downwith your thumb and hold.
Rotate the controlarm untilthe pointeraligns with the desired angle on the miter scale.
Release the miter lock plate.
Note: You can quicklylocate 0",
•Tighten the miter lock handle securely.
_IL WARNING: To avoid sedouspersonal injury, always tighten the miter lock handle securely
before making a cut. Failureto do so could result in movement of the control arm or mitertable
while makinga cut.
•Loosen the bevel lock knob and move the saw arm to the left to the desired bevel angle.
•Bevel angles can be set from 0" to 45".
•For your convenience there is a doublescala locatedon the mountingbracket. See Figure27. If one side becomes difficultto read as you move the sew arm to the left, simplyrefer to the other side. Alignthe indicatorpoint for the side you choose with the desired angle.
•Once the sew arm has bean set at the desired angle, securely tightenthe bevel lock knob.
•Recheck miter angle setting. Make a test cut in scrap material.
•Place the workplace flat on the miter table with one edge securelyagainstthe fence. If the board is warped, place the convexside against the
fence. If the concave edge of a board could collapse on the blade at the end of the cut,
j';mmingthe blade. See Figures33 and 34.
•When cuttinglong pieces of lumber or molding,
supportthe oppositeend of the stock with a roller stand or with a work surface level with the sew table.
•Align the cuttinglineon the workpiece with the edge of sew blade.
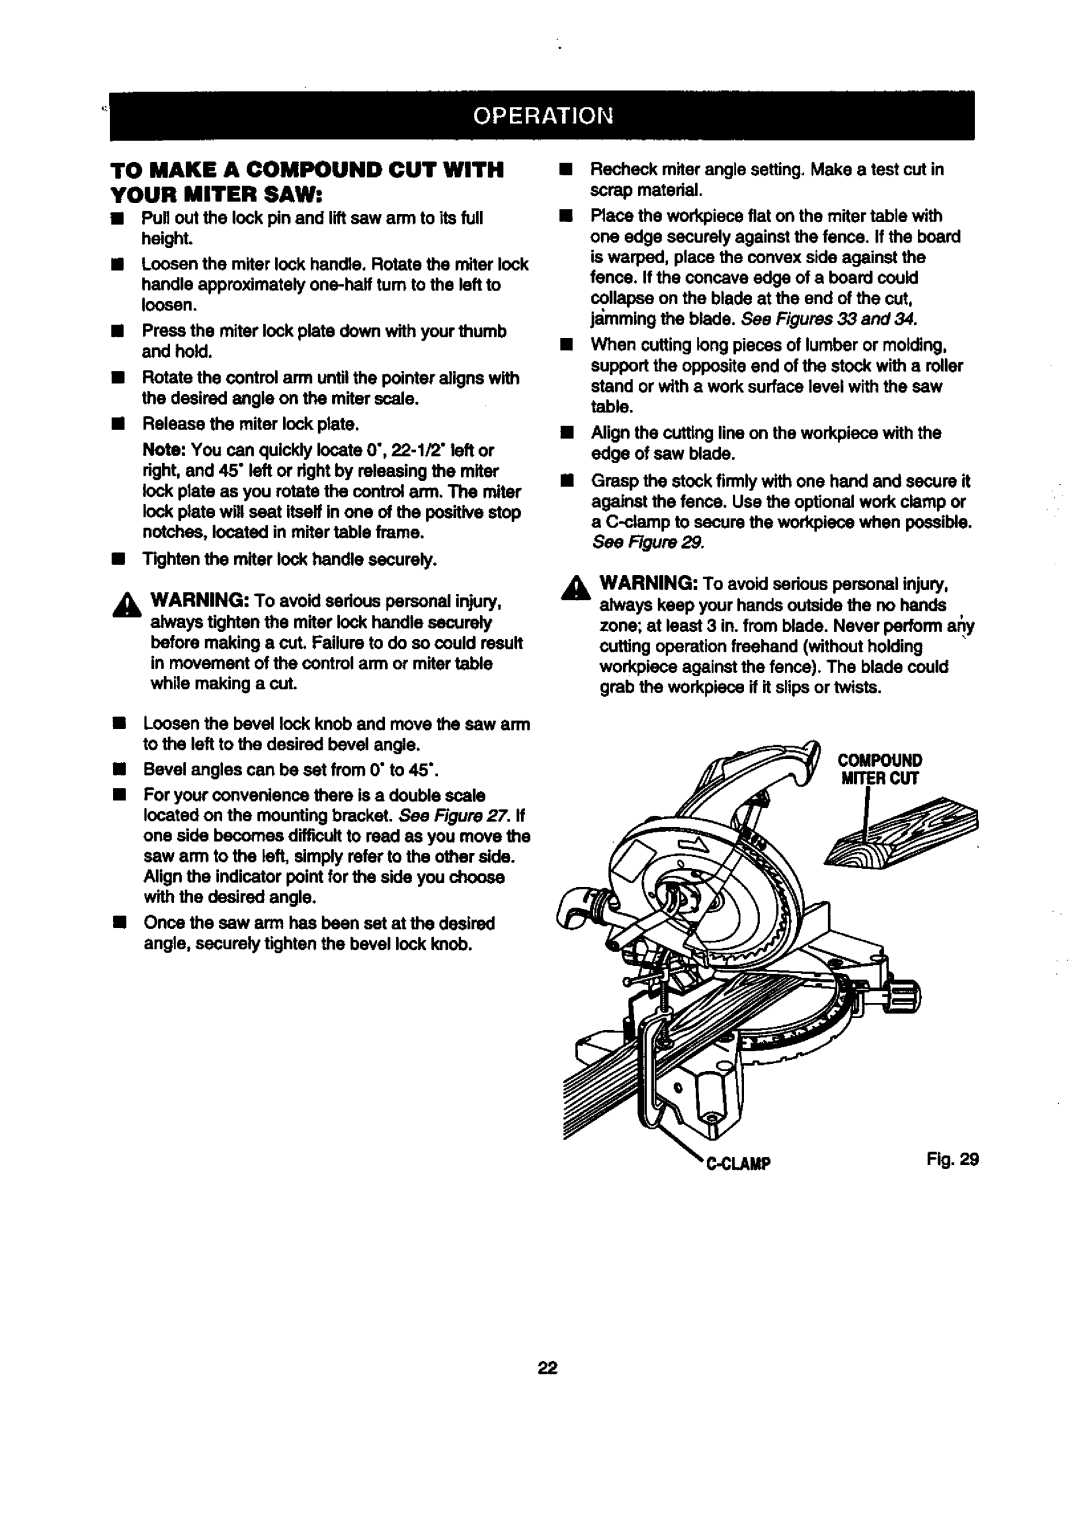
•Grasp the stock firmlywith one hand and secure it againstthe fence. Use the optional work clamp or a
See Figure29.
_1, WARNING: To avoidsadous personalinjury, always keep your handsoutside the no hands
•t
zone; at least 3 m. from blade• Never performany cuffing operationfreehand (withoutholding workpiece against the fence). The blade could grab the workpiece it it slipsor twists.
COMPOUND
MITERCUT
22