_lb WARNING: To ensure safety and reliability,all repairs
accessible brushes _ shouldbe performed by a qualified service technicianat a Sears store to avoid risk of personal injury.
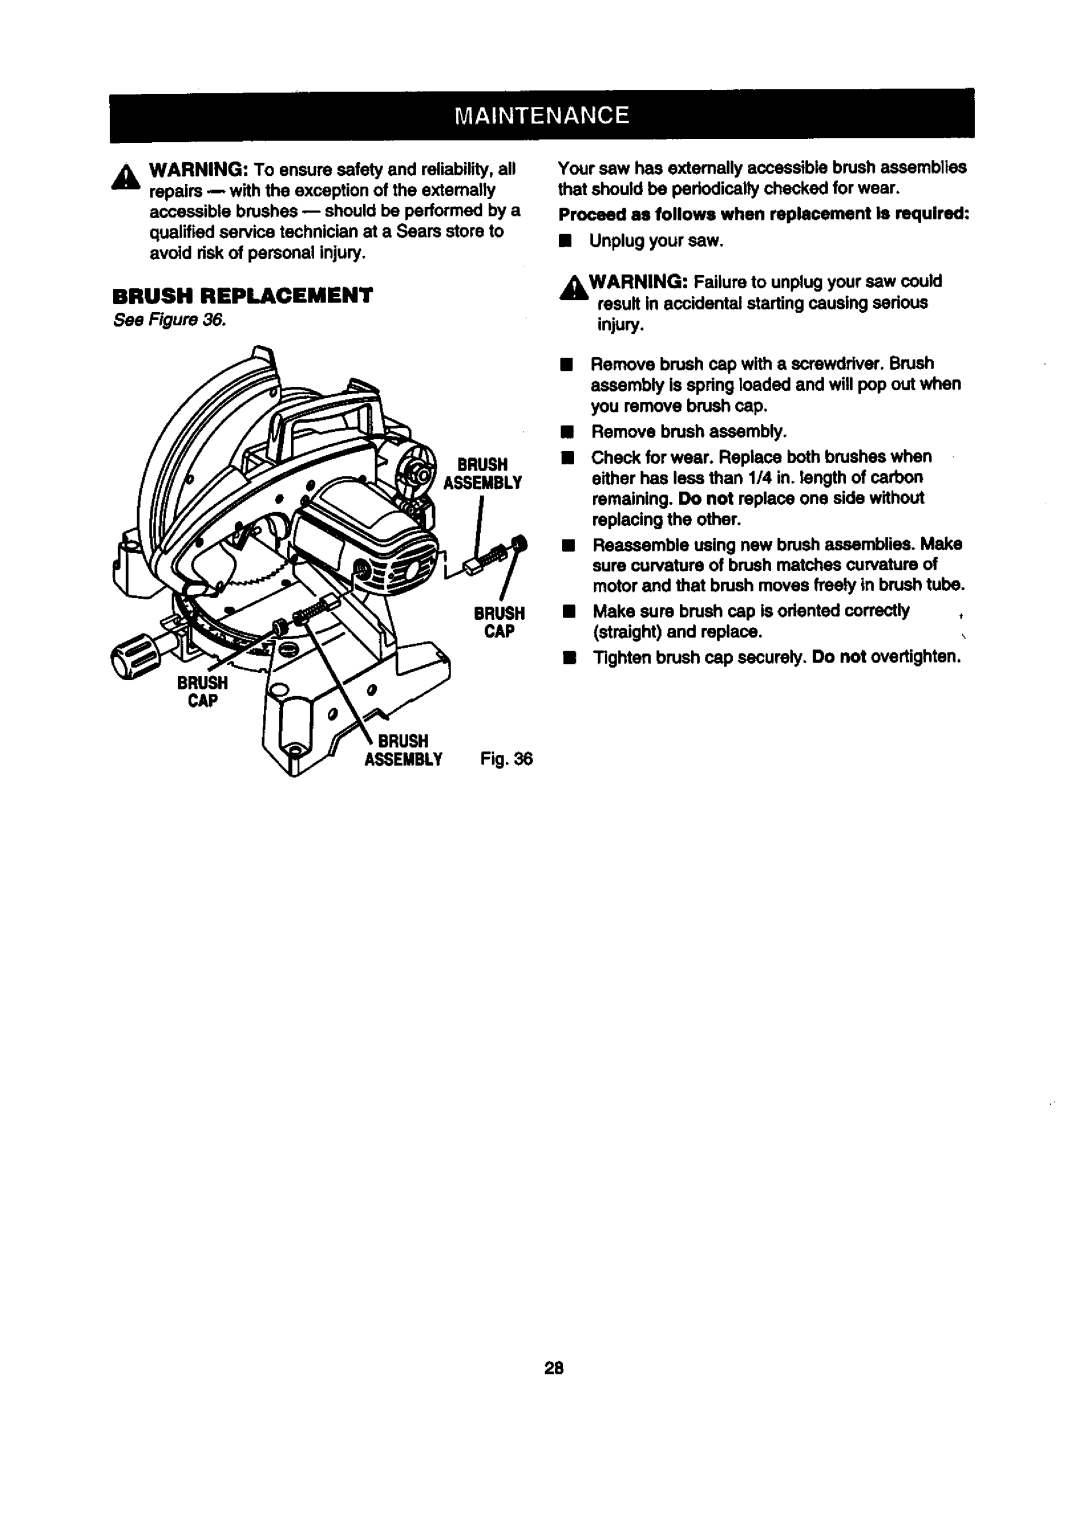
BRUSH REPLACEMENT
See Figure 36.
BRUSH
ASSEMBLY
BRUSH
CAP
BRUSH
CAP
_BRUSH
ASSEMBLY Fig. 36
Your saw has externally accessiblebrush assemblies that shouldbe pehodicallychecked for wear.
Proceed as follows when replacement Is required:
•Unplug your saw.
_kWARNING: Failureto unplugyour saw could result in accidental starting causing sadous
injury.
•Remove brush cap with a screwdriver. Brush assembly is spdng loaded and will pop out when you remove brush cap.
•Remove brush assembly.
•Check for wear. Replace both brusheswhen either has less than 1/4 in. length of carbon remaining. Do not replace one side without replacing the other.
•Reassemble using new brush assemblies. Make sure curvature of brush matchescurvature of
motorand that brush moves freely in brush tube.
• Make surebrush cap is odented correctly | , |
(straight) and replace. |
|
•Tighten brush cap securely. Do not overtighten.
28