CyberPower Network Management System
INSTALLATION GUIDE
Step 1. Hardware Installation
1.Connect the Ethernet cable to the LAN port of the CyberPower Network Management Card.
2.Connect the CyberPower Network Management Card to the UPS communication port. It is optional to use the serial cable included.
3.Connect the AC adapter (for select UPS models only) to the Network Management Card Adapter and plug into the wall socket..
4.After the above procedures are done, press and hold the Reset Button on the Network Management Card for 7 seconds to ensure the IP Address is at the default value.
Step 2. Configure the IP address for the CyberPower Network Management Card. Method 1 : Use SNMP Card Configuration Tool Setting
1.Install the SNMP Card Configuration Tool from the included CD
2.Run the “wsnmpcfg” program in the “All
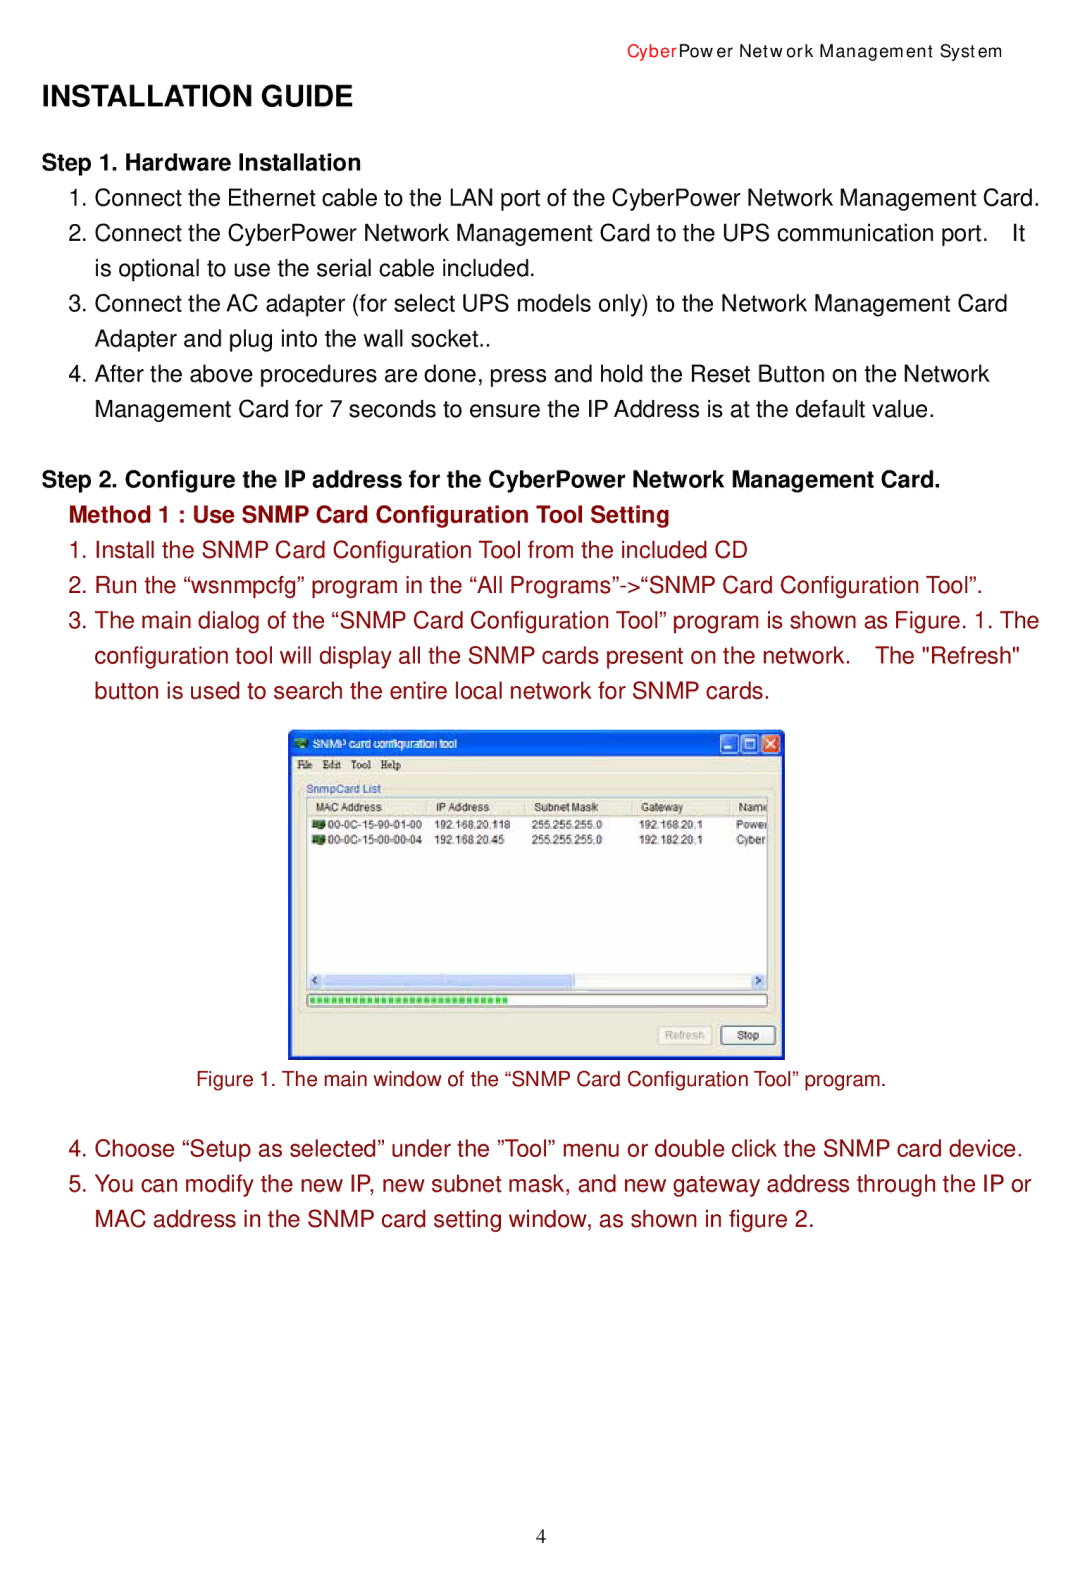
3.The main dialog of the “SNMP Card Configuration Tool” program is shown as Figure. 1. The configuration tool will display all the SNMP cards present on the network. The "Refresh" button is used to search the entire local network for SNMP cards.
Figure 1. The main window of the “SNMP Card Configuration Tool” program.
4.Choose “Setup as selected” under the ”Tool” menu or double click the SNMP card device.
5.You can modify the new IP, new subnet mask, and new gateway address through the IP or MAC address in the SNMP card setting window, as shown in figure 2.
4