DSL-500G ADSL Router User’s Guide
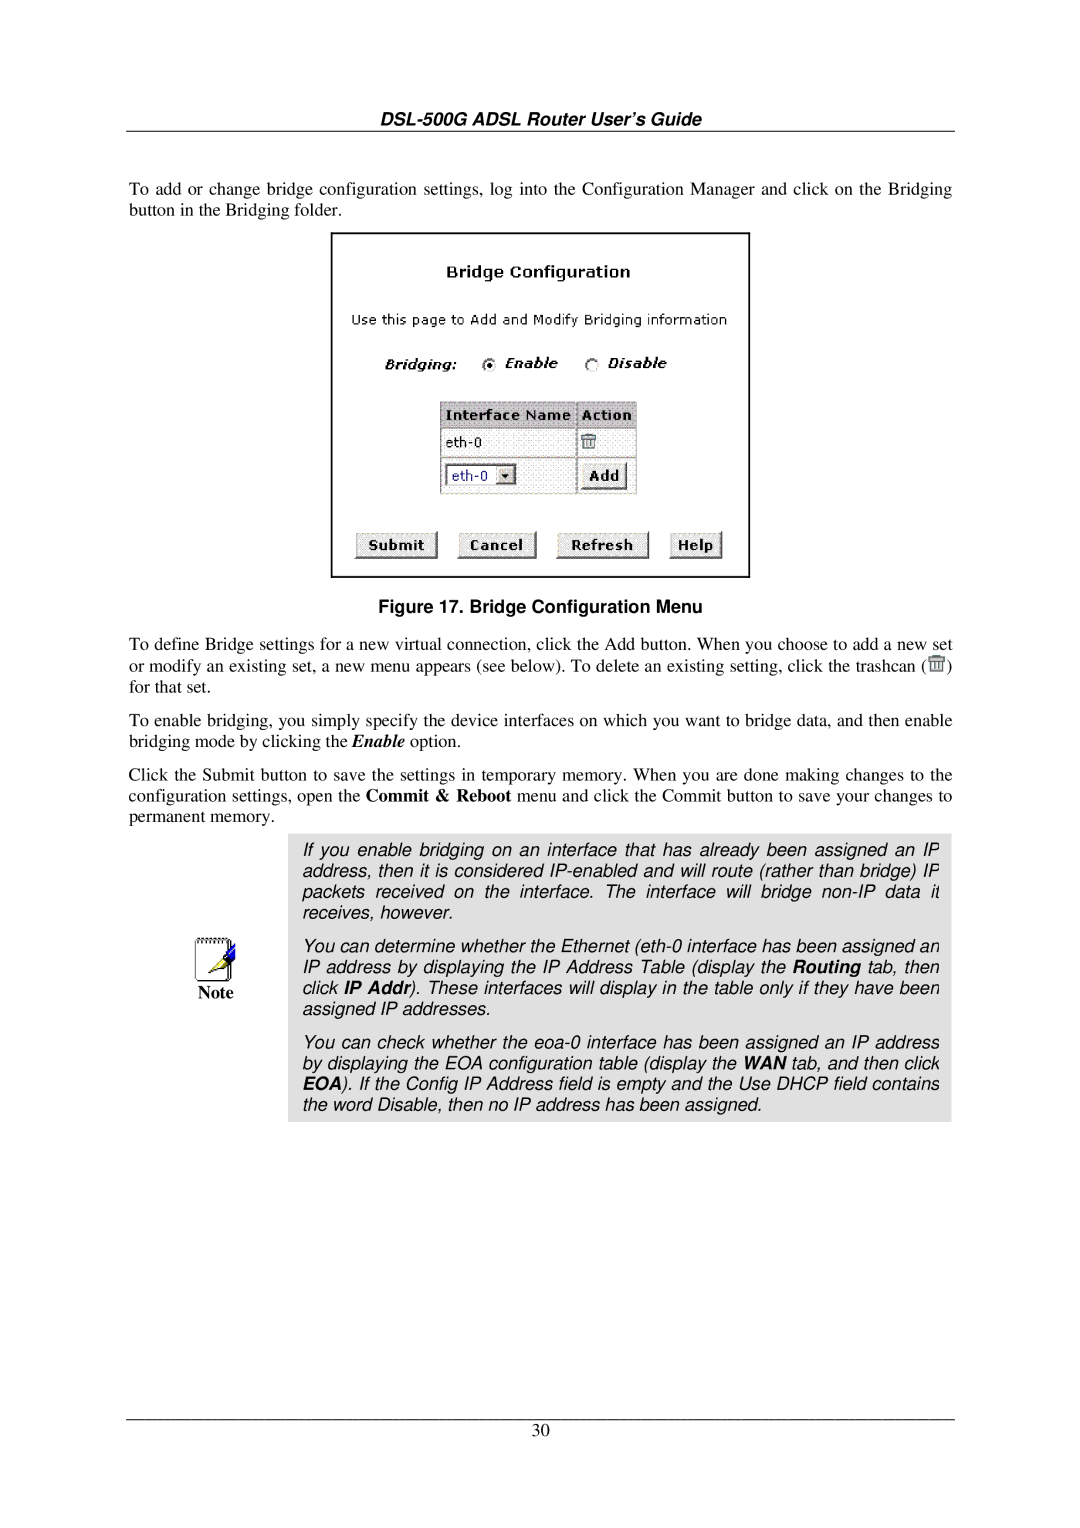
To add or change bridge configuration settings, log into the Configuration Manager and click on the Bridging button in the Bridging folder.
Figure 17. Bridge Configuration Menu
To define Bridge settings for a new virtual connection, click the Add button. When you choose to add a new set or modify an existing set, a new menu appears (see below). To delete an existing setting, click the trashcan (![]() ) for that set.
) for that set.
To enable bridging, you simply specify the device interfaces on which you want to bridge data, and then enable bridging mode by clicking the Enable option.
Click the Submit button to save the settings in temporary memory. When you are done making changes to the configuration settings, open the Commit & Reboot menu and click the Commit button to save your changes to permanent memory.
If you enable bridging on an interface that has already been assigned an IP address, then it is considered
|
| You can determine whether the Ethernet |
|
| IP address by displaying the IP Address Table (display the Routing tab, then |
|
| |
Note |
| click IP Addr). These interfaces will display in the table only if they have been |
|
| assigned IP addresses. |
You can check whether the
30
