Initial Setup
Initial Setup
6 Select ‘Reception‘ using [œ/√]. |
Manual Set
Standard
Reception | Auto Search | Fine Tune |
Auto Scan
Use […/†] to select the desired broadcast system (Aerial or Cable). |
Aerial: If you are using a standard antenna to receive channels. |
Cable: If you are using basic cable to receive channels. |
7 Select ‘Auto Search‘ using [œ/√]. |
Search the real channel number by pressing […/†]. |
PAL BG
Decoder
Off
Manual Set
Standard
PAL BG
… |
|
|
|
|
|
|
|
Cable |
| - - |
|
|
|
|
|
† |
|
|
|
| 0 |
| |
|
|
|
|
|
| Store Channel |
|
|
|
|
|
| |
| PR No. |
| NAME |
|
|
|
|
|
| ||||
| - - |
|
|
|
|
| Store | ||||||
|
|
|
|
|
|
|
|
| Cancel | ||||
|
|
|
|
|
|
|
|
|
|
|
|
|
|
| Reception |
| Auto Search |
| Fine Tune | ||||||||
|
|
|
|
|
| … |
|
|
|
|
|
| |
| Aerial |
|
| 25 |
|
|
|
|
|
|
| ||
|
|
|
|
|
| † |
|
|
| 0 |
|
| |
The DVD Recorder+VCR has a frequency synthesized tuner capable of receiving up to 119 channels. These include VHF channels
Preparation:
Connect the DVD Recorder+VCR to the desired type of antenna or cable TV system, as shown in ‘Connecting Antenna/Cable‘ on page 11.
1Follow steps 1-2 as shown under ‘Manual Set’.
Installation
Manual Set •Auto Scan
Clock Set Adjust channels
… | Choose | ENTER OK | SETUP Exit |
œ √ † |
8 Select ‘Fine Tune‘ using [œ/√]. You can adjust the fine tuning by |
pressing […/†]. |
Decoder
Off
Manual Set
Standard
PAL BG
Decoder
Off
|
|
|
|
|
| Store Channel |
|
|
|
| ||||
| PR No. |
| NAME |
|
|
|
| |||||||
|
| 4 |
|
|
|
|
|
| Store | |||||
|
|
|
|
|
|
|
|
|
|
| Cancel | |||
|
|
|
|
|
|
|
|
|
|
|
| |||
| Reception |
|
| Auto Search |
| Fine Tune | ||||||||
| Aerial |
|
|
| 25 |
|
|
|
|
|
|
| ||
|
|
|
|
|
|
|
| … |
|
| ||||
|
|
|
|
|
|
|
| 0 | ||||||
|
|
|
|
|
|
|
|
|
|
|
|
|
| |
|
|
|
|
|
|
|
|
|
|
|
| † |
|
|
|
|
|
|
|
|
|
|
|
|
| ||||
|
|
|
|
|
| Store Channel |
|
|
|
| ||||
| PR No. |
| NAME |
|
|
|
| |||||||
| 4 |
|
|
|
|
| Store | |||||||
|
|
|
|
|
|
|
|
|
|
| Cancel | |||
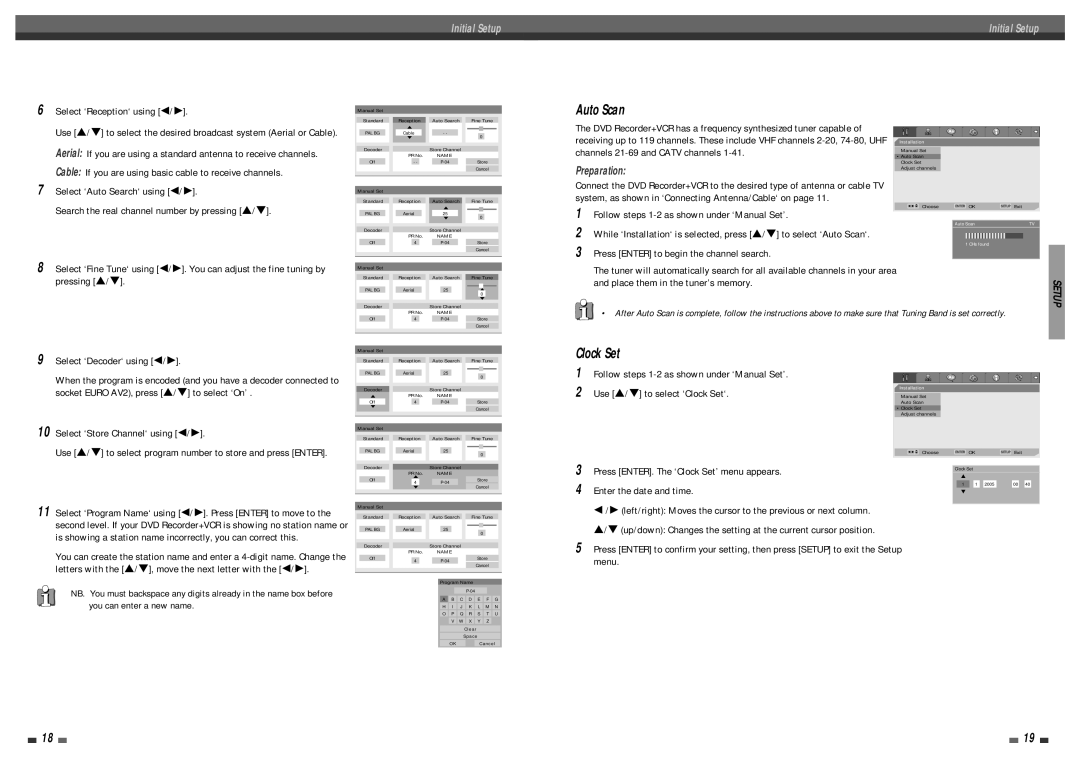
2 |
| Auto Scan |
| TV |
|
While ‘Installation‘ is selected, press […/†] to select ‘Auto Scan‘. |
|
|
|
| |
|
|
|
| ||
3 | Press [ENTER] to begin the channel search. | 1 CHs found |
|
|
|
|
|
|
| ||
| The tuner will automatically search for all available channels in your area |
|
|
| |
| and place them in the tuner’s memory. |
|
| SETUP | |
|
|
|
|
| |
• After Auto Scan is complete, follow the instructions above to make sure that Tuning Band is set correctly.
9 | Select ‘Decoder‘ using [œ/√]. |
| When the program is encoded (and you have a decoder connected to |
| socket EURO AV2), press […/†] to select ‘On’ . |
10 | Select ‘Store Channel‘ using [œ/√]. |
Manual Set
Standard
PAL BG
Decoder
…
Off
†
Manual Set
Standard
| Reception |
| Auto Search |
| Fine Tune | ||||||||||
|
|
|
|
|
|
|
|
|
|
|
|
|
|
| |
| Aerial |
|
|
| 25 |
|
|
|
|
|
|
|
| ||
|
|
|
|
|
|
|
|
|
|
|
| 0 |
|
| |
|
|
|
|
|
|
|
|
|
|
|
|
|
|
|
|
|
|
|
|
|
|
|
|
|
|
|
|
|
| ||
|
|
|
|
|
| Store Channel |
|
|
|
|
|
| |||
| PR No. |
| NAME |
|
|
|
|
|
| ||||||
| 4 |
|
|
|
|
|
| Store | |||||||
|
|
|
|
|
|
|
|
|
|
| Cancel | ||||
|
|
|
|
|
| ||||||||||
| Reception |
| Auto Search |
| Fine Tune | ||||||||||
Clock Set
1Follow steps
2Use […/†] to select ‘Clock Set‘.
Installation
Manual Set
Auto Scan
•Clock Set
Adjust channels
Use […/†] to select program number to store and press [ENTER]. |
PAL BG
Decoder
Off
| Aerial |
|
| 25 |
|
|
|
|
|
|
| |
|
|
|
|
|
|
|
|
| 0 |
|
| |
|
|
|
|
|
|
|
|
|
|
|
|
|
|
|
|
| Store Channel |
|
|
|
|
| |||
| PR No. | NAME |
|
|
|
|
| |||||
|
| … |
|
|
|
| Store | |||||
|
| 4 |
|
|
| Cancel | ||||||
|
| † |
|
|
|
|
| |||||
œ √ † Choose
…
ENTER OK | SETUP Exit |
3 | Press [ENTER]. The ‘Clock Set’ menu appears. |
4 | Enter the date and time. |
Clock Set |
|
|
|
|
|
|
|
| ||
| … |
|
|
|
|
|
|
|
| |
| 1 |
| 1 |
| 2005 |
| 00 |
| 40 |
|
| † |
|
|
|
|
|
|
|
| |
11Select ‘Program Name‘ using [œ/√]. Press [ENTER] to move to the second level. If your DVD Recorder+VCR is showing no station name or is showing a station name incorrectly, you can correct this.
You can create the station name and enter a
NB. You must backspace any digits already in the name box before you can enter a new name.
Manual Set |
|
|
|
|
|
|
|
|
|
|
|
|
|
|
| ||
| Standard |
| Reception |
| Auto Search | Fine Tune |
| ||||||||||
| PAL BG |
|
| Aerial |
|
|
| 25 |
|
|
|
|
|
|
| ||
|
|
|
|
|
|
|
|
|
|
|
|
| |||||
|
|
|
|
|
|
|
|
|
|
|
|
|
|
| 0 |
|
|
|
|
|
|
|
|
|
|
|
|
|
|
|
|
|
|
|
|
| Decoder |
|
|
|
|
| Store Channel |
|
|
|
|
| |||||
|
|
|
| PR No. |
| NAME |
|
|
|
|
|
| |||||
| Off |
|
|
| 4 |
|
|
|
|
|
|
| Store |
| |||
|
|
|
|
|
|
|
|
|
|
|
|
|
| Cancel |
| ||
|
|
|
|
|
|
|
|
|
|
|
|
|
|
|
|
|
|
|
|
|
|
|
|
|
|
|
|
|
|
|
|
|
|
|
|
|
|
|
|
|
|
|
|
|
| Program Name |
|
|
|
| |||
|
|
|
|
|
|
|
|
|
|
|
|
|
|
|
|
| |
|
|
|
|
|
|
|
|
|
| A | B | C | D | E |
| F | G |
|
|
|
|
|
|
|
|
|
| H | I | J | K | L |
| M | N |
|
|
|
|
|
|
|
|
|
| O | P | Q | R | S |
| T | U |
|
|
|
|
|
|
|
|
|
|
| V | W | X | Y |
| Z |
|
|
|
|
|
|
|
|
|
|
|
|
|
| Clear |
|
|
|
|
|
|
|
|
|
|
|
|
|
|
|
|
| Space |
|
|
|
|
|
|
|
|
|
|
|
|
|
|
| OK |
|
|
| Cancel | ||
œ /√ (left/right): Moves the cursor to the previous or next column. |
…/† (up/down): Changes the setting at the current cursor position.
5Press [ENTER] to confirm your setting, then press [SETUP] to exit the Setup menu.
18 |
|
|
| 19 |
|
|