Connections
 Connecting a TV
Choose one of the following TV connections, depending on the capabilities of your equipment.
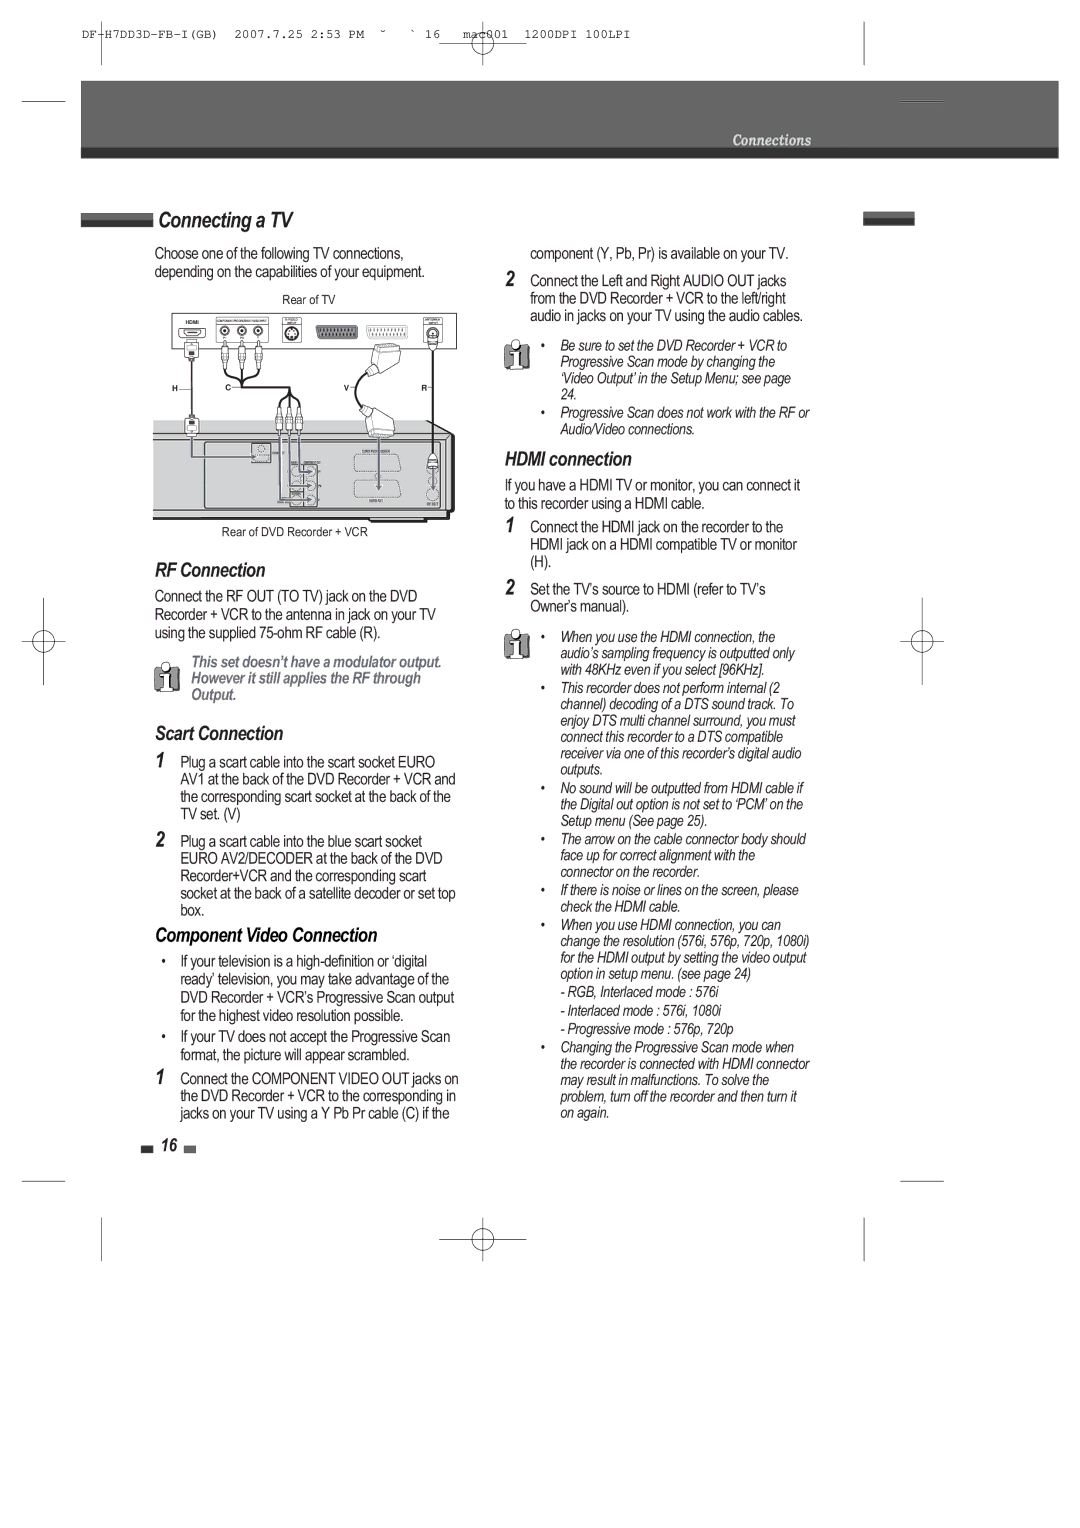
Rear of TV
HDMI | COMPONENT/PROGRESSIVE VIDEO INPUT |
| ANTENNA | |||
|
|
| INPUT |
| INPUT | |
| Pr | Pb | Y |
|
|
|
H | C |
|
|
| V | R |
Rear of DVD Recorder + VCR
RF Connection
Connect the RF OUT (TO TV) jack on the DVD Recorder + VCR to the antenna in jack on your TV using the supplied
This set doesnÕt have a modulator output. However it still applies the RF through Output.
Scart Connection
1Plug a scart cable into the scart socket EURO AV1 at the back of the DVD Recorder + VCR and the corresponding scart socket at the back of the TV set. (V)
2Plug a scart cable into the blue scart socket EURO AV2/DECODER at the back of the DVD Recorder+VCR and the corresponding scart socket at the back of a satellite decoder or set top box.
Component Video Connection
¥If your television is a
¥If your TV does not accept the Progressive Scan format, the picture will appear scrambled.
1 Connect the COMPONENT VIDEO OUT jacks on the DVD Recorder + VCR to the corresponding in jacks on your TV using a Y Pb Pr cable (C) if the
component (Y, Pb, Pr) is available on your TV.
2Connect the Left and Right AUDIO OUT jacks from the DVD Recorder + VCR to the left/right audio in jacks on your TV using the audio cables.
¥Be sure to set the DVD Recorder + VCR to Progressive Scan mode by changing the ÔVideo OutputÕ in the Setup Menu; see page 24.
¥Progressive Scan does not work with the RF or Audio/Video connections.
HDMI connection
If you have a HDMI TV or monitor, you can connect it to this recorder using a HDMI cable.
1Connect the HDMI jack on the recorder to the HDMI jack on a HDMI compatible TV or monitor
(H).
2Set the TVÕs source to HDMI (refer to TVÕs OwnerÕs manual).
¥When you use the HDMI connection, the audioÕs sampling frequency is outputted only with 48KHz even if you select [96KHz].
¥This recorder does not perform internal (2 channel) decoding of a DTS sound track. To enjoy DTS multi channel surround, you must connect this recorder to a DTS compatible receiver via one of this recorderÕs digital audio outputs.
¥No sound will be outputted from HDMI cable if the Digital out option is not set to ÔPCMÕ on the Setup menu (See page 25).
¥The arrow on the cable connector body should face up for correct alignment with the connector on the recorder.
¥If there is noise or lines on the screen, please check the HDMI cable.
¥When you use HDMI connection, you can change the resolution (576i, 576p, 720p, 1080i) for the HDMI output by setting the video output option in setup menu. (see page 24)
-RGB, Interlaced mode : 576i
-Interlaced mode : 576i, 1080i
-Progressive mode : 576p, 720p
¥Changing the Progressive Scan mode when the recorder is connected with HDMI connector may result in malfunctions. To solve the problem, turn off the recorder and then turn it on again.
16