Basic Recording
 Recording to TV
Follow the instructions below to record a TV program. | ¥ The maximum number of DVD titles per disc is | |
1 Turn on the DVD Recorder+VCR and load a | 49. If the DVD Recorder+VCR is powered off | |
during DVD recording, the recording will not be | ||
recordable disc or tape. | ||
saved. | ||
|
Make sure your TV input is set to view the DVD Recorder+VCR.
2Set the desired Recording mode by pressing [REC MODE] repeatedly.
DVD: HQ (High Quality - 1 hr/disc), SP (Standard Play - 2 hrs/disc), EP (Extended Play - 4 hrs/disc), or SEP (Super Long Play - 8 hrs/disc).
VCR: SP (Standard Play), LP (Long Play - 2 times SP)
¥If a DVD+RW or unfinalized DVD+R disc is inserted in the tray, no title is played automatically after loading is finished.
¥If you are recording to a blank DVD+R (+RW) disc, it may take up to 7 minutes (it depends on disc) for post processing after recording.
3If your DVD Recorder+VCR does not show a TV program, press [INPUT] on the remote control. Use [PR+/Ð] to select the TV channel you wish to record.
4Press [AUDIO] to select the audio channel to record (Stereo, BIL, or Mono).
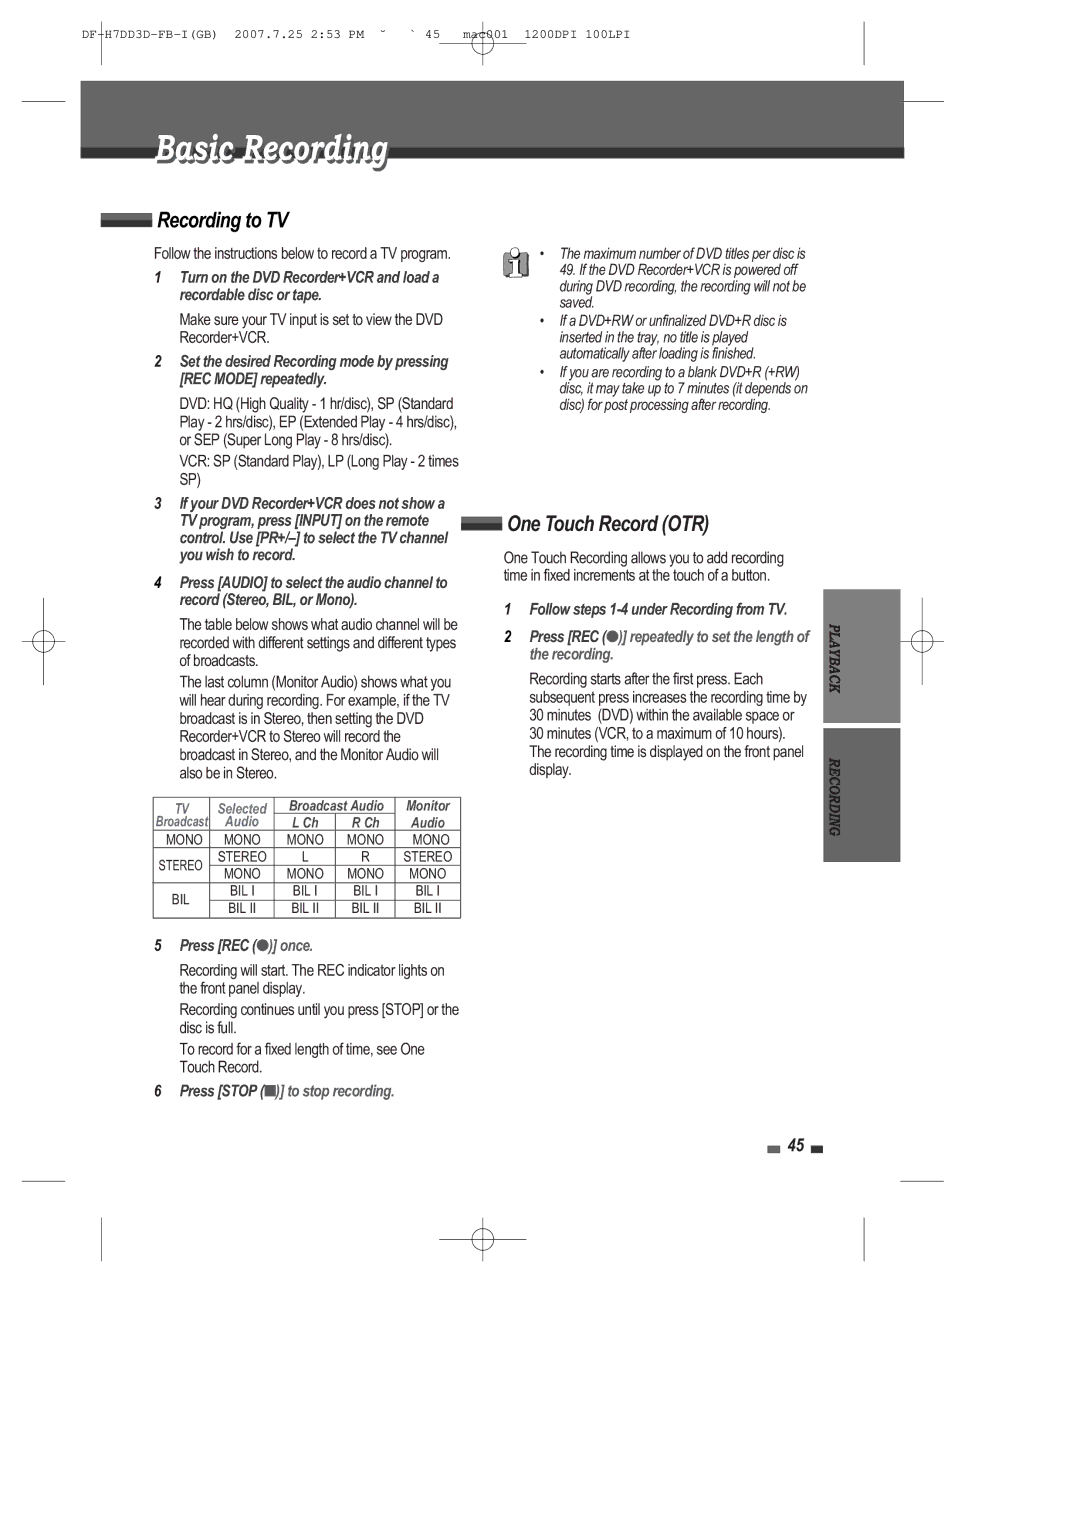
The table below shows what audio channel will be recorded with different settings and different types of broadcasts.
 One Touch Record (OTR)
One Touch Recording allows you to add recording time in fixed increments at the touch of a button.
1Follow steps
2Press [REC (●)] repeatedly to set the length of the recording.
PLAYBACK
The last column (Monitor Audio) shows what you | Recording starts after the first press. Each | ||||||
will hear during recording. For example, if the TV | subsequent press increases the recording time by | ||||||
broadcast is in Stereo, then setting the DVD | 30 minutes (DVD) within the available space or | ||||||
Recorder+VCR to Stereo will record the |
| 30 minutes (VCR, to a maximum of 10 hours). | |||||
broadcast in Stereo, and the Monitor Audio will | The recording time is displayed on the front panel | ||||||
also be in Stereo. |
|
|
|
| display. | ||
|
|
|
|
|
|
|
|
TV | Selected |
| Broadcast Audio |
| Monitor |
| |
Broadcast | Audio |
| L Ch | R Ch |
| Audio |
|
MONO | MONO |
| MONO | MONO |
| MONO |
|
STEREO | STEREO |
| L | R |
| STEREO |
|
MONO |
| MONO | MONO |
| MONO |
| |
|
|
|
| ||||
BIL | BIL I |
| BIL I | BIL I |
| BIL I |
|
BIL II |
| BIL II | BIL II |
| BIL II |
| |
|
|
|
| ||||
5Press [REC (●)] once.
Recording will start. The REC indicator lights on the front panel display.
Recording continues until you press [STOP] or the disc is full.
To record for a fixed length of time, see One Touch Record.
6Press [STOP (■)] to stop recording.
RECORDING
45
