Setting Up
Connecting
Hopefully you have read the installation chapter, and you’ve studied the diagrams on pages 12 – 14. With your chosen source and a suitable monitor connected your ready to go.
Connect the 12v power supply to the MP 6000 DC Input Socket, and connect the AC power cord to a suitable socket. You could alternatively use other, stable 12v power feeds, if for example you are working in the field. The MP 6000 would require a 12v DC supply with a constant current of 3A.
Powering Up
With your source and monitor connected you can now power up the MP 6000.
Lift the protective cover from the Power On button, press the button and close the protective cover.
The Power On button should now be illuminated.
On-Screen Display
The MP 6000 displays configuration information in two areas: An
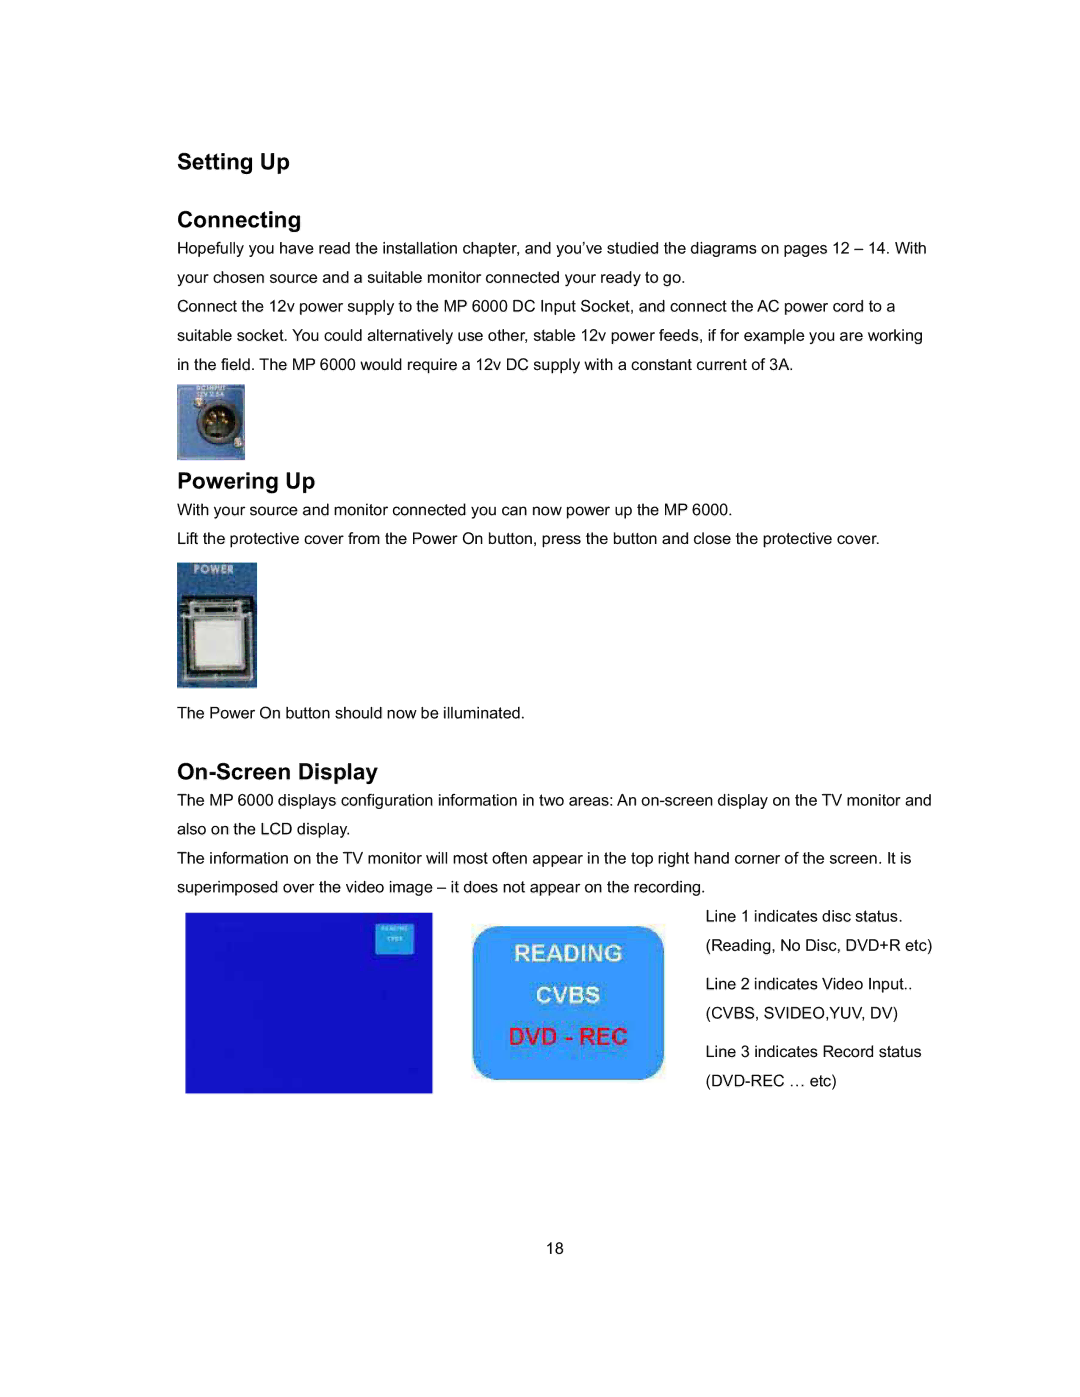
The information on the TV monitor will most often appear in the top right hand corner of the screen. It is superimposed over the video image – it does not appear on the recording.
Line 1 indicates disc status. (Reading, No Disc, DVD+R etc)
Line 2 indicates Video Input.. (CVBS, SVIDEO,YUV, DV)
Line 3 indicates Record status
18