Console Location
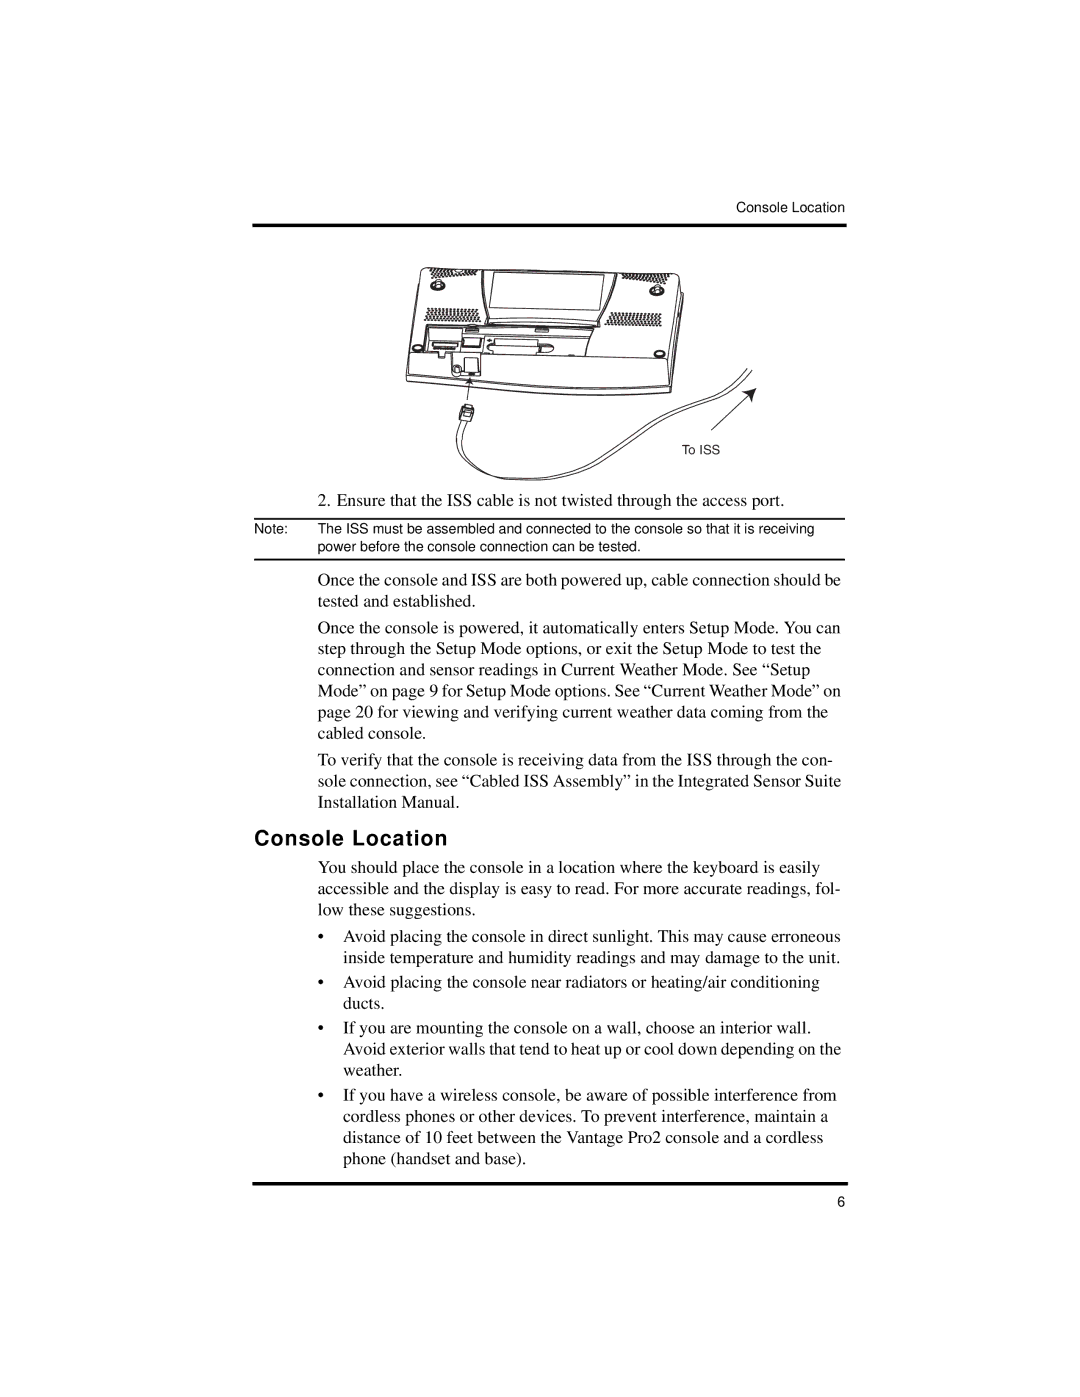
| To ISS |
| 2. Ensure that the ISS cable is not twisted through the access port. |
|
|
Note: | The ISS must be assembled and connected to the console so that it is receiving |
| power before the console connection can be tested. |
|
|
| Once the console and ISS are both powered up, cable connection should be |
| tested and established. |
| Once the console is powered, it automatically enters Setup Mode. You can |
| step through the Setup Mode options, or exit the Setup Mode to test the |
| connection and sensor readings in Current Weather Mode. See “Setup |
| Mode” on page 9 for Setup Mode options. See “Current Weather Mode” on |
| page 20 for viewing and verifying current weather data coming from the |
| cabled console. |
| To verify that the console is receiving data from the ISS through the con- |
| sole connection, see “Cabled ISS Assembly” in the Integrated Sensor Suite |
| Installation Manual. |
Console Location
You should place the console in a location where the keyboard is easily accessible and the display is easy to read. For more accurate readings, fol- low these suggestions.
•Avoid placing the console in direct sunlight. This may cause erroneous inside temperature and humidity readings and may damage to the unit.
•Avoid placing the console near radiators or heating/air conditioning ducts.
•If you are mounting the console on a wall, choose an interior wall. Avoid exterior walls that tend to heat up or cool down depending on the weather.
•If you have a wireless console, be aware of possible interference from cordless phones or other devices. To prevent interference, maintain a distance of 10 feet between the Vantage Pro2 console and a cordless phone (handset and base).
6