ELECTRICAL CONNECTION
Only use a
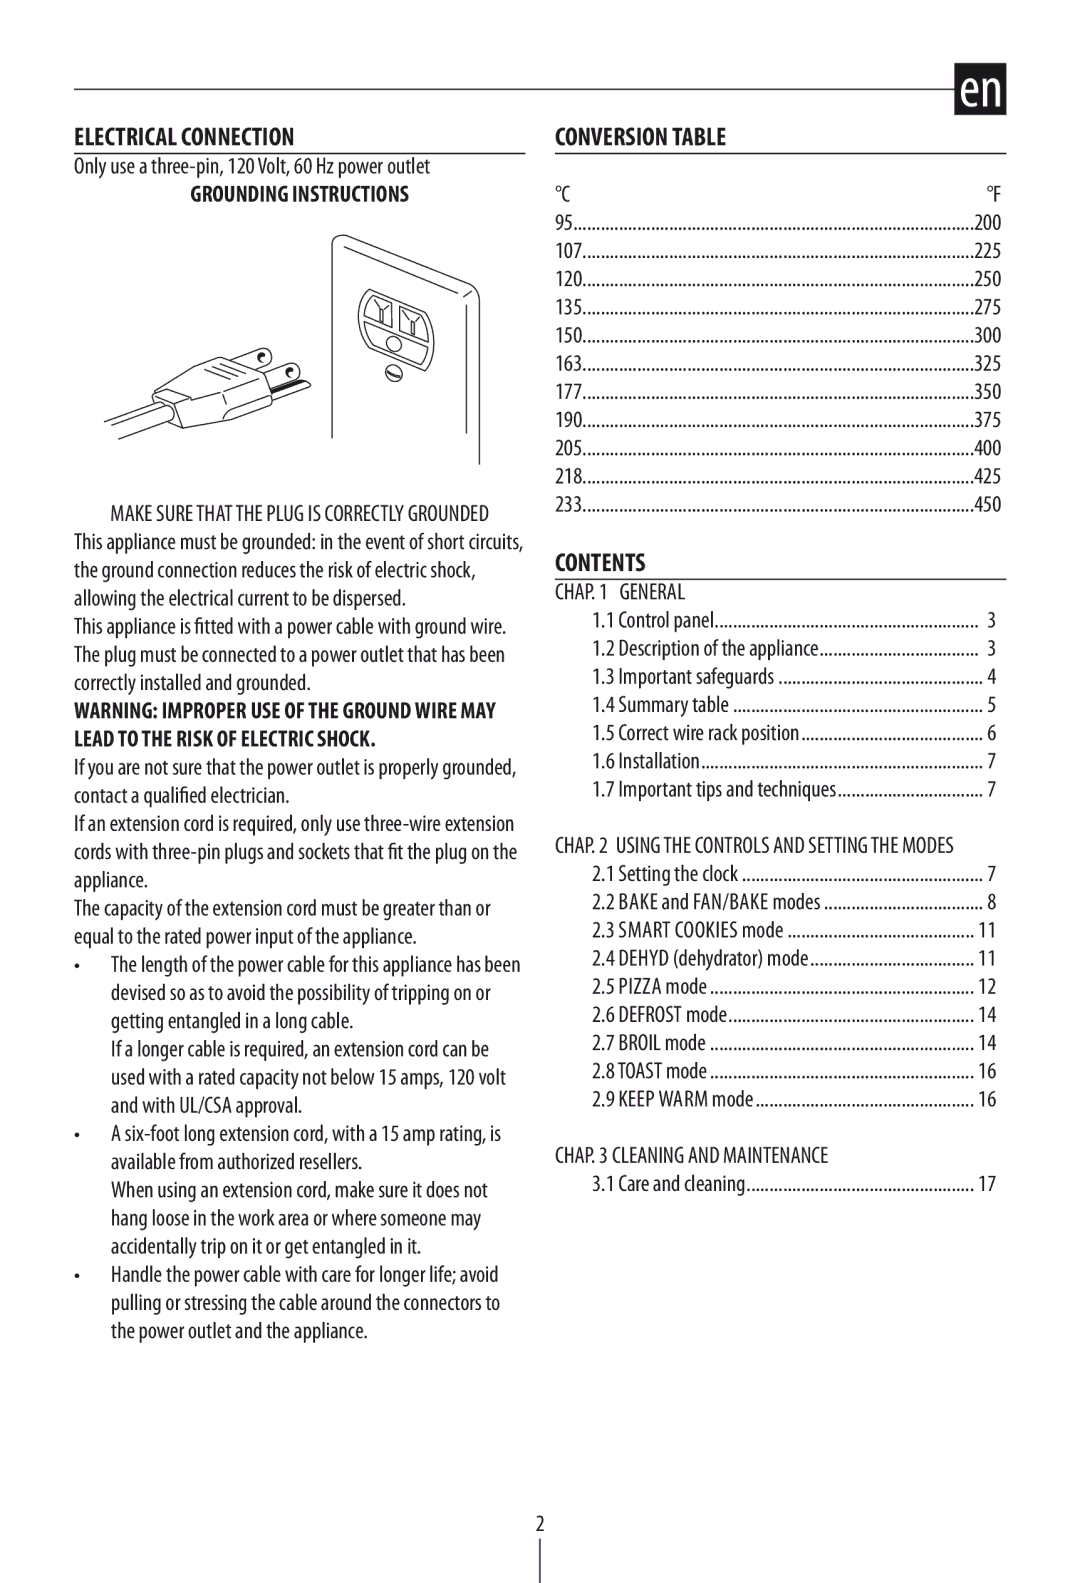
GROUNDING INSTRUCTIONS
MAKE SURE THAT THE PLUG IS CORRECTLY GROUNDED This appliance must be grounded: in the event of short circuits, the ground connection reduces the risk of electric shock, allowing the electrical current to be dispersed.
This appliance is fitted with a power cable with ground wire. The plug must be connected to a power outlet that has been correctly installed and grounded.
WARNING: IMPROPER USE OF THE GROUND WIRE MAY LEAD TO THE RISK OF ELECTRIC SHOCK.
If you are not sure that the power outlet is properly grounded, contact a qualified electrician.
If an extension cord is required, only use
The capacity of the extension cord must be greater than or equal to the rated power input of the appliance.
•The length of the power cable for this appliance has been devised so as to avoid the possibility of tripping on or getting entangled in a long cable.
If a longer cable is required, an extension cord can be used with a rated capacity not below 15 amps, 120 volt and with UL/CSA approval.
•A
When using an extension cord, make sure it does not hang loose in the work area or where someone may accidentally trip on it or get entangled in it.
•Handle the power cable with care for longer life; avoid pulling or stressing the cable around the connectors to the power outlet and the appliance.
|
|
CONVERSION TABLE | en |
| |
°C | °F |
95 | 200 |
107 | 225 |
120 | 250 |
135 | 275 |
150 | 300 |
163 | 325 |
177 | 350 |
190 | 375 |
205 | 400 |
218 | 425 |
233 | 450 |
CONTENTS |
|
CHAP. 1 GENERAL |
|
1.1 Control panel | 3 |
1.2 Description of the appliance | 3 |
1.3 Important safeguards | 4 |
1.4 Summary table | 5 |
1.5 Correct wire rack position | 6 |
1.6 Installation | 7 |
1.7 Important tips and techniques | 7 |
CHAP. 2 USING THE CONTROLS AND SETTING THE MODES |
|
2.1 Setting the clock | 7 |
2.2 Bake and Fan/Bake modes | 8 |
2.3 Smart cookies mode | 11 |
2.4 DehyD (dehydrator) mode | 11 |
2.5 Pizza mode | 12 |
2.6 DEFROST mode | 14 |
2.7 BROIL mode | 14 |
2.8 TOAST mode | 16 |
2.9 Keep warm mode | 16 |
CHAP. 3 CLEANING AND MAINTENANCE |
|
3.1 Care and cleaning | 17 |
2