Pre-Installation Preparation
Continued
•Your fireplace is designed to be used in zero clearance installations. Wall or framing material can be placed directly against any exterior surface on the back, sides or top of your fireplace, except when clearances are required from flue vent pipe, see Clear- ances.
•If recessed into a wall, you can avoid extra framing by positioning your fireplace against an already existing framing member.
•A hearth extension is not required with this appliance. If one is installed, it is for aesthetic purposes only and does not have to meet standard requirements for hearth extensions.
•If you plan on installing a television or entertainment center recessed above your fireplace, it is recommended that you main- tain a minimum 18" (45.7 cm) above the top of louver opening.
•When locating the termination cap, it is im- portant to observe the minimum vent height and clearances required under code, see
Venting Installation Instructions, page 9.
•Do not recess termination cap into a wall or siding.
•You may paint the termination cap with 450° F (232° C) heat resistant paint to coordinate with the exterior finish.
PACKAGING AND REMOVAL
The (V)CB36 vented decorative gas fireplaces are packaged with the following items:
•one box containing a 4 piece log set located on the burner in the firebox.
•one bag containing the owner’s manual with installation instructions, operator’s guide, and warranty information.
•one bag of glowing ember material.
•one bag of vermiculite hearth treatments.
1.Remove shrink wrap securing 2 carton trays to unit.
2.Lift top carton tray off and remove four corner posts.
3.Discard bottom tray once unit is moved into position.
Note: To prevent damage to ceramic logs and glass panels you may want to remove them before positioning and framing the unit. To access firebox, see Louver Panels and Glass Door, page 17.
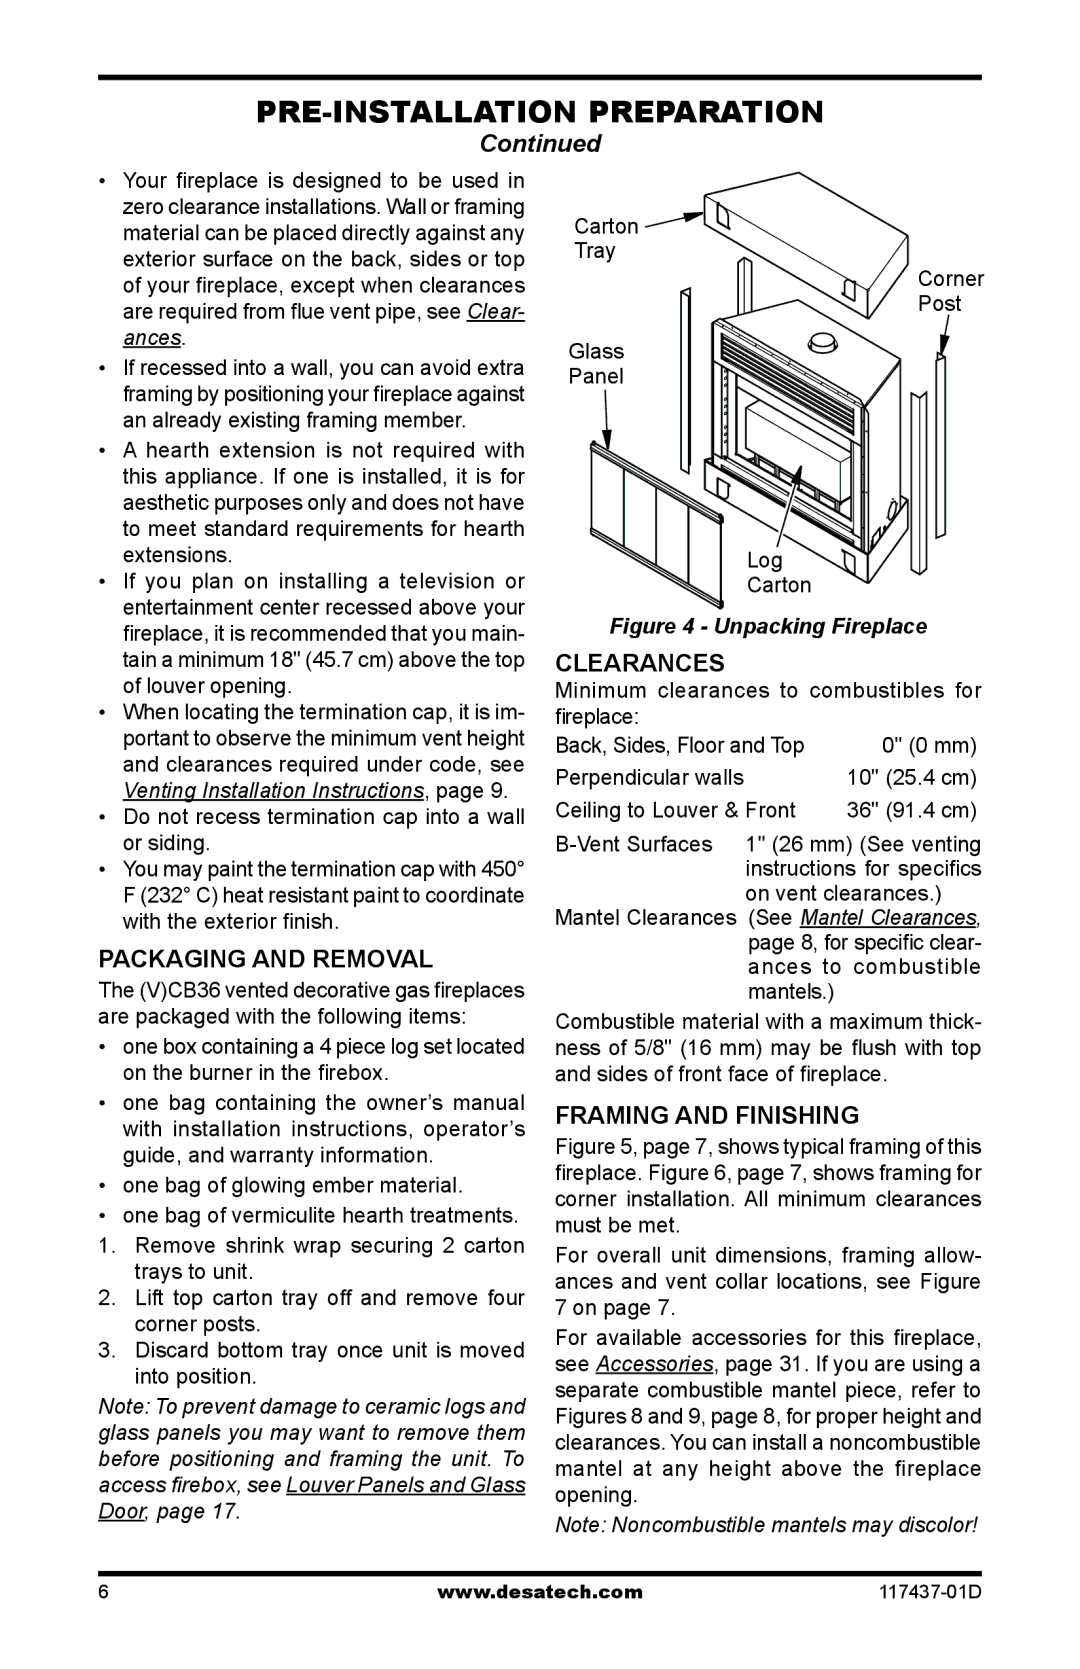
Carton ![]()
![]()
Tray
Corner
Post
Glass
Panel
Log
Carton
Figure 4 - Unpacking Fireplace
CLEARANCES
Minimum clearances to combustibles for fireplace:
Back, Sides, Floor and Top | 0" (0 mm) |
Perpendicular walls | 10" (25.4 cm) |
Ceiling to Louver & Front | 36" (91.4 cm) |
Mantel Clearances (See Mantel Clearances, page 8, for specific clear- ances to combustible mantels.)
Combustible material with a maximum thick- ness of 5/8" (16 mm) may be flush with top and sides of front face of fireplace.
FRAMING AND FINISHING
Figure 5, page 7, shows typical framing of this fireplace. Figure 6, page 7, shows framing for corner installation. All minimum clearances must be met.
For overall unit dimensions, framing allow- ances and vent collar locations, see Figure 7 on page 7.
For available accessories for this fireplace, see Accessories, page 31. If you are using a separate combustible mantel piece, refer to Figures 8 and 9, page 8, for proper height and clearances. You can install a noncombustible mantel at any height above the fireplace opening.
Note: Noncombustible mantels may discolor!
www.desatech.com117437-01D