Operating Fireplace
Continued
Manual Lighting
Procedure
1.Remove glass door (see Removing/Re- placing Glass Door, page 18).
2.Follow steps 1 through 8 under Lighting Instructions, page 20).
3.Press gas control knob and light pilot with match.
4.Keep gas control knob pressed in for 30 seconds after lighting pilot. After 30 sec- onds, release gas control knob. Follow steps 10 through 11 under Lighting Instruc- tions, page 20).
5.Replace glass door (see Removing/Re- placing Glass Door, page 18).
Electronic Ignition
System
lighting
instructions
1.STOP! Read the safety information, page 20.
2.Turn off all electrical power to the fire- place.
3.Turn wall switch to the OFF position.
4.Open lower louver panel.
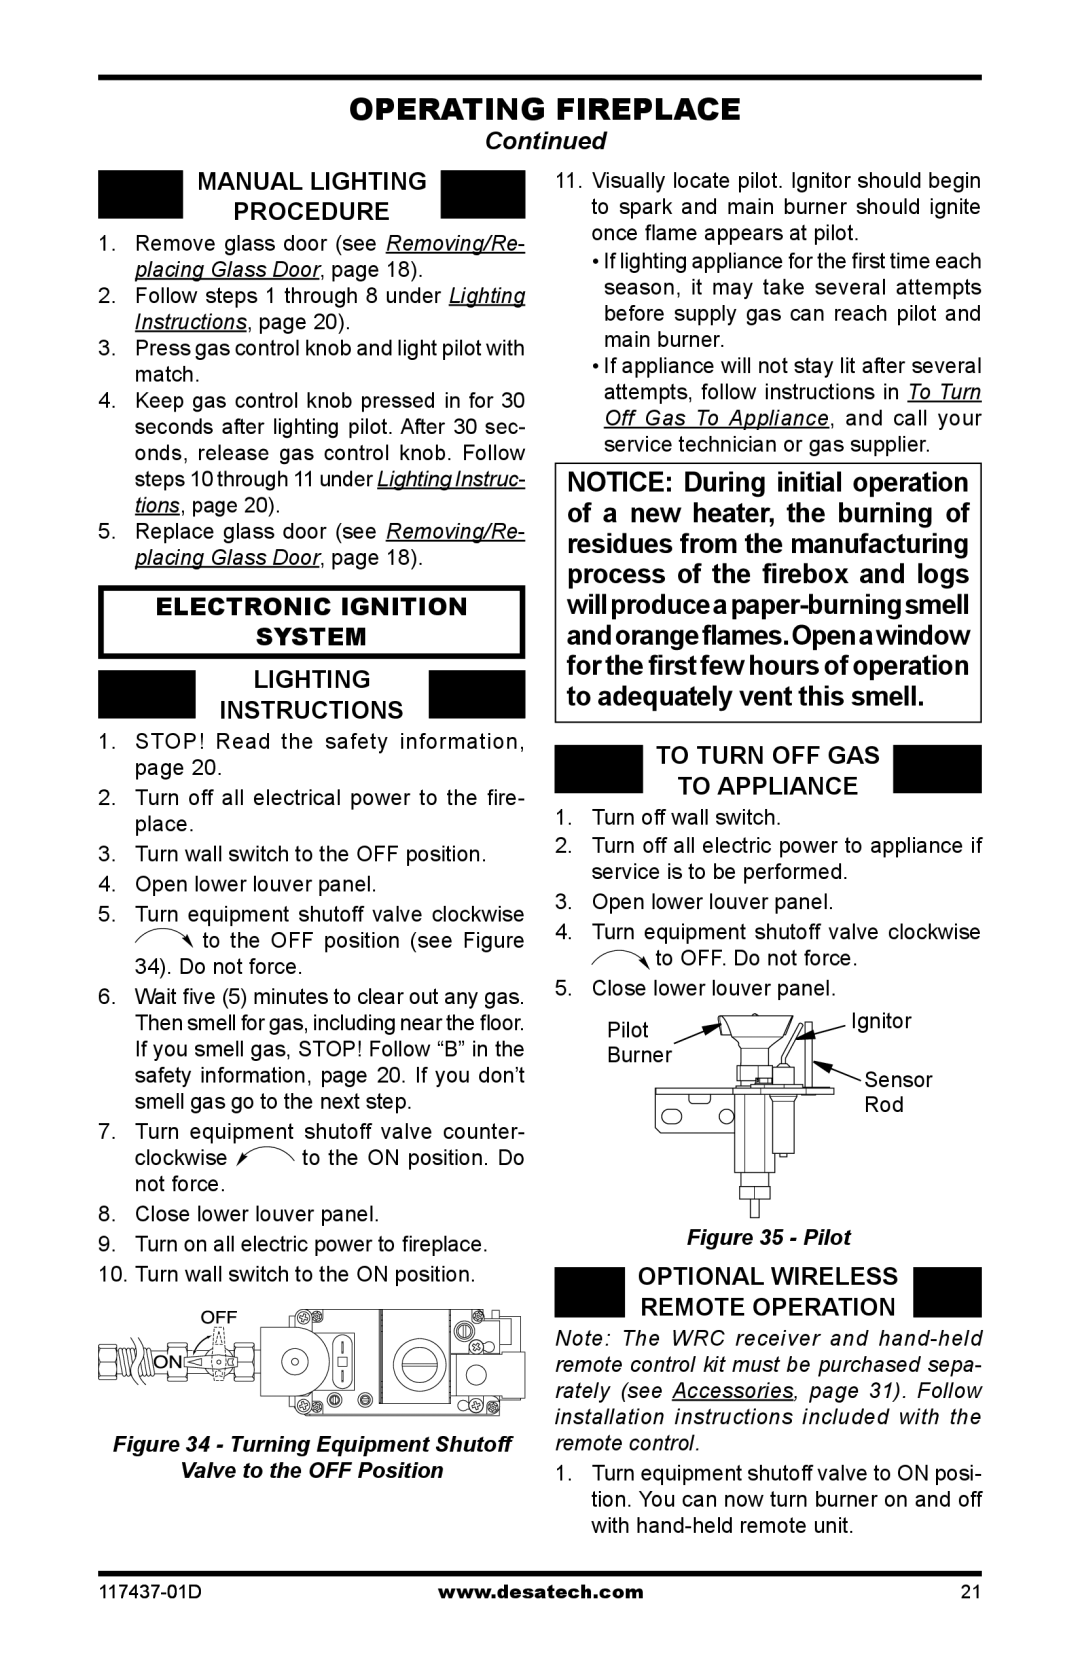
5.Turn equipment shutoff valve clockwise ![]() to the OFF position (see Figure 34). Do not force.
to the OFF position (see Figure 34). Do not force.
6.Wait five (5) minutes to clear out any gas. Then smell for gas, including near the floor. If you smell gas, STOP! Follow “B” in the safety information, page 20. If you don’t smell gas go to the next step.
7.Turn equipment shutoff valve counter-
clockwise ![]() to the ON position. Do not force.
to the ON position. Do not force.
11.Visually locate pilot. Ignitor should begin to spark and main burner should ignite once flame appears at pilot.
•If lighting appliance for the first time each season, it may take several attempts before supply gas can reach pilot and main burner.
•If appliance will not stay lit after several attempts, follow instructions in To Turn Off Gas To Appliance, and call your service technician or gas supplier.
NOTICE: During initial operation of a new heater, the burning of residues from the manufacturing process of the firebox and logs
TO TURN OFF GAS
TO APPLIANCE
1.Turn off wall switch.
2.Turn off all electric power to appliance if service is to be performed.
3.Open lower louver panel.
4.Turn equipment shutoff valve clockwise ![]() to OFF. Do not force.
to OFF. Do not force.
5.Close lower louver panel.
Pilot | Ignitor |
| |
Burner |
|
| Sensor |
| Rod |
8.Close lower louver panel.
9.Turn on all electric power to fireplace.
10.Turn wall switch to the ON position.
Figure 34 - Turning Equipment Shutoff
Valve to the OFF Position
Figure 35 - Pilot
OPTIONAL WIRELESS
REMOTE OPERATION
Note: The WRC receiver and
1.Turn equipment shutoff valve to ON posi- tion. You can now turn burner on and off with
www.desatech.com | 21 |
