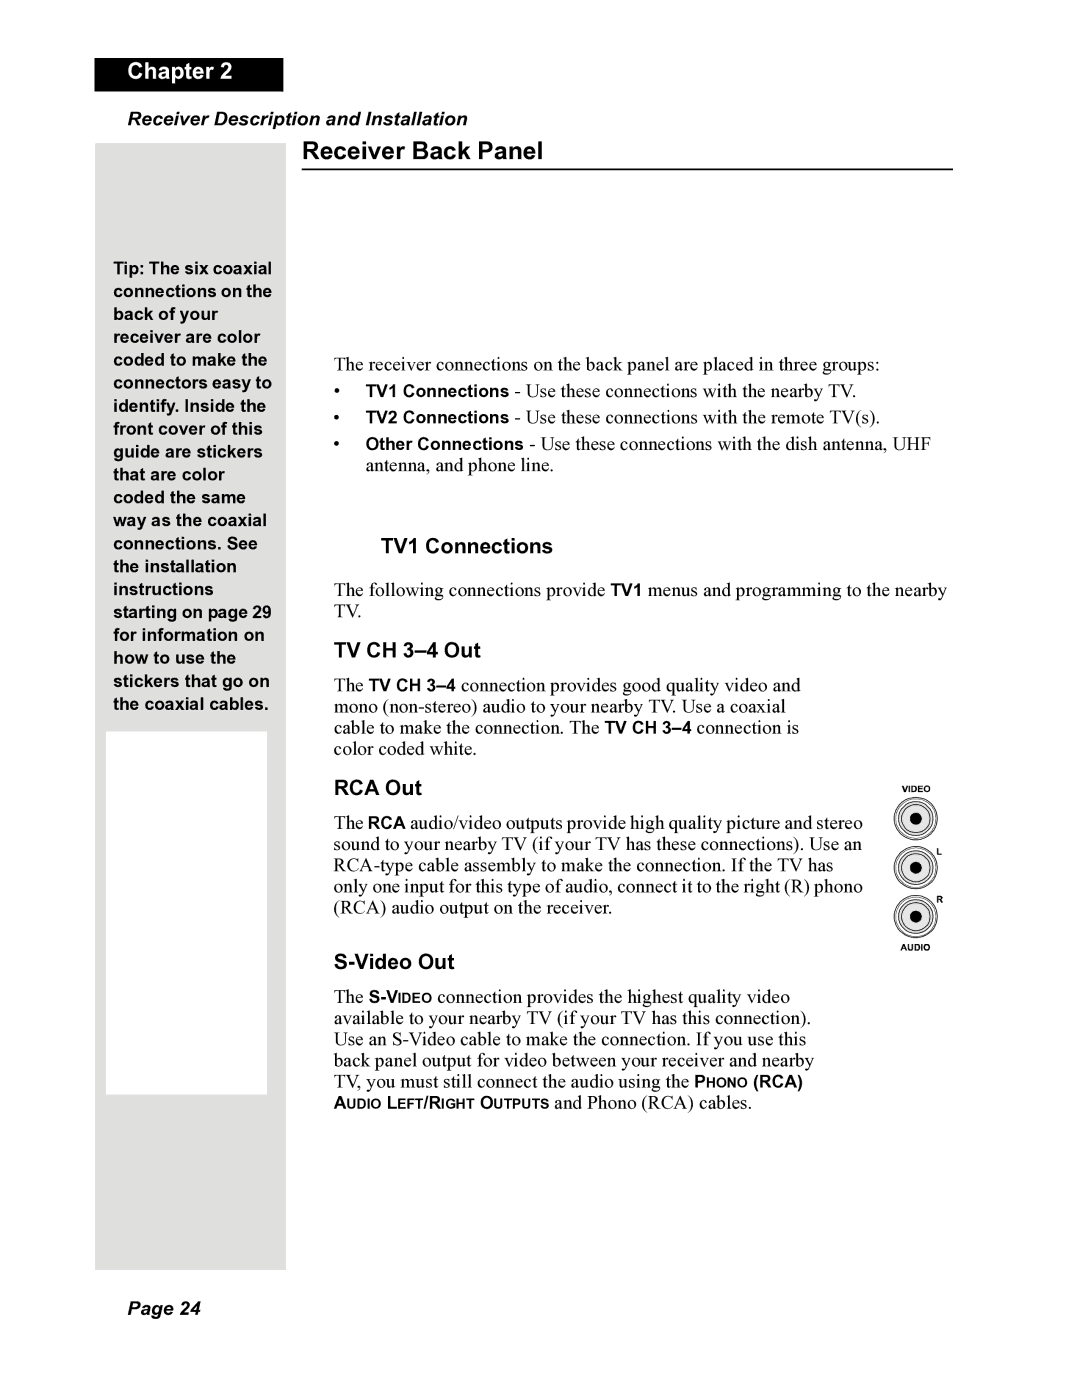
DuoDVR 625, 118523, DuoDVR 522 specifications
Dish Network has long been a prominent player in the satellite television industry, and its DuoDVR series exemplifies the company's commitment to innovation and user satisfaction. Among the most notable models in the DuoDVR line are the DuoDVR 522, DuoDVR 118523, and DuoDVR 625. Each of these models is characterized by distinct features and technological advancements that cater to a variety of viewing preferences.The DuoDVR 522 is a versatile receiver known for its dual-tuner capability, allowing users to record two shows simultaneously while watching a third program. This feature is particularly advantageous for families or households with varying tastes in television programming. The 522 model supports standard and high-definition programming, providing users with a choice of quality based on their viewing preferences. Its user-friendly interface allows easy navigation through channels and recorded content, ensuring a smooth viewing experience.
Next in line, the DuoDVR 118523 model is a reflection of Dish Network's sophisticated engineering. In addition to the dual-tuner functionality, the 118523 boasts an enhanced storage capacity, ensuring that users have ample space for their recorded shows. This model also introduces an advanced guide system that simplifies the search for upcoming shows and assists users in managing their recordings effectively. The integration of Dish Network's On Demand services allows subscribers instant access to a plethora of movies and TV shows, expanding their viewing options significantly.
The DuoDVR 625 model stands out with its refined features, targeted mainly towards tech-savvy users who desire more control over their viewing experience. Like its counterparts, the 625 supports dual tuners and high-definition content. It has a more advanced hard drive, capable of storing numerous hours of programming, which is particularly beneficial for binge-watchers. The 625 also enhances the user experience through built-in interactive features, such as the ability to pause and rewind live TV, making it easier for users to catch missed moments in their favorite shows.
All three models are designed with ease of use in mind, having intuitive remote control layouts that are easy to navigate. The Dish Network DuoDVRs also facilitate the use of parental controls, allowing parents to manage and restrict the content accessible to children, ensuring a family-friendly viewing environment.
In summary, the Dish Network DuoDVR 522, DuoDVR 118523, and DuoDVR 625 are exemplary models that incorporate key features such as dual tuners, enhanced storage capacities, high-definition content support, and user-friendly interfaces. These technologies provide subscribers with a comprehensive, customizable television experience that caters to a wide range of viewing habits, making them a top choice for satellite TV viewers.

