AUDIO menu
AUDIO menu
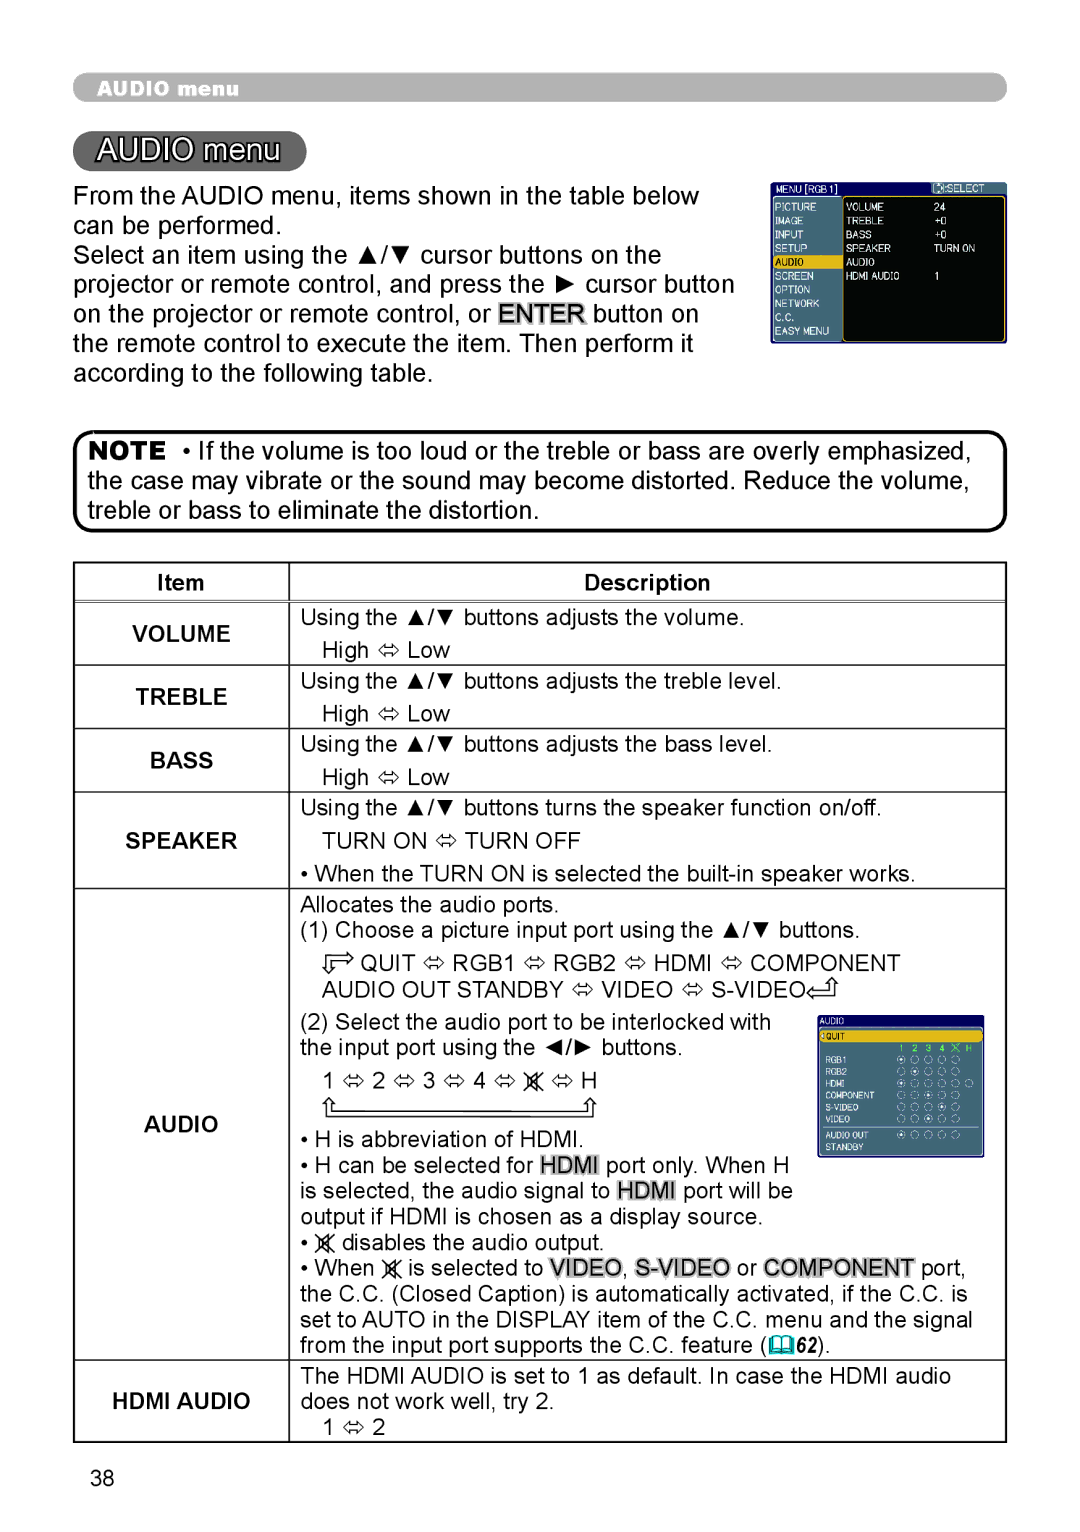
From the AUDIO menu, items shown in the table below can be performed.
Select an item using the ▲/▼ cursor buttons on the projector or remote control, and press the ► cursor button on the projector or remote control, or ENTER button on the remote control to execute the item. Then perform it according to the following table.
NOTE • If the volume is too loud or the treble or bass are overly emphasized, the case may vibrate or the sound may become distorted. Reduce the volume, treble or bass to eliminate the distortion.
Item | Description | |
|
| |
VOLUME | Using the ▲/▼ buttons adjusts the volume. | |
High ó Low | ||
| ||
TREBLE | Using the ▲/▼ buttons adjusts the treble level. | |
High ó Low | ||
| ||
BASS | Using the ▲/▼ buttons adjusts the bass level. | |
High ó Low | ||
| ||
| Using the ▲/▼ buttons turns the speaker function on/off. | |
SPEAKER | TURN ON ó TURN OFF | |
| • When the TURN ON is selected the | |
| Allocates the audio ports. | |
| (1) Choose a picture input port using the ▲/▼ buttons. | |
| QUIT ó RGB1 ó RGB2 ó HDMI ó COMPONENT | |
| AUDIO OUT STANDBY ó VIDEO ó | |
| (2) Select the audio port to be interlocked with | |
| the input port using the ◄/► buttons. | |
| 1 ó 2 ó 3 ó 4 ó ó H |
AUDIO | • H is abbreviation of HDMI. |
|
•H can be selected for HDMI![]()
![]() port only. When H is selected, the audio signal to HDMI
port only. When H is selected, the audio signal to HDMI![]()
![]() port will be output if HDMI is chosen as a display source.
port will be output if HDMI is chosen as a display source.
•![]() disables the audio output.
disables the audio output.
•When ![]() is selected to VIDEO,
is selected to VIDEO,
HDMI AUDIO | The HDMI AUDIO is set to 1 as default. In case the HDMI audio |
does not work well, try 2. | |
| 1 ó 2 |
38