Resetting the Device
Normal Reset
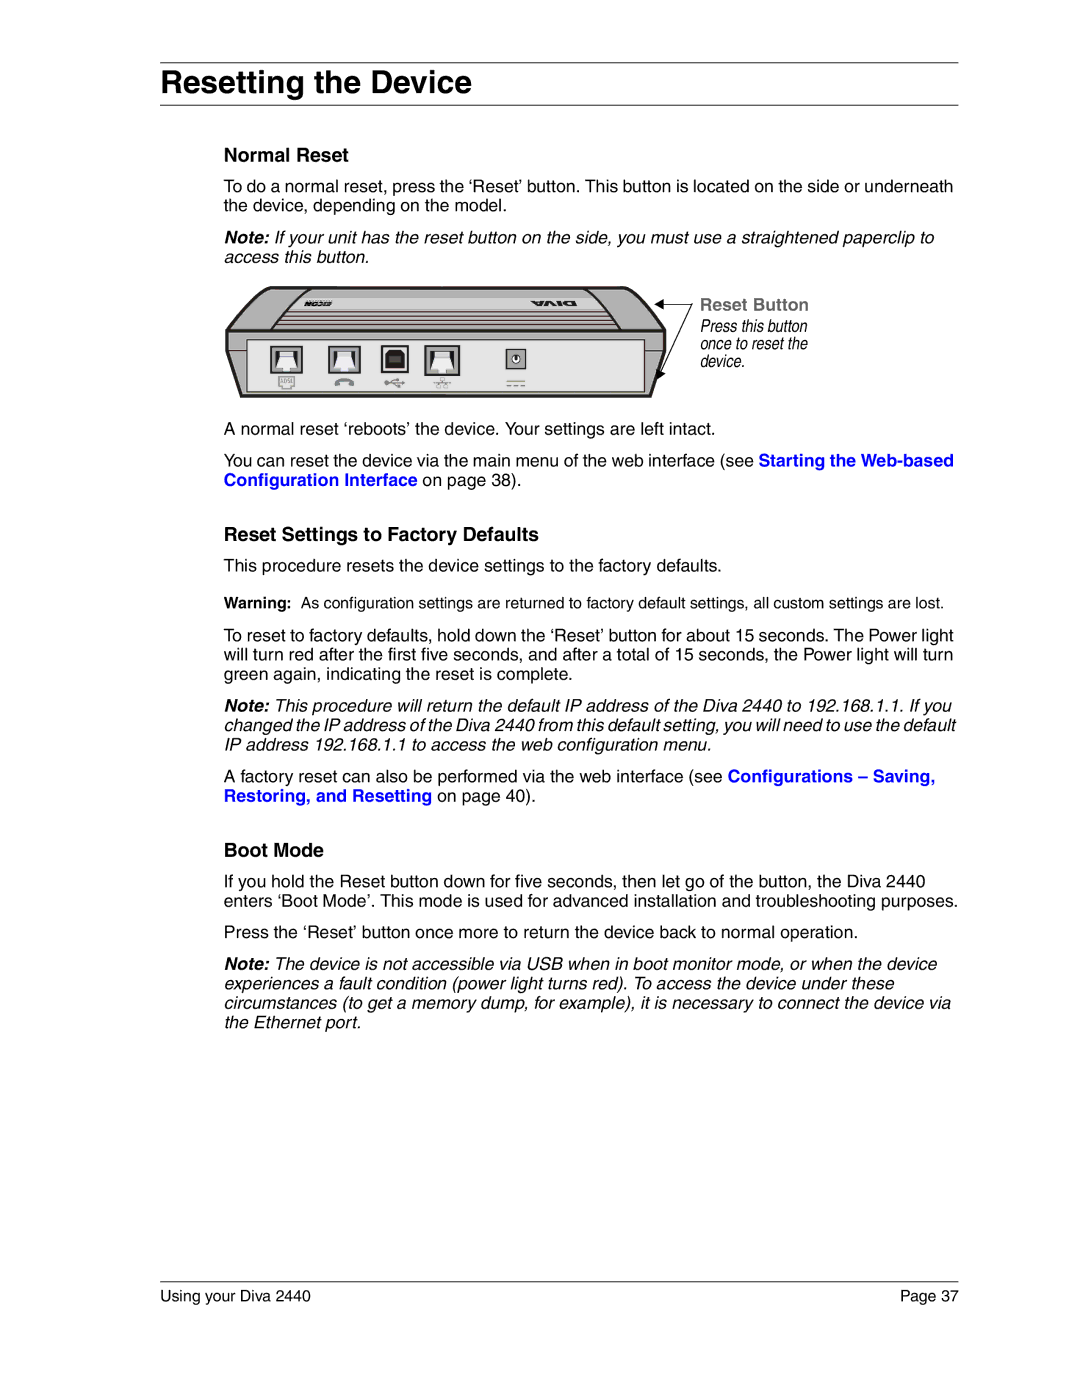
To do a normal reset, press the ‘Reset’ button. This button is located on the side or underneath the device, depending on the model.
Note: If your unit has the reset button on the side, you must use a straightened paperclip to access this button.
 Reset Button
Press this button once to reset the device.
A normal reset ‘reboots’ the device. Your settings are left intact.
You can reset the device via the main menu of the web interface (see Starting the
Reset Settings to Factory Defaults
This procedure resets the device settings to the factory defaults.
Warning: As configuration settings are returned to factory default settings, all custom settings are lost.
To reset to factory defaults, hold down the ‘Reset’ button for about 15 seconds. The Power light will turn red after the first five seconds, and after a total of 15 seconds, the Power light will turn green again, indicating the reset is complete.
Note: This procedure will return the default IP address of the Diva 2440 to 192.168.1.1. If you changed the IP address of the Diva 2440 from this default setting, you will need to use the default IP address 192.168.1.1 to access the web configuration menu.
A factory reset can also be performed via the web interface (see Configurations – Saving, Restoring, and Resetting on page 40).
Boot Mode
If you hold the Reset button down for five seconds, then let go of the button, the Diva 2440 enters ‘Boot Mode’. This mode is used for advanced installation and troubleshooting purposes.
Press the ‘Reset’ button once more to return the device back to normal operation.
Note: The device is not accessible via USB when in boot monitor mode, or when the device experiences a fault condition (power light turns red). To access the device under these circumstances (to get a memory dump, for example), it is necessary to connect the device via the Ethernet port.
Using your Diva 2440 | Page 37 |