Starting desludge
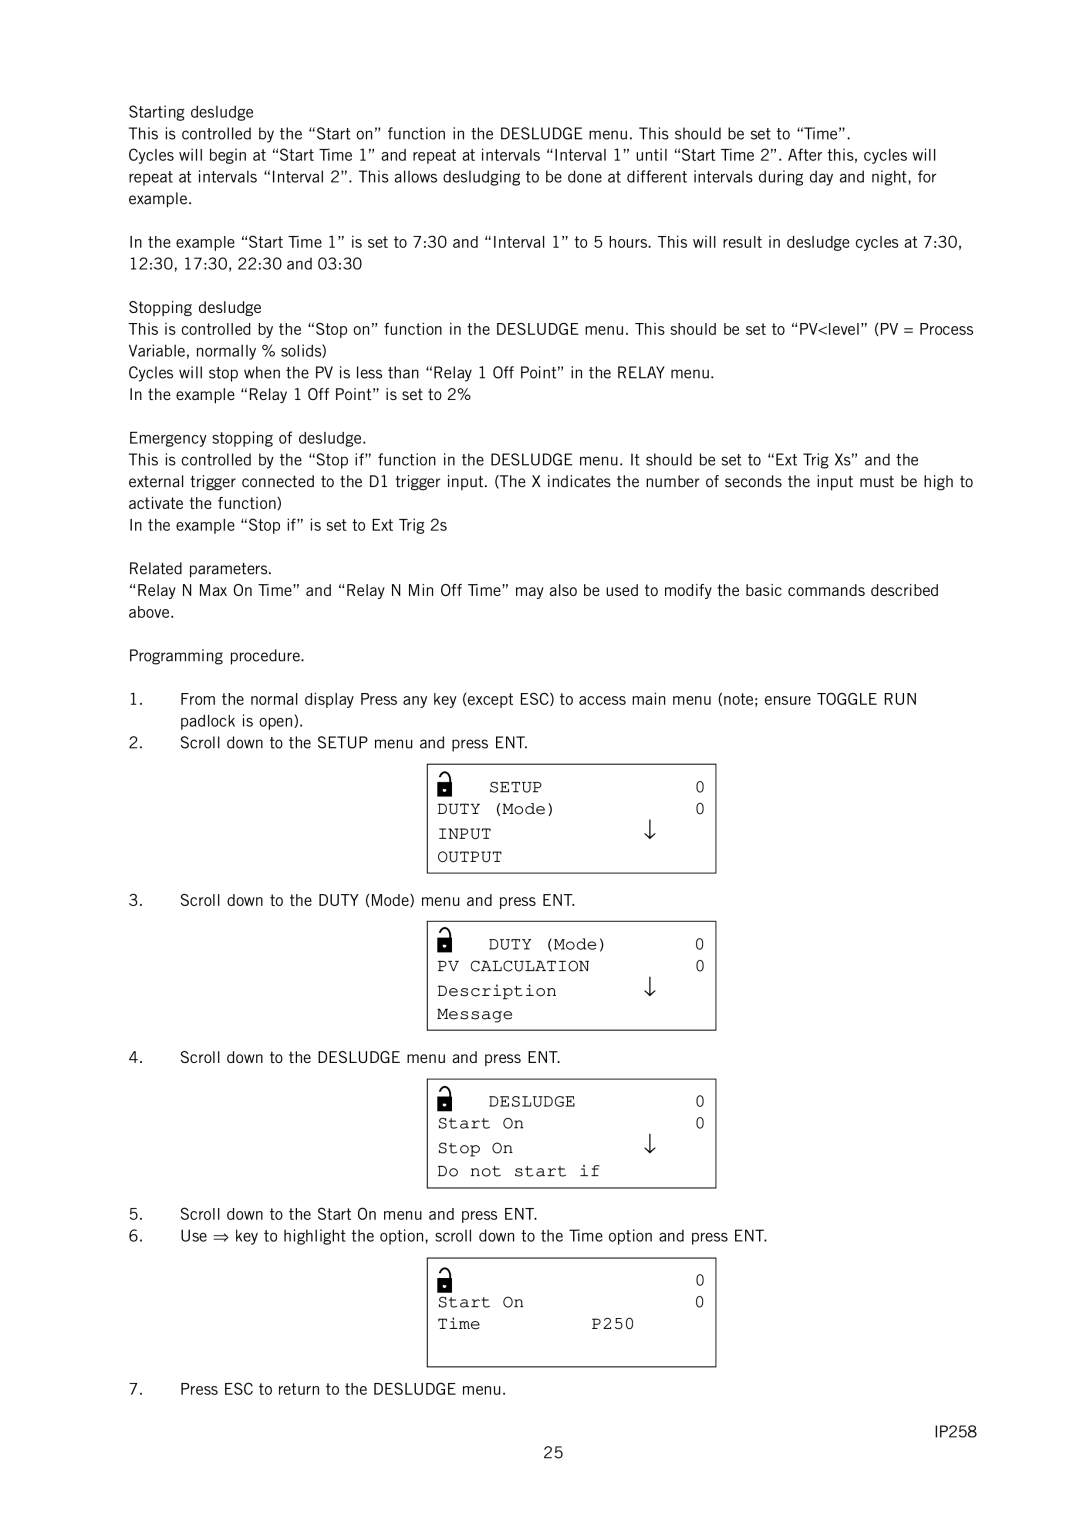
This is controlled by the “Start on” function in the DESLUDGE menu. This should be set to “Time”.
Cycles will begin at “Start Time 1” and repeat at intervals “Interval 1” until “Start Time 2”. After this, cycles will repeat at intervals “Interval 2”. This allows desludging to be done at different intervals during day and night, for example.
In the example “Start Time 1” is set to 7:30 and “Interval 1” to 5 hours. This will result in desludge cycles at 7:30, 12:30, 17:30, 22:30 and 03:30
Stopping desludge
This is controlled by the “Stop on” function in the DESLUDGE menu. This should be set to “PV<level” (PV = Process Variable, normally % solids)
Cycles will stop when the PV is less than “Relay 1 Off Point” in the RELAY menu. In the example “Relay 1 Off Point” is set to 2%
Emergency stopping of desludge.
This is controlled by the “Stop if” function in the DESLUDGE menu. It should be set to “Ext Trig Xs” and the external trigger connected to the D1 trigger input. (The X indicates the number of seconds the input must be high to activate the function)
In the example “Stop if” is set to Ext Trig 2s
Related parameters.
“Relay N Max On Time” and “Relay N Min Off Time” may also be used to modify the basic commands described above.
Programming procedure.
1.From the normal display Press any key (except ESC) to access main menu (note; ensure TOGGLE RUN padlock is open).
2.Scroll down to the SETUP menu and press ENT.
SETUP | 0 |
DUTY (Mode) | 0 |
INPUT↓
OUTPUT
3.Scroll down to the DUTY (Mode) menu and press ENT.
| DUTY (Mode) | 0 |
| ||
PV CALCULATION | 0 | |
Description ↓
Message
4.Scroll down to the DESLUDGE menu and press ENT.
| DESLUDGE | 0 |
| ||
Start On | 0 | |
Stop On | ↓ | |
Do not start if
5.Scroll down to the Start On menu and press ENT.
6.Use ⇒ key to highlight the option, scroll down to the Time option and press ENT.
| 0 |
Start On | 0 |
Time | P250 |
7.Press ESC to return to the DESLUDGE menu.
IP258
25
