Initial Installation
QUALIFIED INSTALLERS ONLY
DIRECT VENT VERTICAL VENT TERMINATION:
For use with Sonnet Direct Vent Fireplace Insert. The Vertical Vent Cap is termination, rain cap, and a throat connector, it will ensure a tight seal, top performance, safety and efficiency.
KIT COMPONENTS:
Quantity | Description | Quantity | Description |
|
|
|
|
1 | Vertical Direct Vent Termination Cap | 1 | 4 oz Tube RTV Silicone |
|
|
|
|
6 | 9/16” Tex Screws | 1 | 4 oz Tube |
Please ensure that all components are supplied with this kit. If components are missing or have been damaged, contact your dealer, distributor, or courier company. Do not attempt the installation if components are missing or damaged.
INSTALLATION INSTRUCTIONS:
1.Plan your installation and clearances to combustibles. The Sonnet may be installed and vented into any solid fuel fireplace that has been installed in accordance with the National, Provincial/State and local building codes and has been constructed of
INSTALLATION - PREPARING YOUR SONNET FOR INSTALLATION and CLEARANCES TO COMBUSTIBLES sections.
Refer to Figure 43 throughout installation.
2.Stretch both the Ø3” (76mm) flex vent and the Ø2” (51mm) flex intake liner to the length needed to ensure the flex can be easily connected to the vent terminal.
3.Install the flex pipe assembly up through the chimney, ensure that the pipe slides through far enough to connect onto the Vertical Vent Cap.
Note: For any chimney over 15’ (4.6m), install the Sonnet 15’ 2” & 3” Flex Vent (part
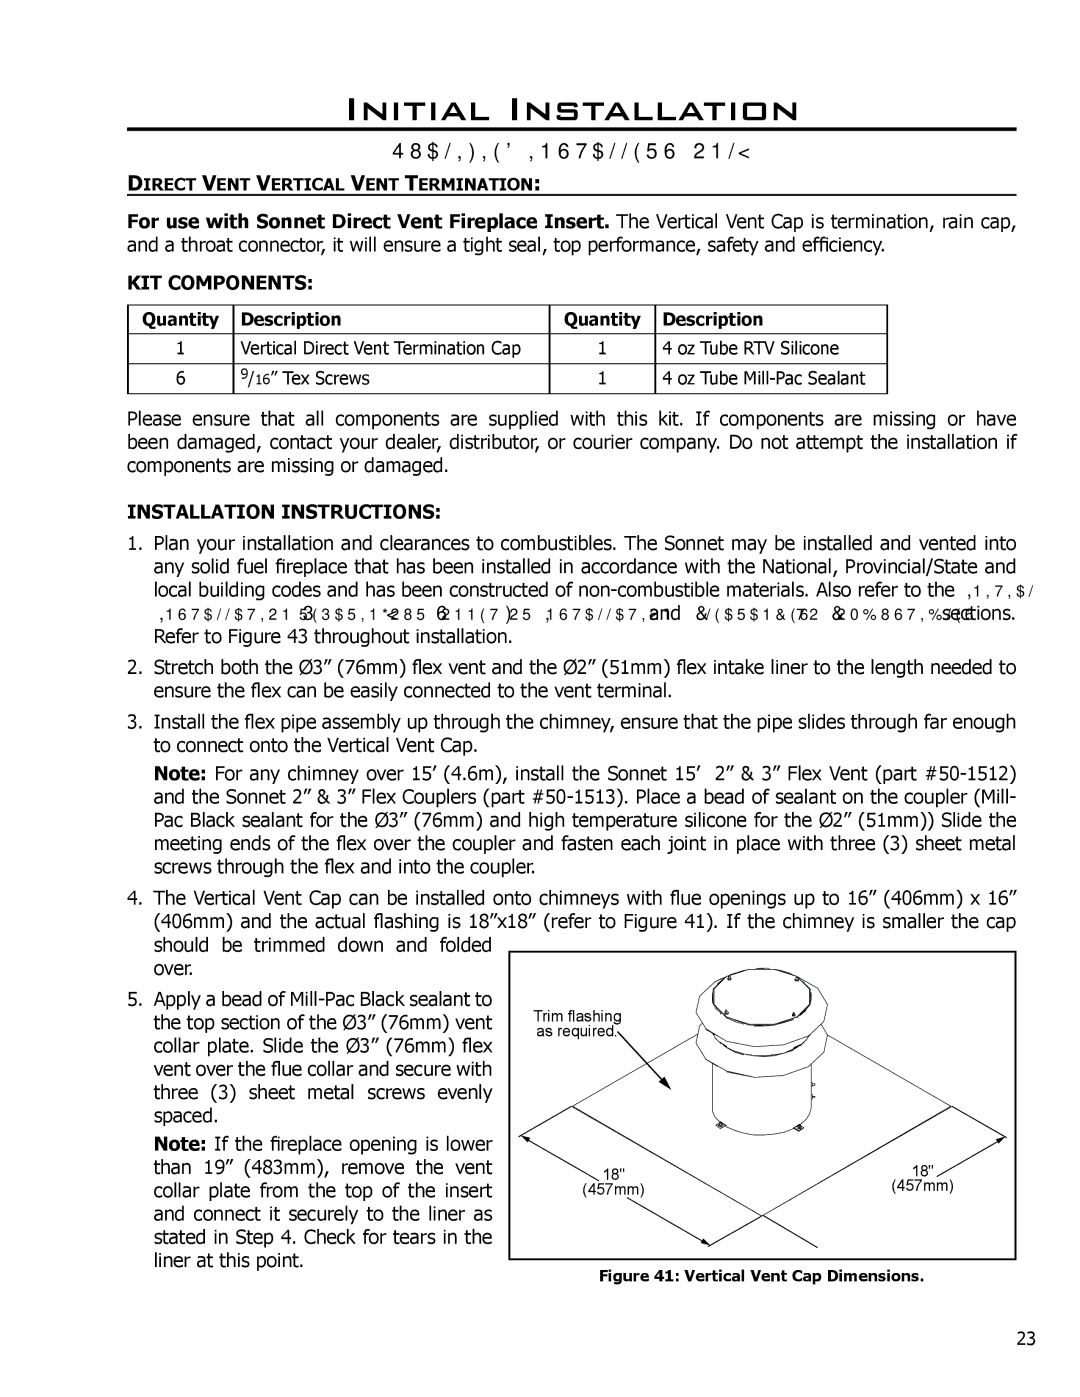
4.The Vertical Vent Cap can be installed onto chimneys with flue openings up to 16” (406mm) x 16” (406mm) and the actual flashing is 18”x18” (refer to Figure 41). If the chimney is smaller the cap
should be trimmed down and folded over.
5. Apply a bead of | Trim flashing |
| |
the top section of the Ø3” (76mm) vent |
| ||
collar plate. Slide the Ø3” (76mm) flex | as required. |
| |
|
| ||
vent over the flue collar and secure with |
|
| |
three (3) sheet metal screws evenly |
|
| |
spaced. |
|
| |
Note: If the fireplace opening is lower |
|
| |
than 19” (483mm), remove the vent | 18" | 18" | |
collar plate from the top of the insert | |||
(457mm) | (457mm) | ||
and connect it securely to the liner as |
|
| |
stated in Step 4. Check for tears in the |
|
| |
liner at this point. | Figure 41: Vertical Vent Cap Dimensions. | ||
| |||
23