Australia
INSTALLATION
Check the appliance is electrically safe and gas sound when you have finished.
Installation
Dear Installer
Before you start your installation, please complete the details on the previous sheet. This is so that, if your customer has a problem relating to your installation, they will be able to contact you easily.
You must be aware of the following safety requirements & regulations
The cooker must be installed in a
‘AS 5601/AG 601 - Gas Installations’.
The installation must also be in accordance with all local gas fitting regulations, municipal building codes, electrical wiring regulations and any other relevant statutory regulations.
In your own interests and those of safety, it is law that all gas appliances be installed by an authorised person. Failure to install the appliance correctly could invalidate any warranty or liability claims and lead to prosecution.
Before installation, ensure that the cooker is suitable for your gas type and supply voltage. See the data badge. This appliance can be converted for use on Propane.
Warning: where this appliance is installed in marine craft or in caravans, it shall not be used as a space heater.
This appliance is designed for domestic cooking only. Use for any other purpose could invalidate any warranty or liability claim.
Ventilation Requirements
The room containing the appliance should have an adequate air supply.
An appliance should be installed in a location for complete combustion of gas, proper flueing and to maintain ambient temperature of the immediate surrounding at safe limits, under normal operation condition.
Failure to install appliances correctly is dangerous and could lead to prosecution.
Location of Cooker
The cooker may be installed in a kitchen/kitchen diner but NOT in a room containing a bath or shower.
Conversion
All models are supplied by default for use with natural gas. A conversion kit for use with Propane is included with the appliance. See the instructions that are supplied with the conversion kit, and included in these instructions.
After converting the appliance, please attach the Gas Conversion sticker over the appropriate area of the data badge. This will identify the gas type for which the appliance is now set.
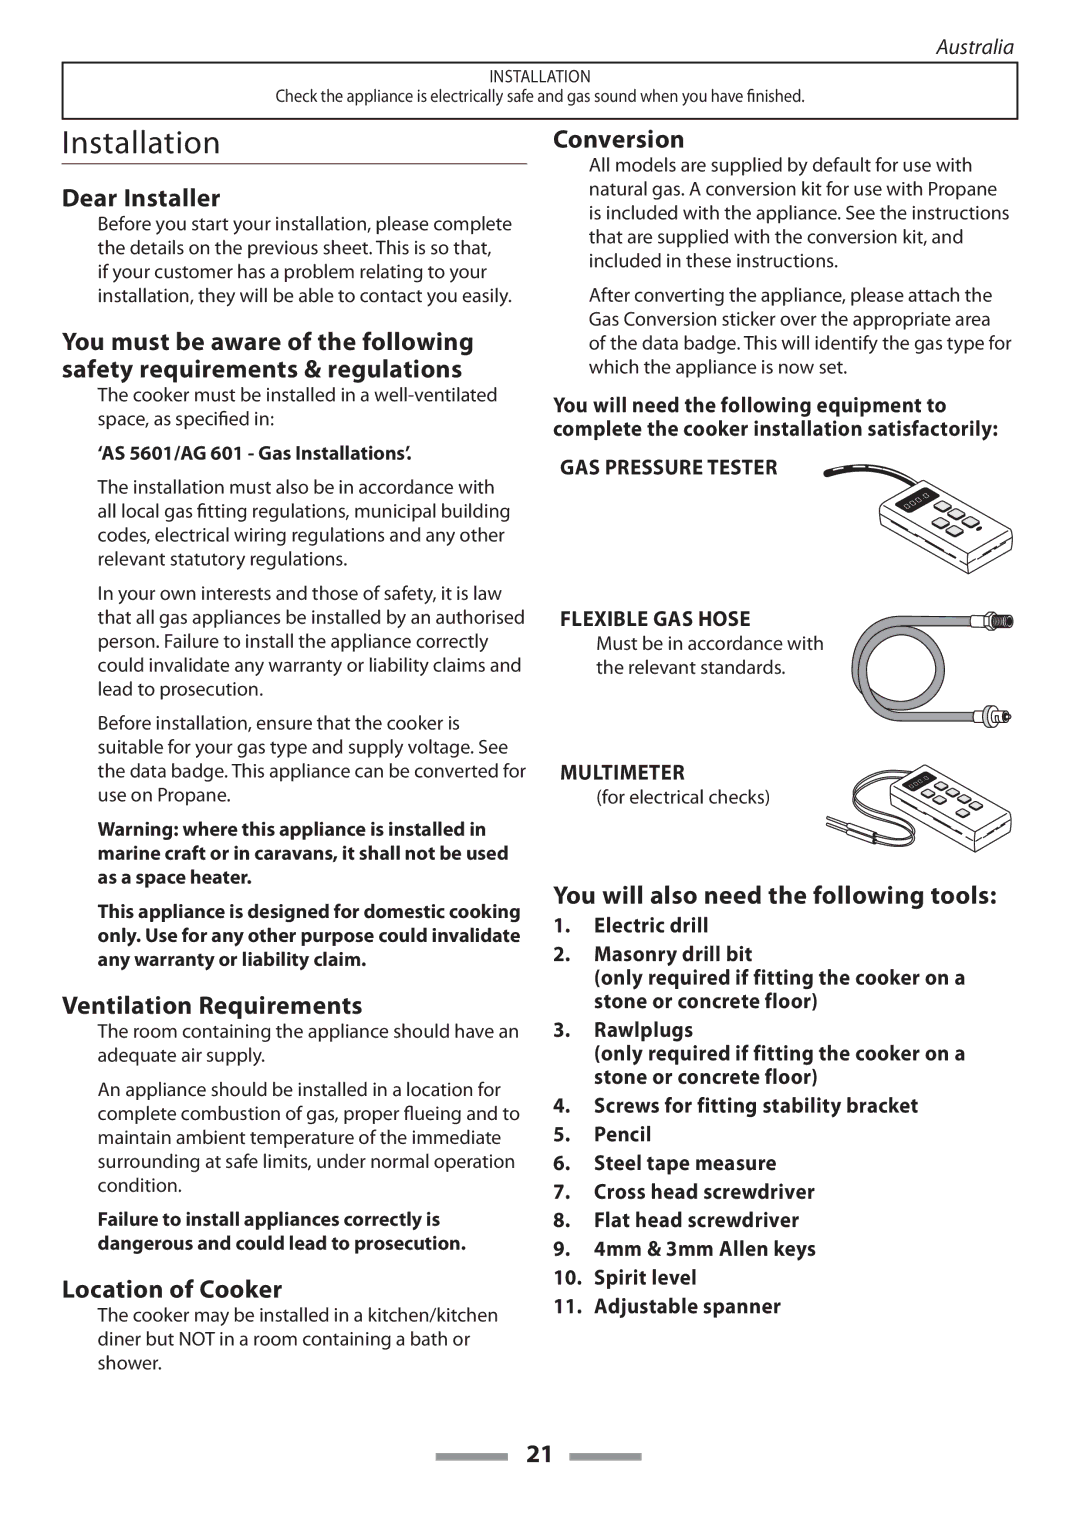
You will need the following equipment to complete the cooker installation satisfactorily:
GAS PRESSURE TESTER
FLEXIBLE GAS HOSE
Must be in accordance with the relevant standards.
MULTIMETER
(for electrical checks)
You will also need the following tools:
1.Electric drill
2.Masonry drill bit
(only required if fitting the cooker on a stone or concrete floor)
3.Rawlplugs
(only required if fitting the cooker on a stone or concrete floor)
4.Screws for fitting stability bracket
5.Pencil
6.Steel tape measure
7.Cross head screwdriver
8.Flat head screwdriver
9.4mm & 3mm Allen keys
10.Spirit level
11.Adjustable spanner
21