FastTrak100 User Manual
Installing The Hard Drives
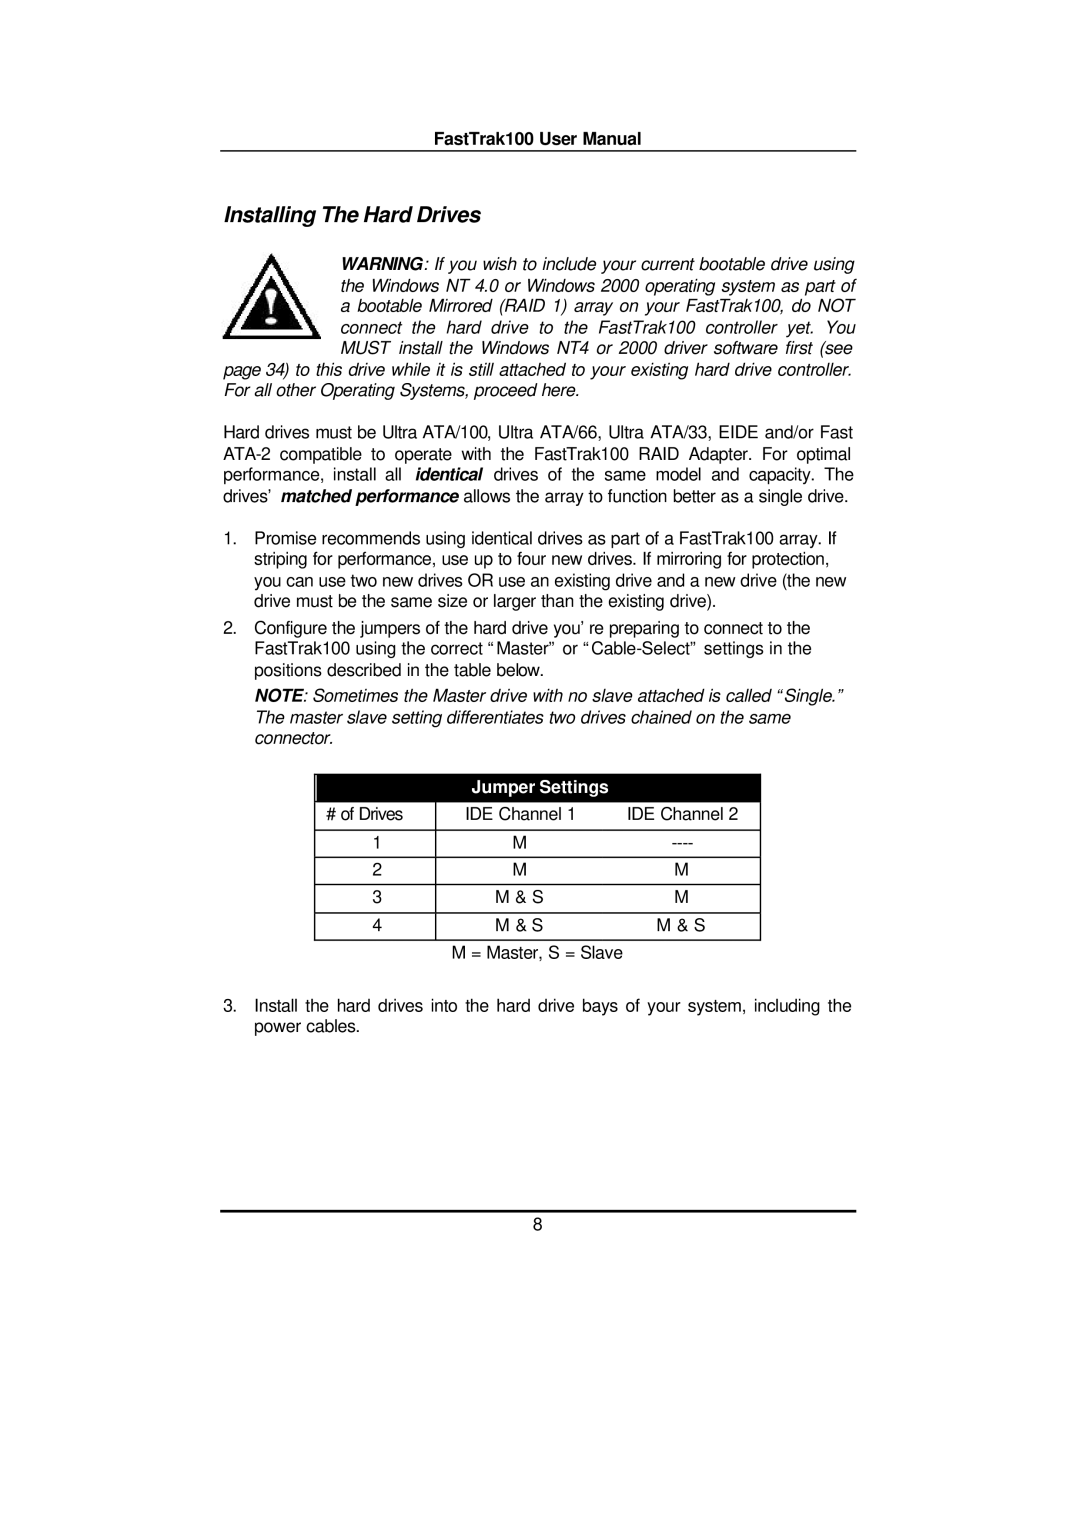
WARNING: If you wish to include your current bootable drive using the Windows NT 4.0 or Windows 2000 operating system as part of a bootable Mirrored (RAID 1) array on your FastTrak100, do NOT connect the hard drive to the FastTrak100 controller yet. You MUST install the Windows NT4 or 2000 driver software first (see
page 34) to this drive while it is still attached to your existing hard drive controller. For all other Operating Systems, proceed here.
Hard drives must be Ultra ATA/100, Ultra ATA/66, Ultra ATA/33, EIDE and/or Fast
1.Promise recommends using identical drives as part of a FastTrak100 array. If striping for performance, use up to four new drives. If mirroring for protection, you can use two new drives OR use an existing drive and a new drive (the new drive must be the same size or larger than the existing drive).
2.Configure the jumpers of the hard drive you’re preparing to connect to the FastTrak100 using the correct “Master” or
NOTE: Sometimes the Master drive with no slave attached is called “Single.” The master slave setting differentiates two drives chained on the same connector.
Jumper Settings
# of Drives | IDE Channel 1 | IDE Channel 2 |
|
|
|
1 | M | |
|
|
|
2 | M | M |
|
|
|
3 | M & S | M |
|
|
|
4 | M & S | M & S |
|
|
|
| M = Master, S = Slave |
|
3.Install the hard drives into the hard drive bays of your system, including the power cables.
8
