FastTrak100 User Manual
Using The FastCheck™ Monitoring Utility
You can monitor the operating status of all arrays and drives configured on the FastTrak100 using the supplied FastCheck monitoring utility for Windows
FastCheck visually identifies the physical location of attached drives on the FastTrak100 by IDE channel (1 or 2) and setting (Master/Slave). It also displays which drives are included as part of individual arrays. Administrators can customize FastCheck to maintain operating logs and event notification, set Password access to the utility, and schedule maintenance on Mirrored (RAID 1) or a Striped/Mirrored (RAID 0/1) arrays.
Installing FastCheck
1.From the Start Button on the Windows Taskbar, choose Run.
2.Insert Promise FastCheck Utility Diskette.
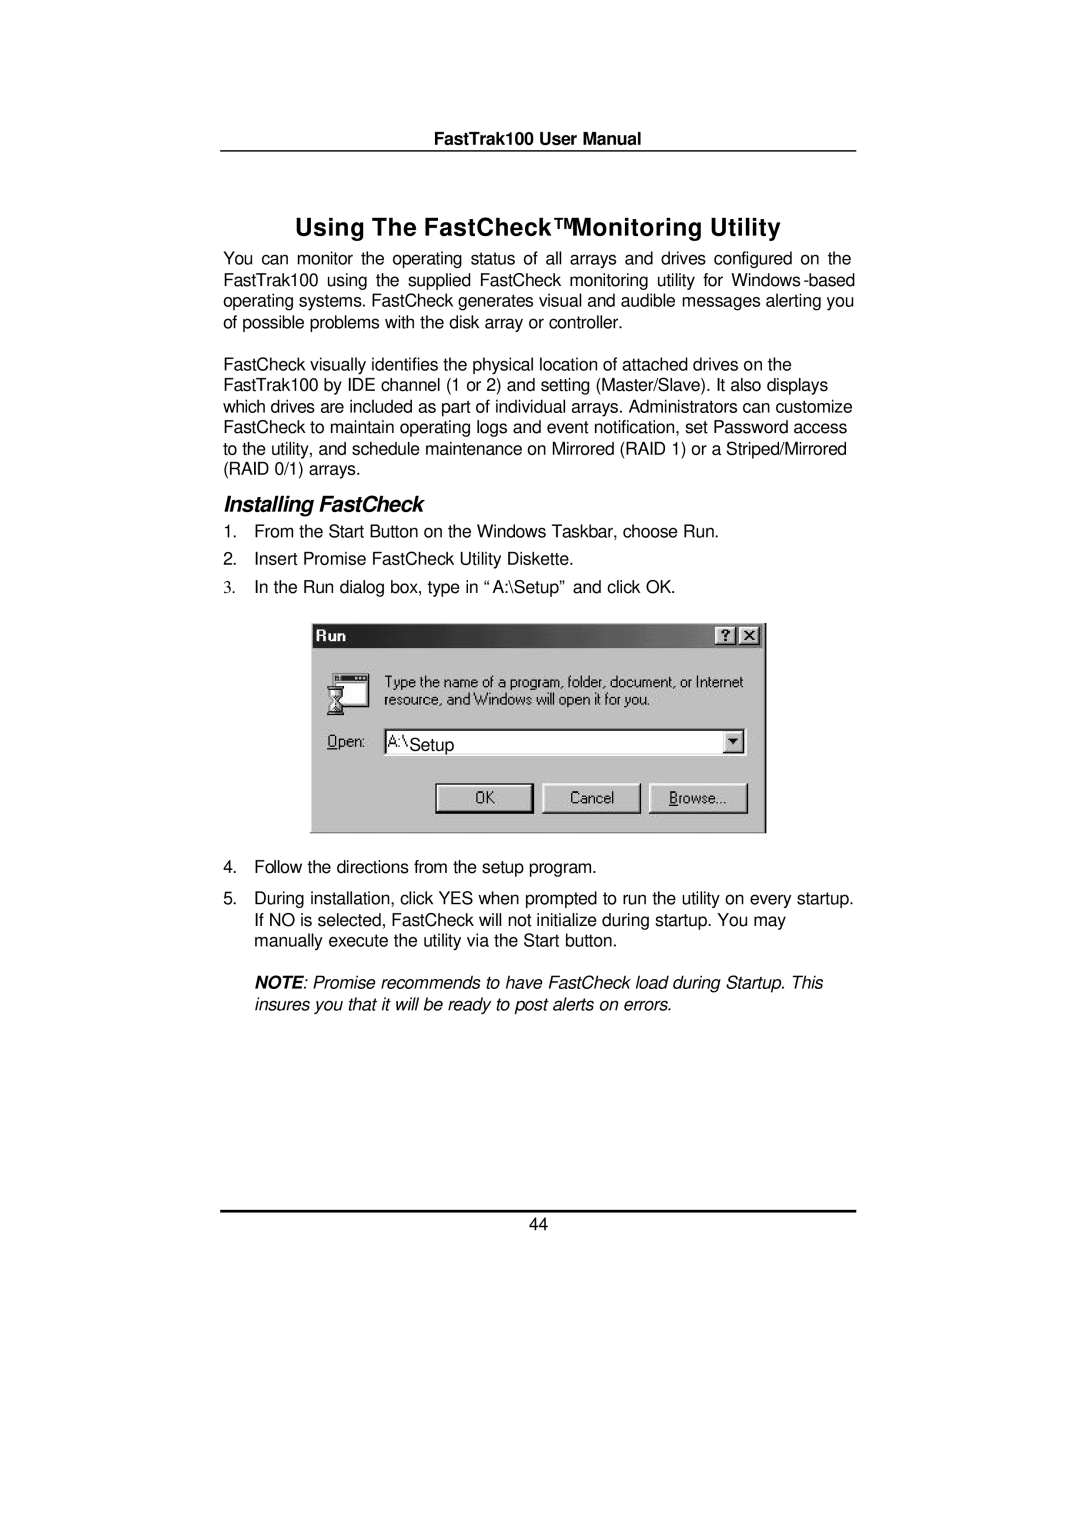
3.In the Run dialog box, type in “A:\Setup” and click OK.
Setup
4.Follow the directions from the setup program.
5.During installation, click YES when prompted to run the utility on every startup. If NO is selected, FastCheck will not initialize during startup. You may manually execute the utility via the Start button.
NOTE: Promise recommends to have FastCheck load during Startup. This insures you that it will be ready to post alerts on errors.
44
