FastTrak100 User Manual
Using FastBuild™ Configuration Utility
The FastBuildT M Configuration Utility offers several menu choices to create and manage the drive array on the Promise FastTrak100 adapter. For purposes of this manual, it is assumed you have already created an array in the previous chapter and now wish to make a change to the array or view other options.
Viewing FastTrak100 BIOS Screen
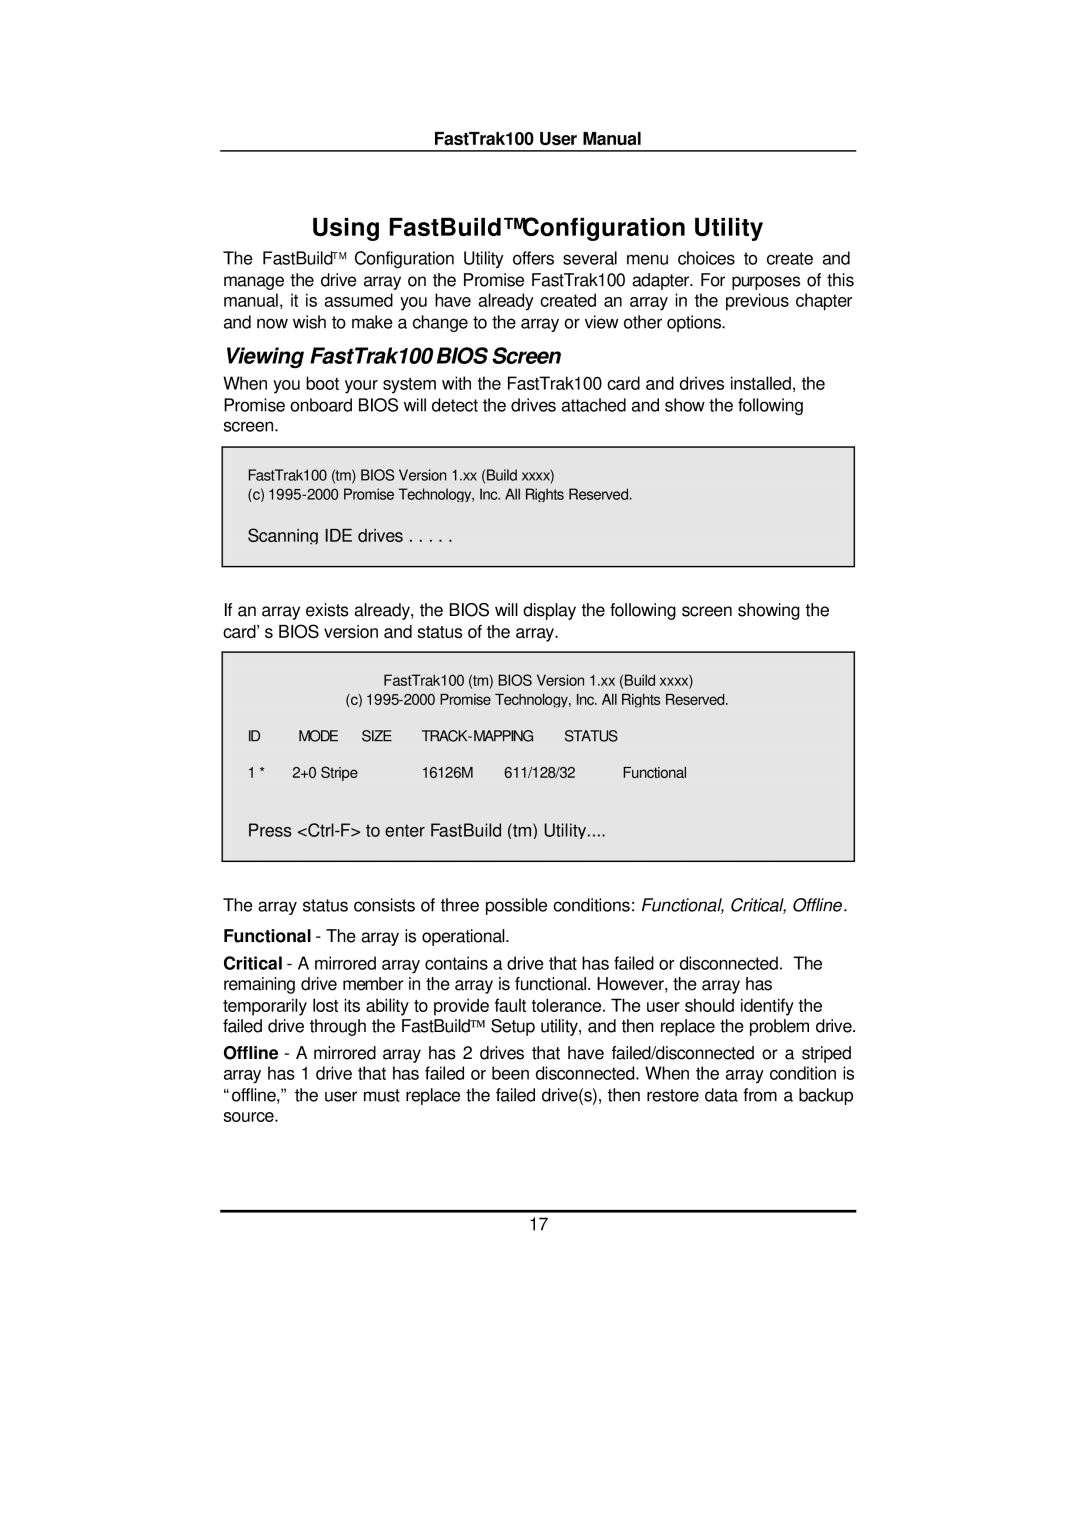
When you boot your system with the FastTrak100 card and drives installed, the Promise onboard BIOS will detect the drives attached and show the following screen.
FastTrak100 (tm) BIOS Version 1.xx (Build xxxx)
(c)
Scanning IDE drives . . . . .
If an array exists already, the BIOS will display the following screen showing the card’s BIOS version and status of the array.
FastTrak100 (tm) BIOS Version 1.xx (Build xxxx)
(c)
ID | MODE SIZE | STATUS |
| ||
1 * | 2+0 Stripe | 16126M | 611/128/32 | Functional | |
Press
The array status consists of three possible conditions: Functional, Critical, Offline.
Functional - The array is operational.
Critical - A mirrored array contains a drive that has failed or disconnected. The remaining drive member in the array is functional. However, the array has temporarily lost its ability to provide fault tolerance. The user should identify the failed drive through the FastBuild™ Setup utility, and then replace the problem drive.
Offline - A mirrored array has 2 drives that have failed/disconnected or a striped array has 1 drive that has failed or been disconnected. When the array condition is “offline,” the user must replace the failed drive(s), then restore data from a backup source.
17
