7. INSTALLATION
7.5.2PC settings
The PC communicates with the
1.Start up the PC and open the Control Panel folder.
2.Open the Network and
3.
4.Click Properties.
5.Check Internet Protocol (TCP/IP).
6.Click Properties.
7.Choose “Use the following IP address.”
8.Set the IP address for 172.31.100.100.
9.Set the Subnet mask for 255.255.0.0.
FACSIMILE RECEIVER |
|
|
|
| ||||||
|
|
|
|
|
| |||||
IP Address: 172.31.8.1 |
|
| Subnet Mask: 255.255.0.0 | |||||||
|
|
|
| |||||||
|
|
|
|
|
|
|
|
|
| PC |
|
|
|
|
|
|
|
|
|
| |
|
|
|
|
|
|
|
|
| HUB* | IP Address: |
|
|
|
|
|
|
|
|
|
| 172.31.100.100 |
|
|
|
|
|
|
|
|
|
| PC |
|
|
|
|
|
|
|
|
|
| IP Address: |
|
| * = HUB is not required to connect single PC. | 172.31.100.101 | |||||||
IP address
10.Click OK.
11.Click OK.
12.Click Close button.
13.Turn the PC off and on again.
14.Start up the browser.
15.Enter the
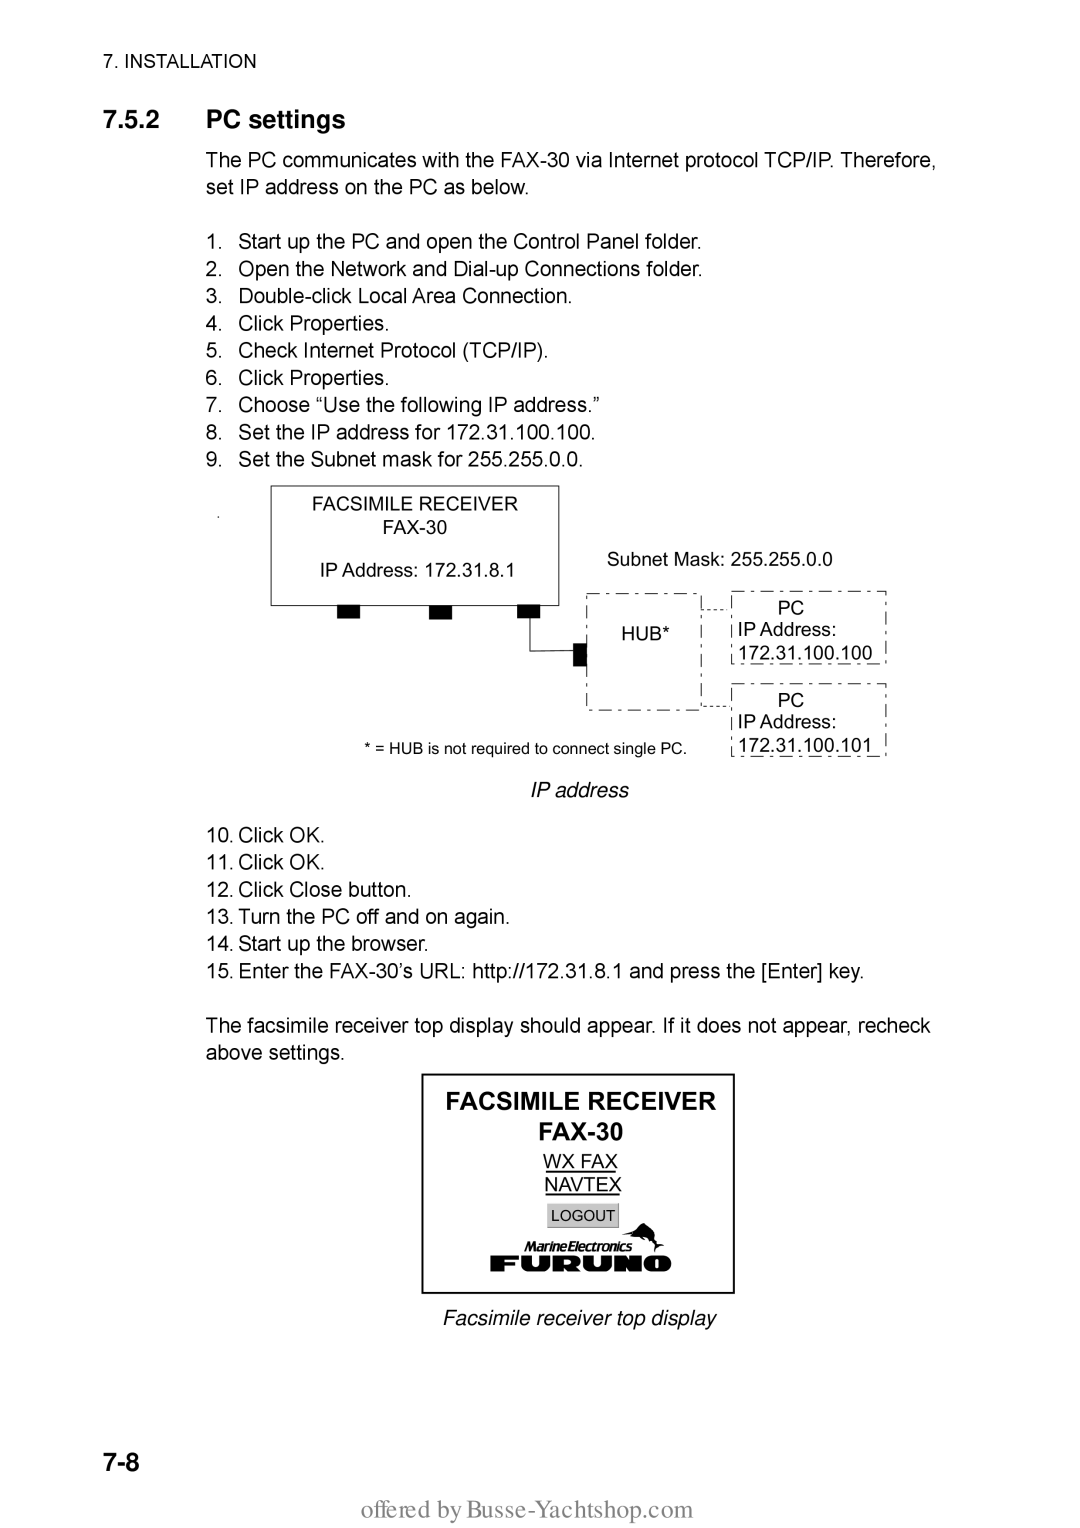
The facsimile receiver top display should appear. If it does not appear, recheck above settings.
FACSIMILE RECEIVER
FAX-30
WX FAX
NAVTEX
LOGOUT