Warning: Always wear safety goggles and a dust mask.
3.Using a 4 mm, #23, or 9/64” bit, drill three holes 22 mm (7/8”) deep
at the locations indicated. To prevent drilling too deeply, wrap masking tape around the bit 22 mm (7/8”) from the point.
Fiberglass hull: Minimize surface cracking by chamfering the gelcoat. If a chamfer bit or countersink bit is not available, start drilling with a 6mm or 1/4” bit to a depth of 1 mm (1/16”).
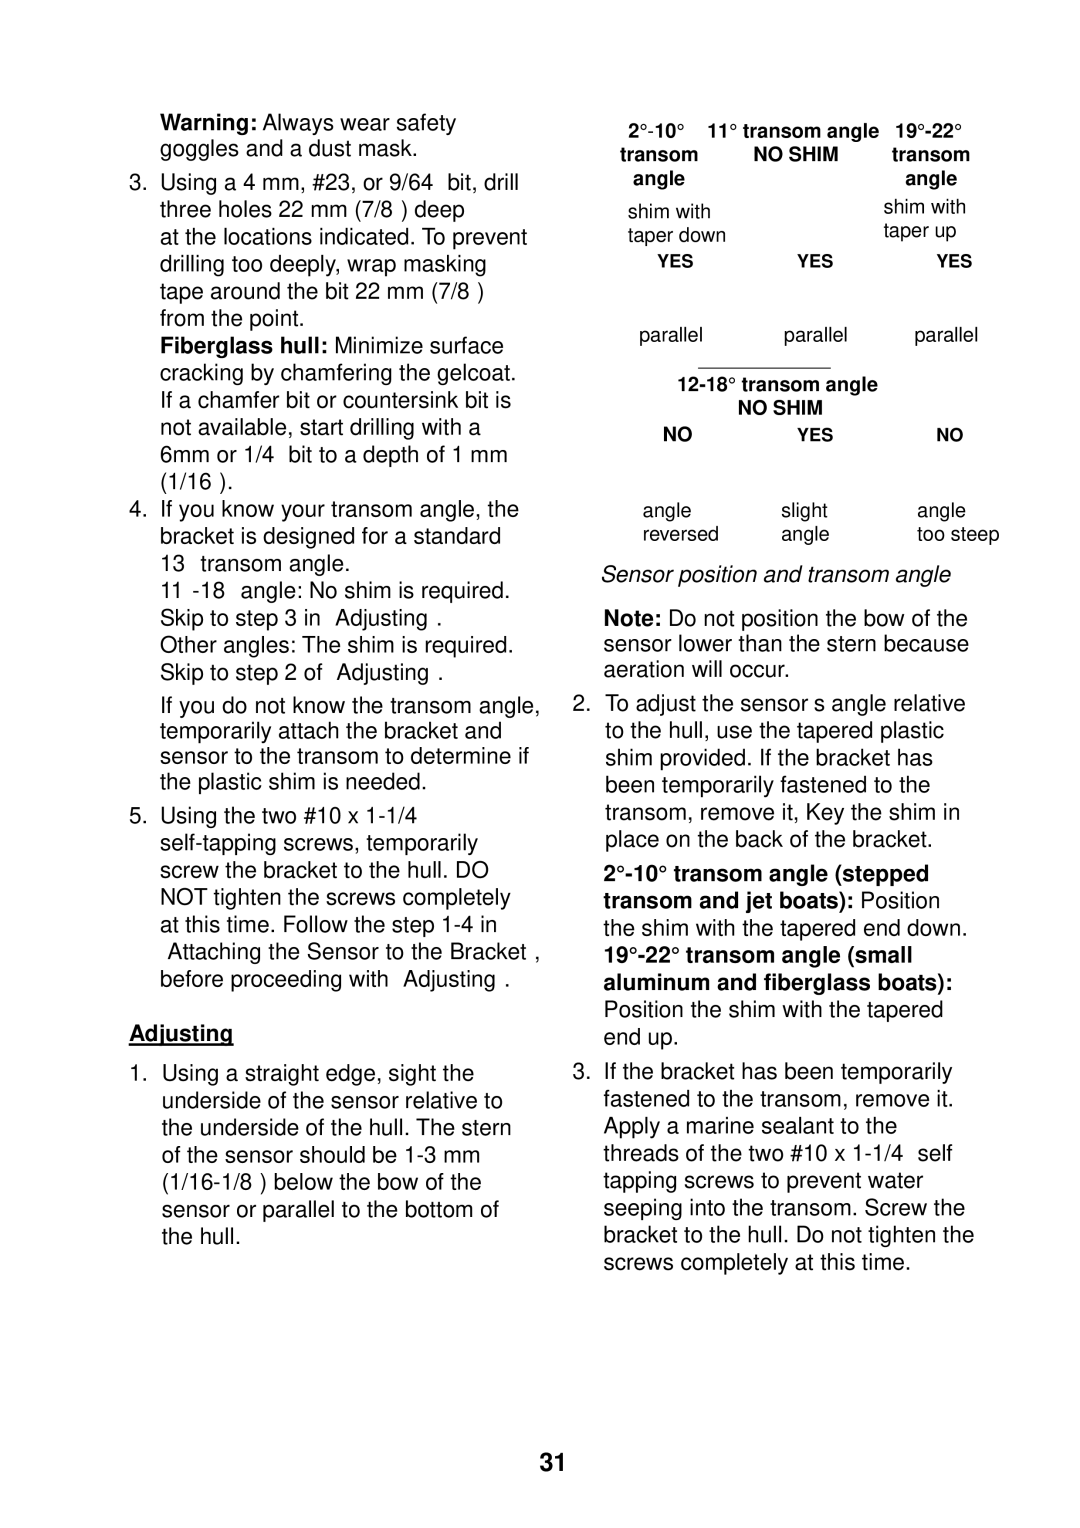
4.If you know your transom angle, the bracket is designed for a standard 13° transom angle.
Other angles: The shim is required. Skip to step 2 of “Adjusting”.
If you do not know the transom angle, temporarily attach the bracket and sensor to the transom to determine if the plastic shim is needed.
5.Using the two #10 x
Adjusting
1.Using a straight edge, sight the underside of the sensor relative to the underside of the hull. The stern of the sensor should be
2° | 19° | |||
transom | NO SHIM | transom | ||
angle |
|
| angle | |
shim with |
|
| shim with | |
taper down |
|
| taper up | |
YES | YES | YES | ||
parallel | parallel | parallel | ||
|
|
|
| |
| ||||
|
| NO SHIM |
| |
NO | YES | NO | ||
angle | slight | angle | ||
reversed | angle | too steep | ||
Sensor position and transom angle
Note: Do not position the bow of the sensor lower than the stern because aeration will occur.
2.To adjust the sensor’s angle relative to the hull, use the tapered plastic shim provided. If the bracket has been temporarily fastened to the transom, remove it, Key the shim in place on the back of the bracket.
3.If the bracket has been temporarily fastened to the transom, remove it. Apply a marine sealant to the threads of the two #10 x
31
