CHAPTER 2 - Installation
Installation of the DX40 Unit
To install an SFP in port E1 or E2:
1.Slide the SFP into the Ethernet port until it is firmly seated.
2.Attach the protective cap to avoid contamination until you are ready to attach cable.
2.3Installation of the DX40 Unit
To install the DX40 you must first
•
•
•
Mount it
Make the ground and power connections. Connect the network cables
2.3.1 Mounting
Your DX40 shipment includes the mounting hardware you have ordered as appropriate to your site.This hardware is one of:
•
•
A pair of 2” brackets for mounting on a panel.
A DIN rail mounting bracket permanently attached to the chassis.
2.3.1.1Mounting on a Panel
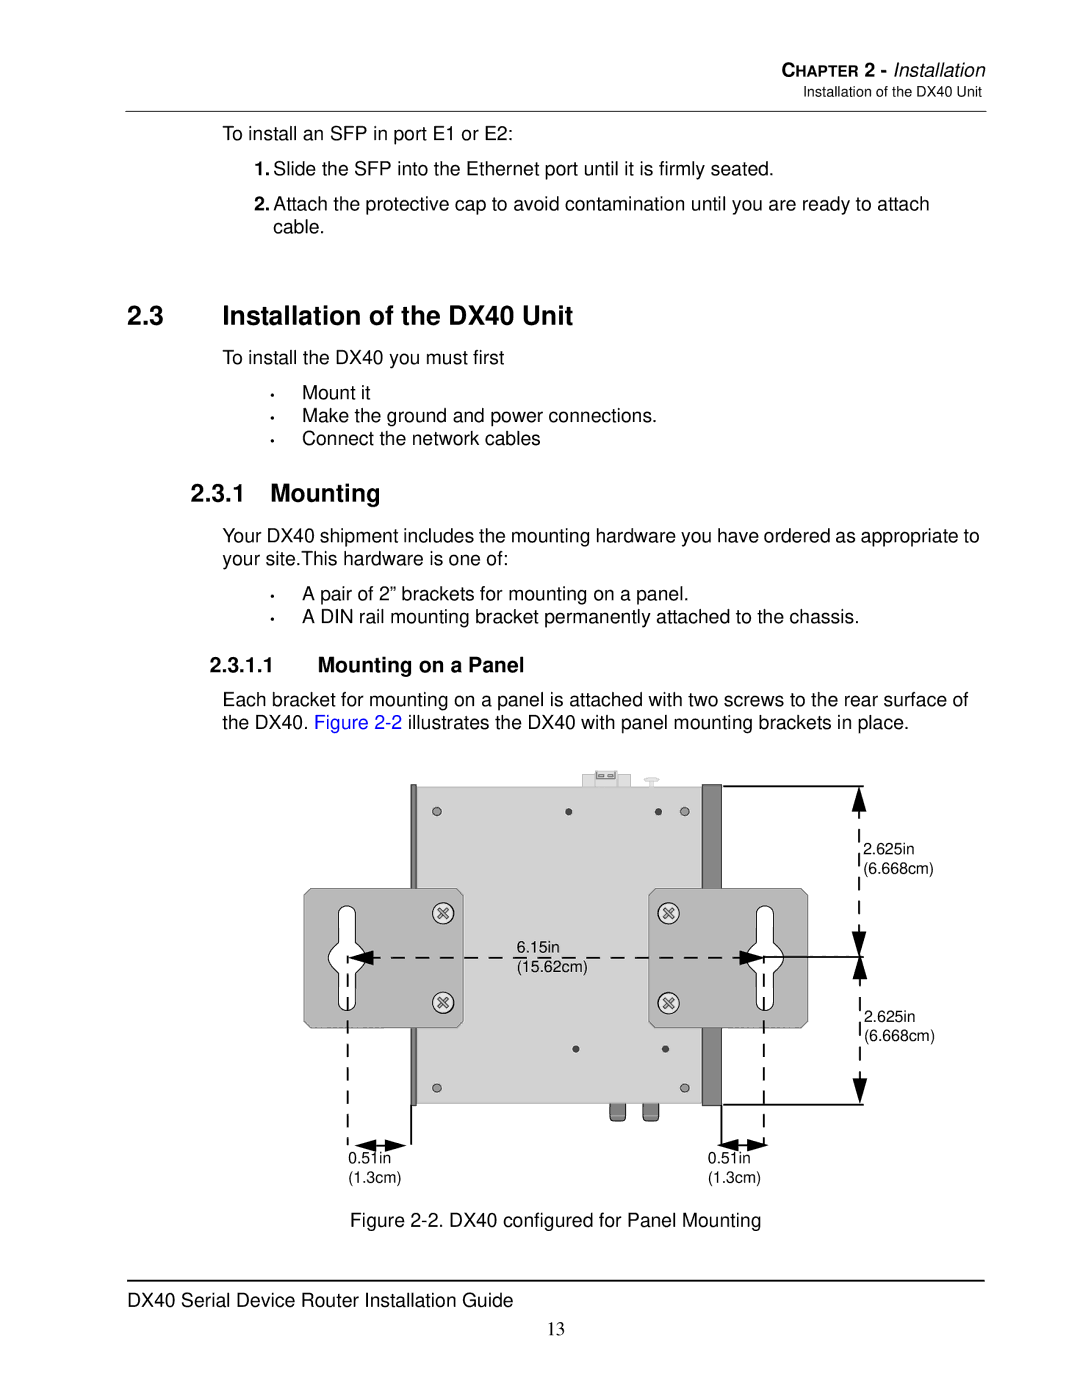
Each bracket for mounting on a panel is attached with two screws to the rear surface of the DX40. Figure
6.15in |
(15.62cm) |
0.51in |
(1.3cm) |
2.625in
(6.668cm)
2.625in
(6.668cm)
0.51in |
(1.3cm) |
Figure 2-2. DX40 configured for Panel Mounting
DX40 Serial Device Router Installation Guide
13
