Before Using Your C-Mm
1.L(xJ~ at the controls. Be sure you understand how to set them properly. Read o~er the directions for the (Xen Contrt~ls S0 you understand how’ to use lhcln.
2.Chtx.>li ![]() i hc t~i’en
i hc t~i’en ![]() i n[cri(}r Look at the shelves. Take a priicticc run at remo~ing and replticing them pr{qxriy, 10 gi~ c ~ure, sturdy jupport.
i n[cri(}r Look at the shelves. Take a priicticc run at remo~ing and replticing them pr{qxriy, 10 gi~ c ~ure, sturdy jupport.
3.Read o~~er the information and tips that follow.
4.Keep this guide handy so you can refer to it, especially during the first weeks of using your new range.
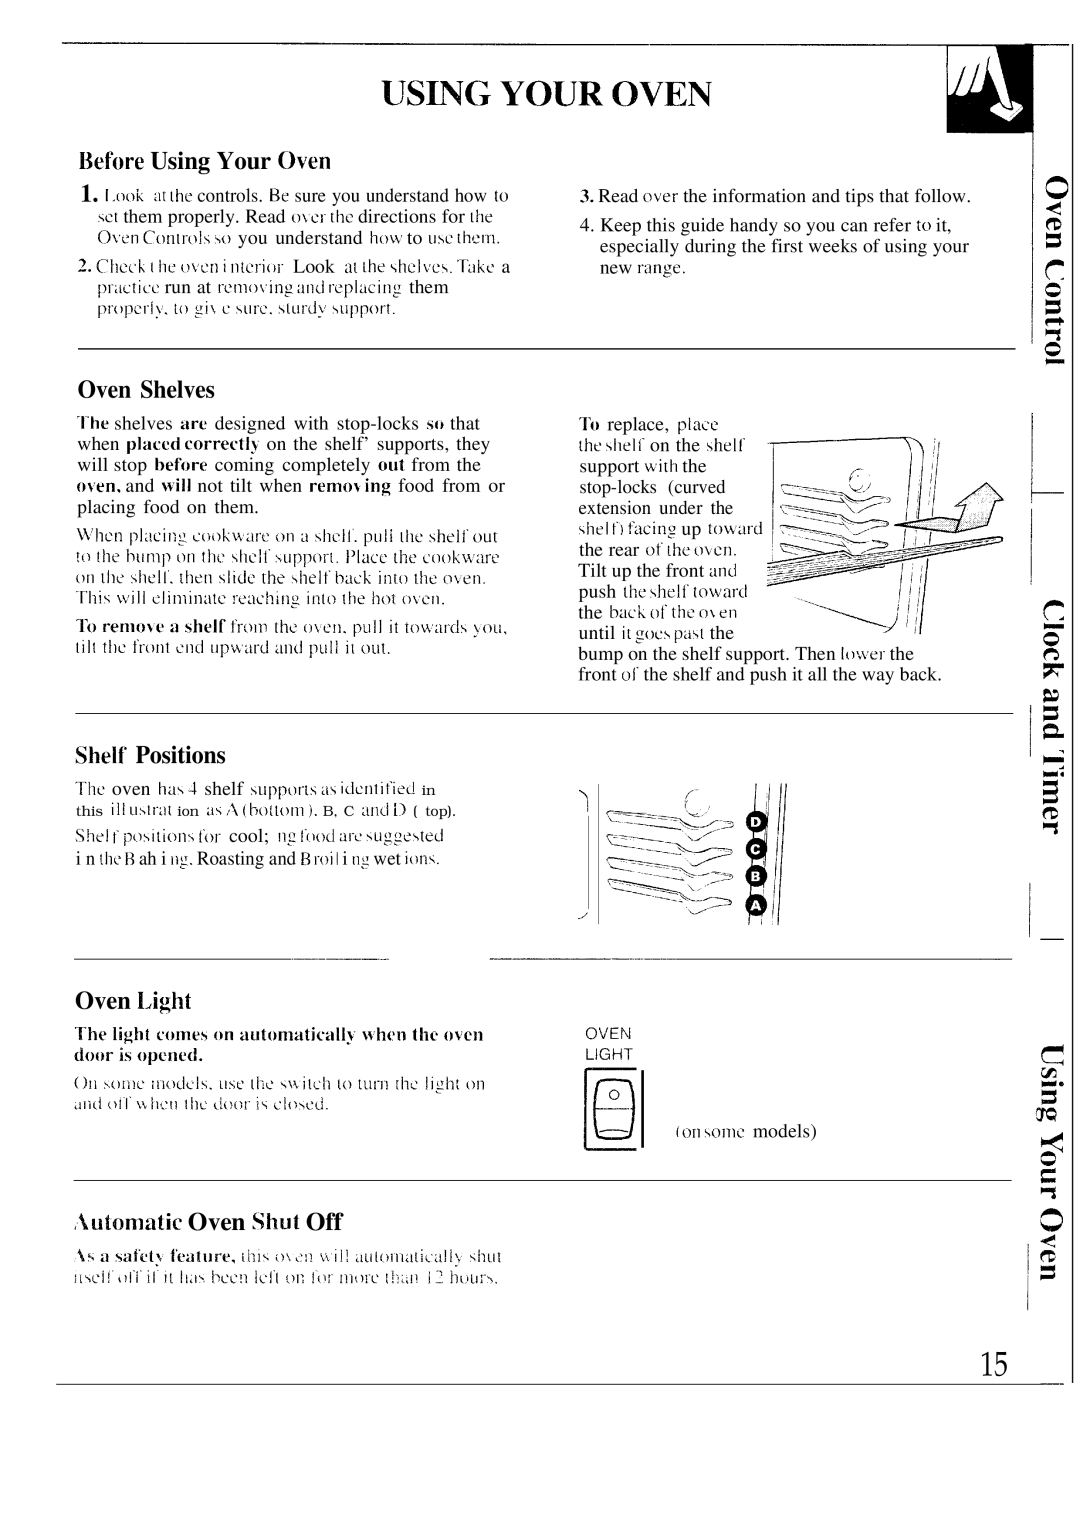
Oven Shelves
To replace, place the shelf on the shelf support with the
push the shelf towarci
the back of the o~ en \/;, until it goes pa~t the
bump on the shelf support. Then lower the front of the shelf and push it all the way back.
Shelf Positions
The oven ha~ 4 shelf
She] t pL)\ition\ f’or cool; ing ffmd arc ~Lrgge~ted i n tht B ah i r~g. Roasting and B rt)i ![]() 1 i n: wet iol~.
1 i n: wet iol~.
Oven Light
)
1
(on w}nlc models)
Automatic Oven Shut Off
15