Faxphone B640
Arrow buttons
How to Use this Users Guide
Welcome
Disclaimer
Case of Equipment Malfunction
Important safety instructions
Vii
General
Precautions
Others
Precautions
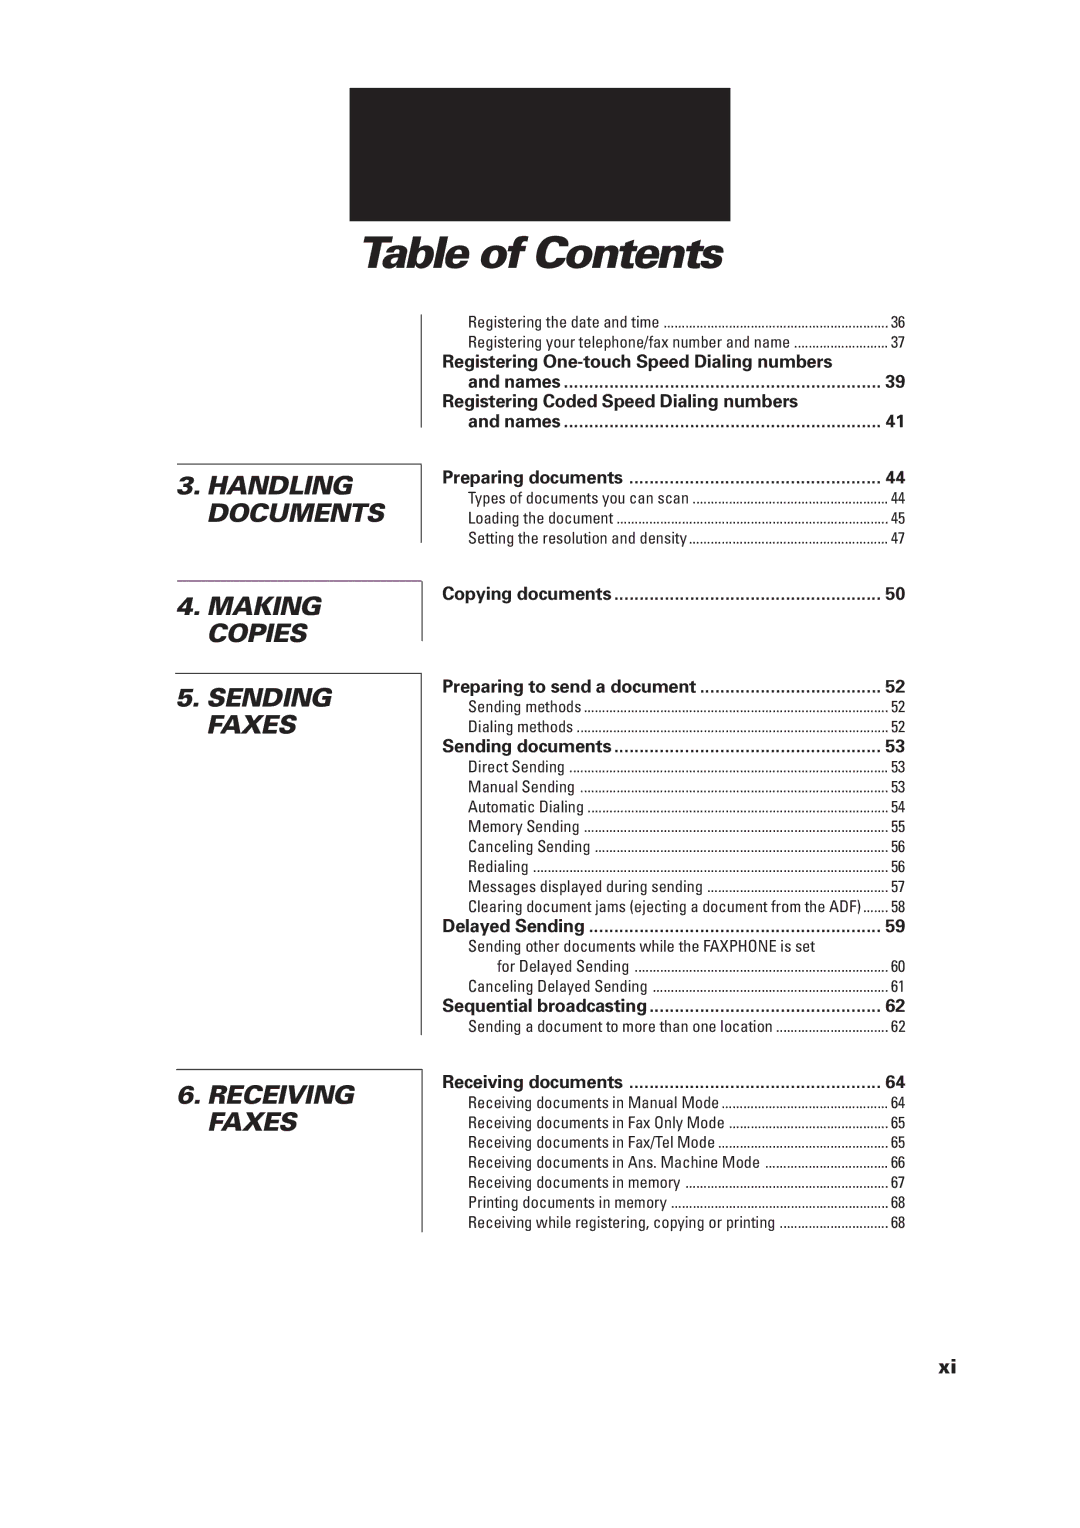
Table of Contents
Registering Coded Speed Dialing numbers
Registering One-touch Speed Dialing numbers
101
Settings and Activity Reports
Distinctive Ring Pattern Detection Drpd feature
Setting UP
Unpacking
Unpacking
Removing the shipping materials
Paper Tray Cover
Assembling the Faxphone
Attaching components
Paper Tray
Rear of the unit
Connecting the AC power cord
Faceplate
Loading the paper
Setting the paper size
Loading the paper
Selecting the right kind of paper
Loading the paper
BJ cartridge guidelines
Installing the BJ cartridge
Handling the BJ cartridge
Cartridge
Installing the BJ cartridge
Open the front cover of the Faxphone
Close the front cover of the Faxphone
Faxphone
White streak
Connecting to the wall jack
Connecting the phone line
Setting the TEL Line Type
Selecting the receiving mode
Setting up to receive faxes
Receiving documents in Fax Only Mode
Fax Only Mode
Distinctive Ring Pattern Detection Drpd Feature See p
Setting Fax Only Mode
Press Receive Mode until Fax/Tel Mode Appears on the LCD
Fax/Tel Mode
Setting Fax/Tel Mode
Receiving documents and calls in Fax/Tel Mode
Press Receive Mode until Manual Mode appears on the LCD
Manual Mode
Setting Manual Mode
Receiving documents and calls in Manual Mode
Recording the outgoing message
Ans. Machine Mode
Setting Ans. Machine Mode
Receiving documents and messages in Ans. Machine Mode
Set your answering machine to answer
Types of ring patterns
Distinctive Ring Pattern Detection Drpd feature
Use or to select on Press START/COPY
Turning on Drpd and assigning a setting to a ring pattern
Use or to select RX Settings Press START/COPY
Use or to select Drpd Press START/COPY
Use or to select a ring pattern
How Drpd responds to calls
Faxphone set to Fax Only Mode Fax/Only displayed on the LCD
Faxphone set to Fax/Tel Mode Fax/Tel displayed on the LCD
Faxphone set to Manual Mode Manual displayed on the LCD
Preparing To USE Your Faxphone
Front view
Main components of the Faxphone
Rear view
Press
Faxphone controls the Operation Panel
Faxphone controls the Operation Panel
You can now make a selection
Registering your name and number
Moving through the main menus
Displays the menu title
After selecting or entering a value, press
Entering a number
To enter Press this numeric button
Entering a name
Identifying your documents
Personalizing your Faxphone
Registering the date and time
Use or to select User Settings
Press START/COPY when you finish entering the new date
Press Stop
Enter the time using the numeric buttons
Press START/COPY when you finish entering the new time
Registering your telephone/fax number and name
Numeric buttons
Press START/COPY when you finish entering your fax number
Press START/COPY when you finish entering your name
Use or to select Enter Your TEL
Registering One-touch Speed Dialing numbers and names
Enter the number up to 50 digits using the numeric buttons
Press START/COPY to register the name
Press START/COPY to register the number
Registering Coded Speed Dialing numbers and names
Handling 3 Documents
Thickness
Preparing documents
Types of documents you can scan
Size
Document
Loading the document
Adding pages to the document
Density control
Setting the resolution and density
What is resolution?
Setting the resolution
Making Copies
Copying documents
Enter the number of copies up to 99 using Numeric buttons
Sending Faxes
Dialing methods
Preparing to send a document
Sending methods
Feed the document face-down into
Sending documents
Direct Sending
Manual Sending
Transmitting OK
Automatic Dialing
Press Send Options
Memory Sending
Manual
Canceling Sending
To cancel automatic redialing
Redialing
Transmit
Messages displayed during sending
Until it clicks
Clearing document jams ejecting a document from the ADF
Removing a jammed sheet
Use or to select Delayed TX
Delayed Sending
Delayed sequential broadcasting
Press Clear
Canceling Delayed Sending
Dial the other party’s fax number
Sequential broadcasting
Sending a document to more than one location
Receiving documents
Receiving Faxes
Receiving documents
Receiving documents in Manual Mode
Receiving documents in Fax/Tel Mode
Receiving documents in Fax Only Mode
Receiving documents in Ans. Machine Mode
Receiving documents in memory
Receiving while registering, copying or printing
Printing documents in memory
Settings and Activity Reports
User menu settings
User menu settings
Page
Use or to select Incoming Ring
Settings
How to change a setting
Use or to select RX Settings
Press Stop to finish registration and return to standby mode
TEL Registration
Report Settings
RX Settings
FAX Printer
Activity reports
How to print a report
One-touch Speed Dialing list
Activity management report
Coded Speed Dialing list
Activity report Sending
User’s data list
Multi-activity report
Activity report Receiving
Memory clear list
Frequently Asked Questions
Solutions to Common Problems
To remove a jammed document
Paper jams
Automatic Document Feeder ADF jams
Bottom
Recording paper jams
To remove jammed paper
Open the front cover
Periodic care
Cleaning the Faxphone exterior
Cleaning the glass scanning window
To clean the glass scanning window
Open the front cover Close the front cover
Cleaning the printer area
To clean the printer area
Press Cleaning
Cleaning the BJ cartridge print head
Replacing the BJ cartridge