a,, US~G YOUR OWN
(continued)
Oven Interior Shelves
Rght Oven | Left |
The shelv~ in the right oven are designed tith
To remove a shelf from the right oven, pull the shelf forward until it stops. Lift the front and slide it out. Be certain that the shelf is cool before touching it.
To replace the sheMin the oven, fitthe shelf onto the guides. Tilt the front up and slide into place.
The left oven comes with a removableshelf for easy cleaning.
To remove, pull the shelf out and up in one smooth motion. Be certain that the shelf is cool before touching it.
To replace, tilt the front of the shelf up and slide it into place.
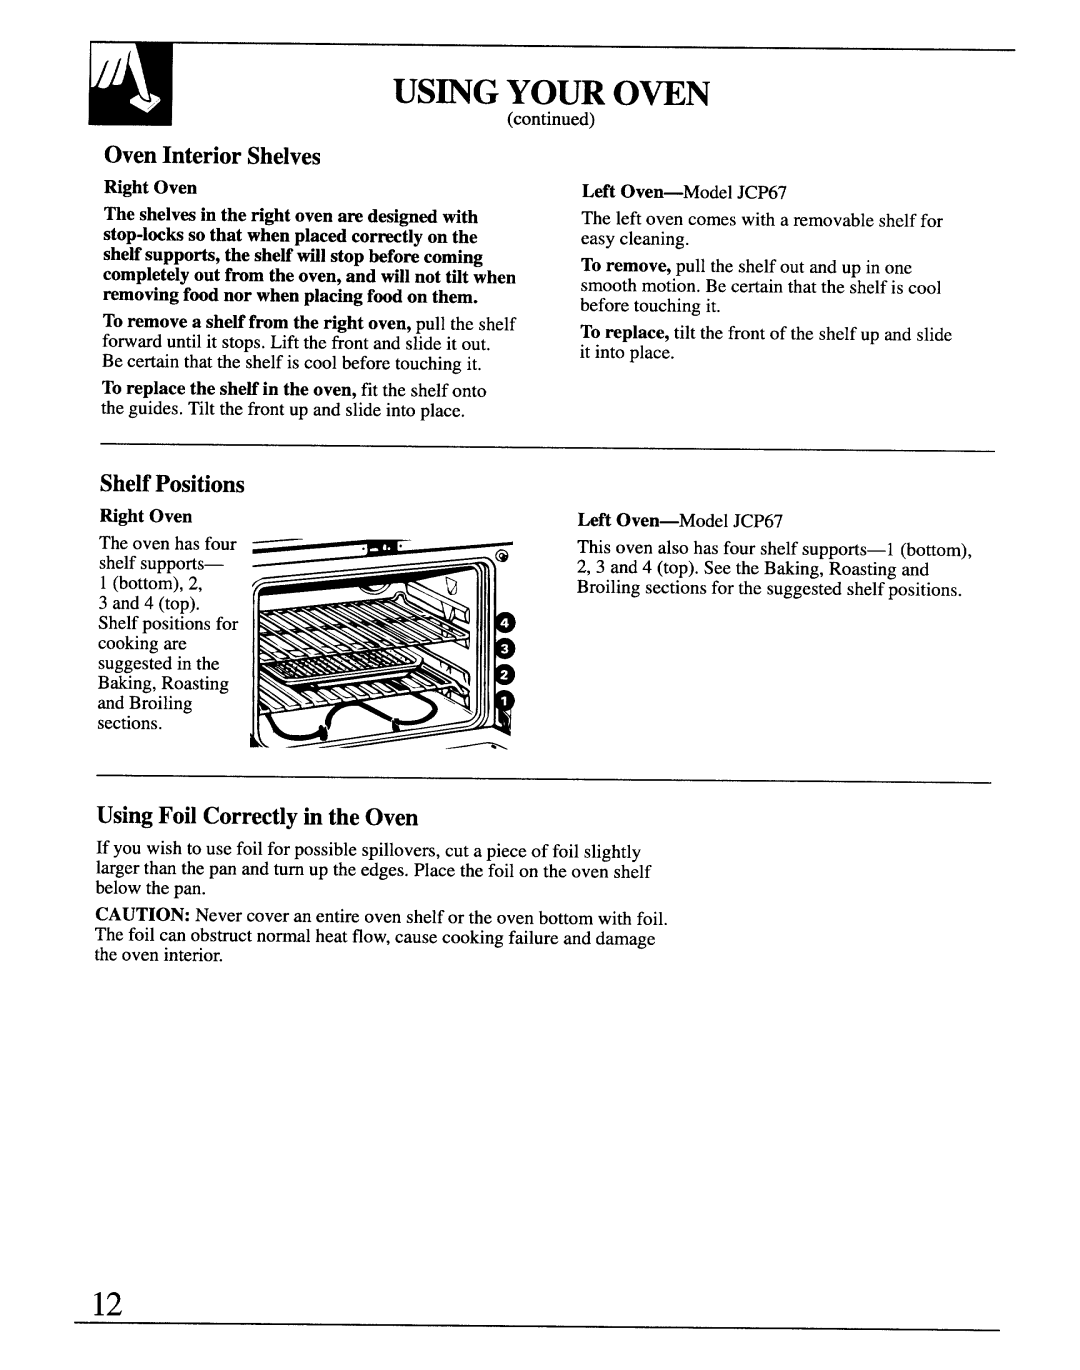
Shelf Positions
Kght Oven | Left |
The oven has four | This oven also has four shelf |
shelf supports— | 2,3 and 4 (top). See the Baking, Roasting and |
1 (bottom), 2, | Broiling sections for the suggested shelf positions. |
3 and 4 (top). |
|
Shelf positions for |
|
cooking are |
|
suggested in the |
|
Baking, Roasting |
|
and Broiling |
|
sections. |
|
Using Foil Correctlyin the Oven
If you wish to use foil for possible spillovers, cut a piece of foil slightly larger than the pan and turn up the edges. Place the foil on the oven shelf below the pan.
CAUTION: Never cover an entire oven shelf or the oven bottom with foil. The foil can obstruct normal heat flow, cause cooking failure and damage the oven interior.
12