Operating the Self-Cleaning Oven
Before Setting Oven
Controls, Check These
Things:
Step 1:
Remove broiler pan, broiler rack and other cookware from the oven. (Oven shelves may be left in oven. Note: Shelves will discolor after the
Step 2:
Wipe up heavy soil on oven bottom.
How to Set Oven for Cleaning
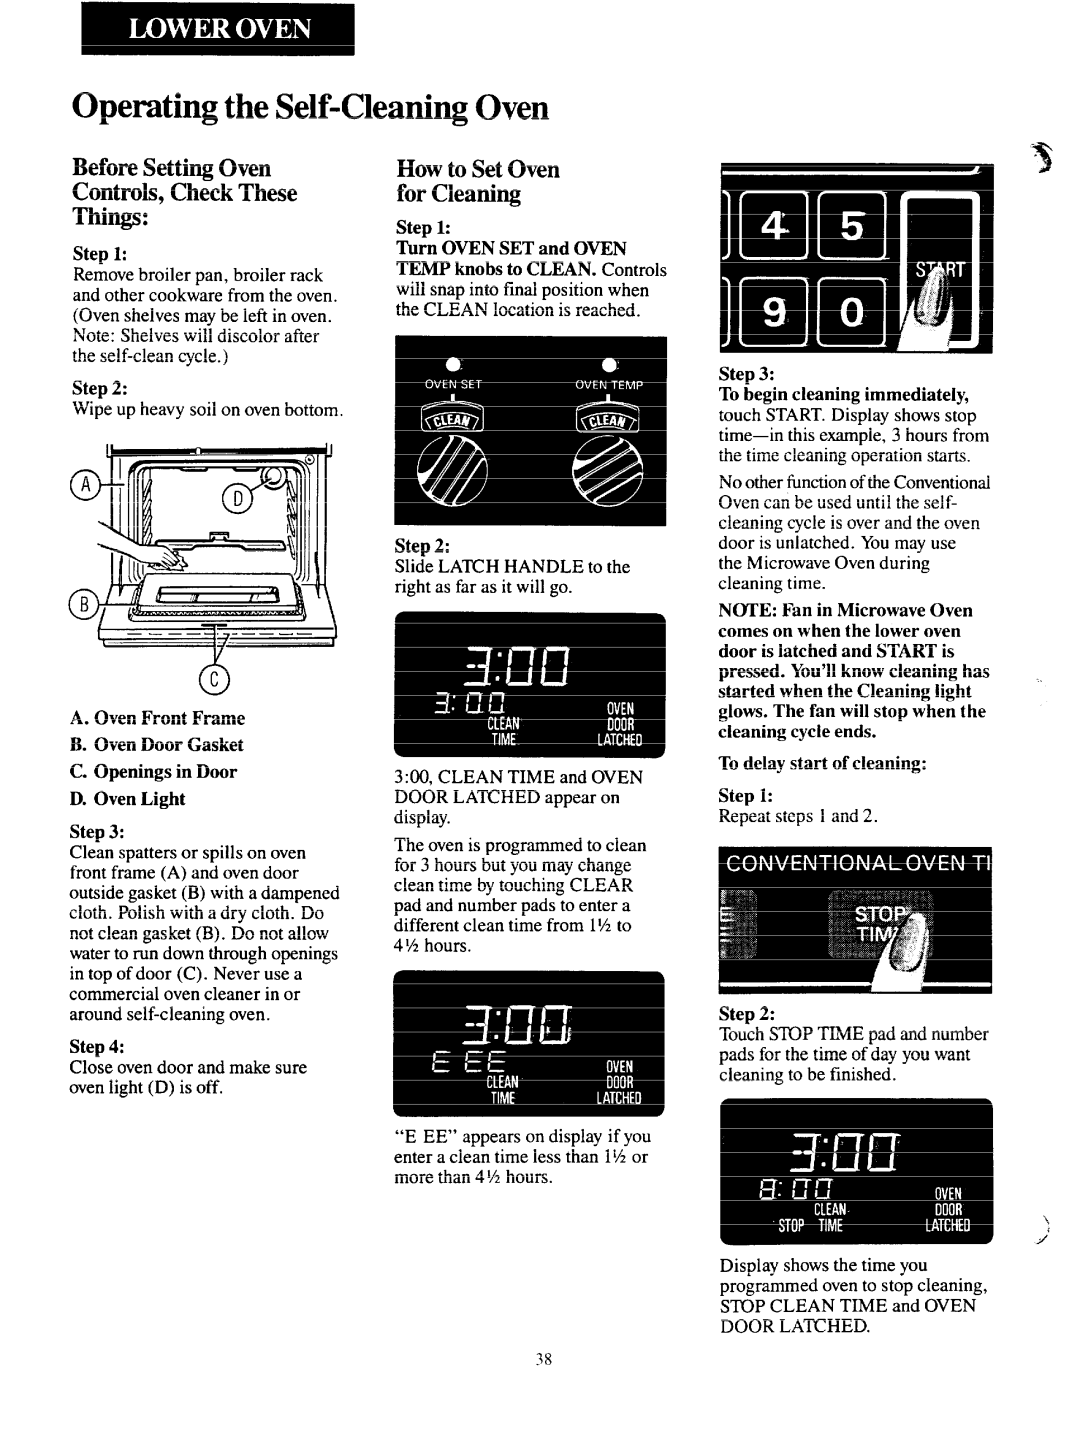
Step 1:
TurnOVENSETand OVEN TEMPknobsto CLEAN.Controls will snap into final position when the CLEAN location is reached.
Step 2:
Slide LA’_KH HANDLE to the right as far as it will go.
3
Step 3:
To begin cleaning immediately, touch START. Display shows stop
No other fimction of the Conventional
Oven can be used until the self- cleaning cycle is over and the oven door is unlatched. You may use the Microwave Oven during cleaning time.
N~E: Fan in Microwave Oven comes on when the lower oven door is latched and START is
pressed. You’ll know cleaning has . started when the Cleaning light
A. Oven Front Frame
B. Oven Door Gasket
C. Openings in Door
D. Oven Light
Step 3:
Clean spatters or spills on oven front frame (A) and oven door outside gasket (B) with a dampened cloth. Polish with a dry cloth. Do not clean gasket (B). Do not allow water to run down through openings in top of door (C). Never use a commercial oven cleaner in or around
Step 4:
Close oven door and make sure oven light (D) is off.
3:00, CLEAN TIME and OVEN DOOR LATCHED appear on display.
The oven is programmed to clean for 3 hours but you may change clean time by touching CLEAR pad and number pads to enter a different clean time from 1%to 4% hours.
“E EE” appears on display if you enter a clean time less than 1Y2 or more than 4% hours.
glows. The fan will stop when the cleaning cycle ends.
To delay start of cleaning:
Step 1:
Repeat steps 1 and 2.
Step 2:
Touch STOP TIME pad and number pads for the time of day you want cleaning to be finished.
Display shows the time you programmed oven to stop cleaning, STUP CLEAN TIME and OVEN DOOR LATVHED.
38