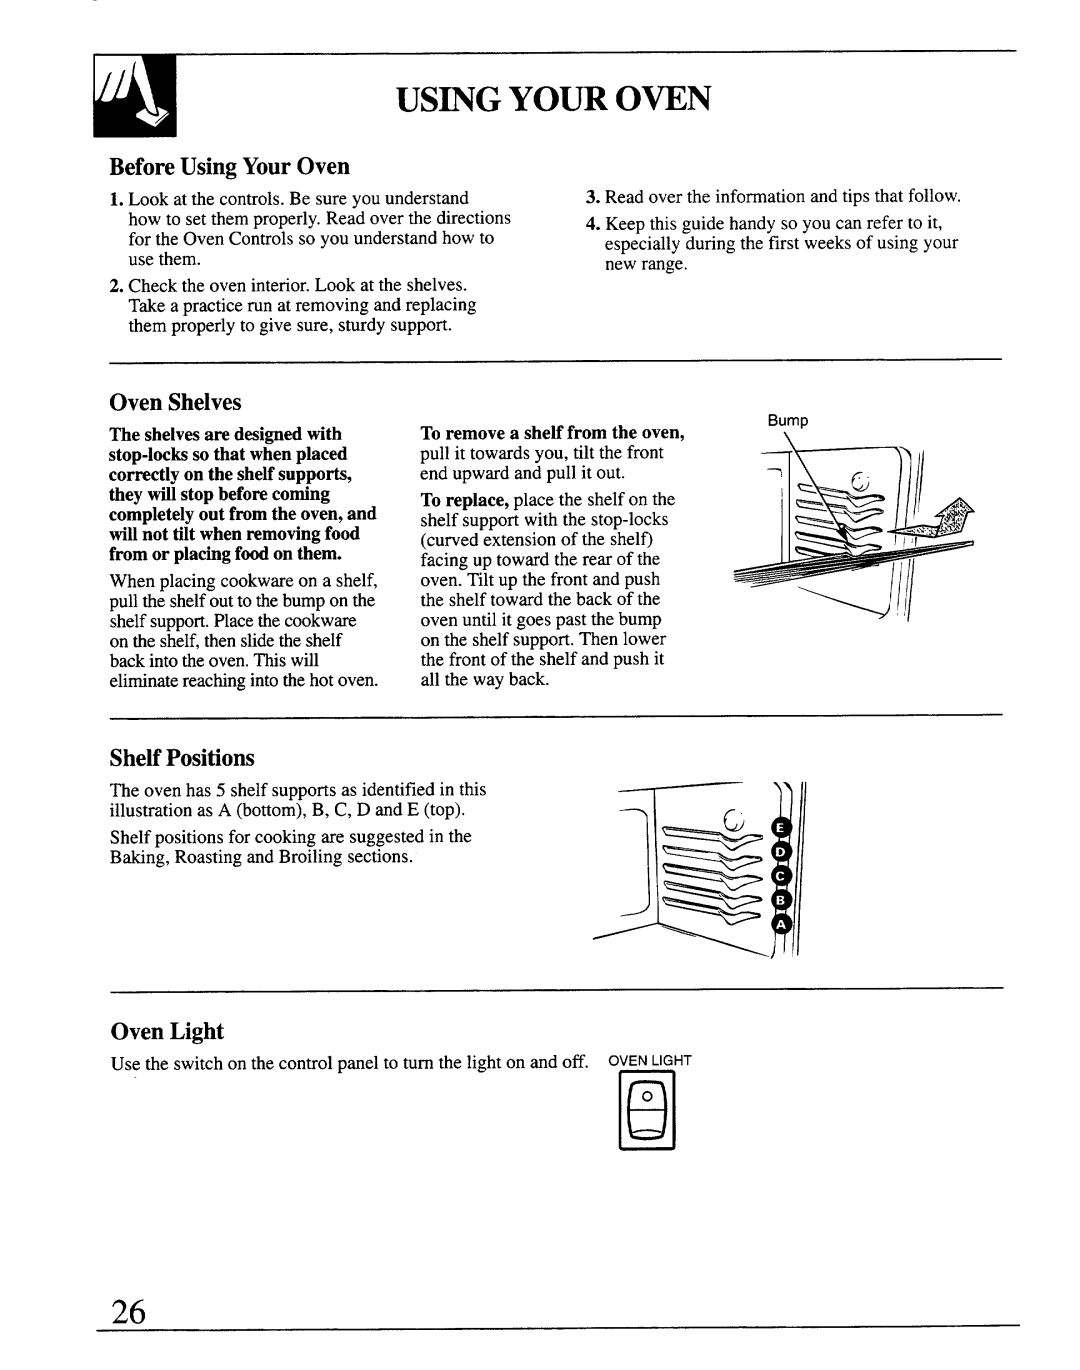
JSP69 specifications
The GE JSP69, an innovative range of kitchen appliances, epitomizes the latest advancements in cooking technology. This model is a part of General Electric's profile series, designed specifically to meet the needs of modern households. Its sleek design and user-friendly features make it an ideal choice for both novice cooks and seasoned chefs alike.One of the standout features of the GE JSP69 is its advanced convection cooking technology. This feature ensures even heat distribution throughout the oven, leading to perfectly cooked meals every time. The convection oven also reduces cooking times, making it convenient for busy families or individuals who are always on the go. Additionally, the oven is equipped with multiple cooking modes, including bake, broil, and steam, giving users versatility in meal preparation.
The JSP69 comes with a self-cleaning option, making it hassle-free to maintain. This innovative feature uses high temperatures to burn off spills and splatters, allowing for easy cleanup without the need for harsh chemicals. Furthermore, the oven's interior is designed with a smooth, non-porous surface that resists stains and can be easily wiped down.
Another notable aspect of the GE JSP69 is its smart technology integration. With built-in Wi-Fi connectivity, users can control their oven remotely using a smartphone app. This means you can preheat your oven, adjust cooking settings, or monitor cooking progress from anywhere in your home. This feature increases convenience and allows for better meal preparation planning.
The range also includes an efficient cooktop with a combination of sealed burners and a griddle. The burners provide consistent and reliable heat, and their sealed design ensures that spills are contained and cleanup is simplified. The griddle provides an additional cooking surface, perfect for making pancakes or grilling sandwiches.
In terms of design, the GE JSP69 boasts a modern aesthetic with a stainless-steel finish and a sleek, intuitive control panel. The oven is built with practicality in mind, featuring a large capacity that accommodates multiple dishes at once, making it perfect for entertaining guests or preparing family meals.
In summary, the GE JSP69 is a highly efficient and versatile kitchen appliance that combines innovative cooking technology with user-friendly features. With its convection cooking, self-cleaning capability, smart technology integration, and practical design, it is poised to meet the demands of any contemporary kitchen. Whether you are baking, roasting, or steaming, the GE JSP69 is designed to deliver culinary excellence every time.

