The Date/Time Stamp allows you to overlay the date, time, and record source at the start of, or continuously throughout, your recordings. You can use the stamp on all recordings or on timer recordings only. The stamp will not appear, how- ever, when you copy a tape.
1
2
3
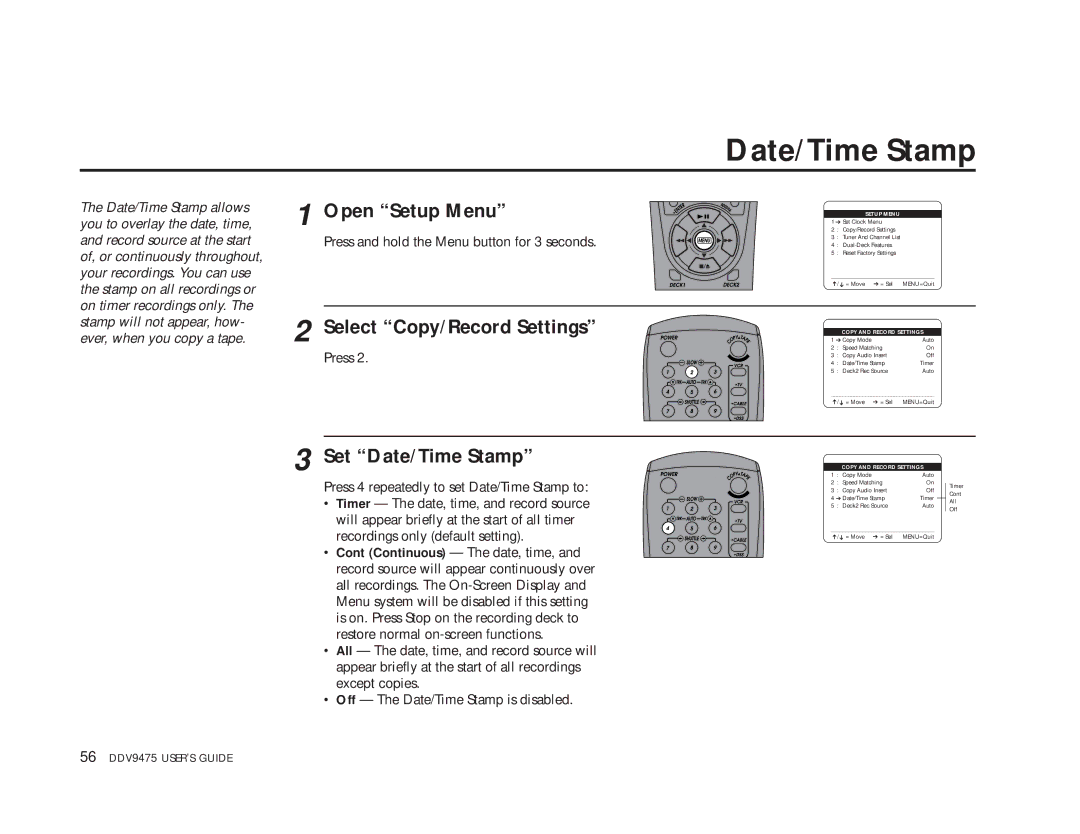
Open “Setup Menu”
Press and hold the Menu button for 3 seconds.
Select “Copy/Record Settings”
Press 2.
Set “Date/Time Stamp”
Press 4 repeatedly to set Date/Time Stamp to:
•Timer — The date, time, and record source will appear briefly at the start of all timer recordings only (default setting).
•Cont (Continuous) — The date, time, and record source will appear continuously over all recordings. The
•All — The date, time, and record source will appear briefly at the start of all recordings except copies.
•Off — The Date/Time Stamp is disabled.
Date/Time Stamp
SETUP MENU
1 ➔ Set Clock Menu
2 : Copy/Record Settings
3 : Tuner And Channel List
4 :
5 : Reset Factory Settings
____________________________________
➔/➔ = Move ➔ = Sel | MENU=Quit | ||
|
|
| |
|
| COPY AND RECORD SETTINGS | |
1 ➔ Copy Mode | Auto | ||
2 | : Speed Matching | On | |
3 | : | Copy Audio Insert | Off |
4 | : | Date/Time Stamp | Timer |
5 | : | Deck2 Rec Source | Auto |
____________________________________
➔/ ➔ = Move ➔ = Sel MENU=Quit
| COPY AND RECORD SETTINGS |
|
| ||
1 | : Copy Mode | Auto |
|
| |
2 | : Speed Matching | On |
| Timer | |
3 | : Copy Audio Insert | Off |
| Cont | |
4 ➔ Date/Time Stamp | Timer |
|
| ||
|
| All | |||
5 | : Deck2 Rec Source | Auto |
| ||
| Off | ||||
____________________________________ |
|
|
| ||
➔/➔ = Move ➔ = Sel | MENU=Quit |
|
| ||
56 DDV9475 USER’S GUIDE