Operation
General System Maintenance
•Follow the Pressure Relief Procedure, page 18.
•Clean the fluid and air line filters daily.
•Check for any fluid leakage from the gun and fluid hoses. Tighten fittings or replace equipment as needed.
•Flush the gun before changing colors and whenever you are done operating the gun.
Clean and Flush Gun
1.Follow the Pressure Relief Procedure, page 18.
2.Shut off the gun fan and atomizing air.
3.Supply a compatible solvent to the gun fluid inlet.
4.Point the gun down into a grounded metal container, and flush the gun with solvent until all traces of paint are removed from the gun passages.
5.Follow the Pressure Relief Procedure, page 18.
6.Disconnect the solvent supply.
7.Remove the air cap retaining ring and air cap.
NOTICE
Trigger the gun whenever you tighten or remove the nozzle. This keeps the needle seat away from the nozzle seating surface and prevents the seat from being dam- aged.
8.Clean the air cap retaining ring, air cap, and fluid nozzle with solvent.
9.Dip the end of a
ti4845a
FIG. 15: Use solvent-dipped soft-bristle brush
10.With the gun pointed down, clean the front of the gun, using the
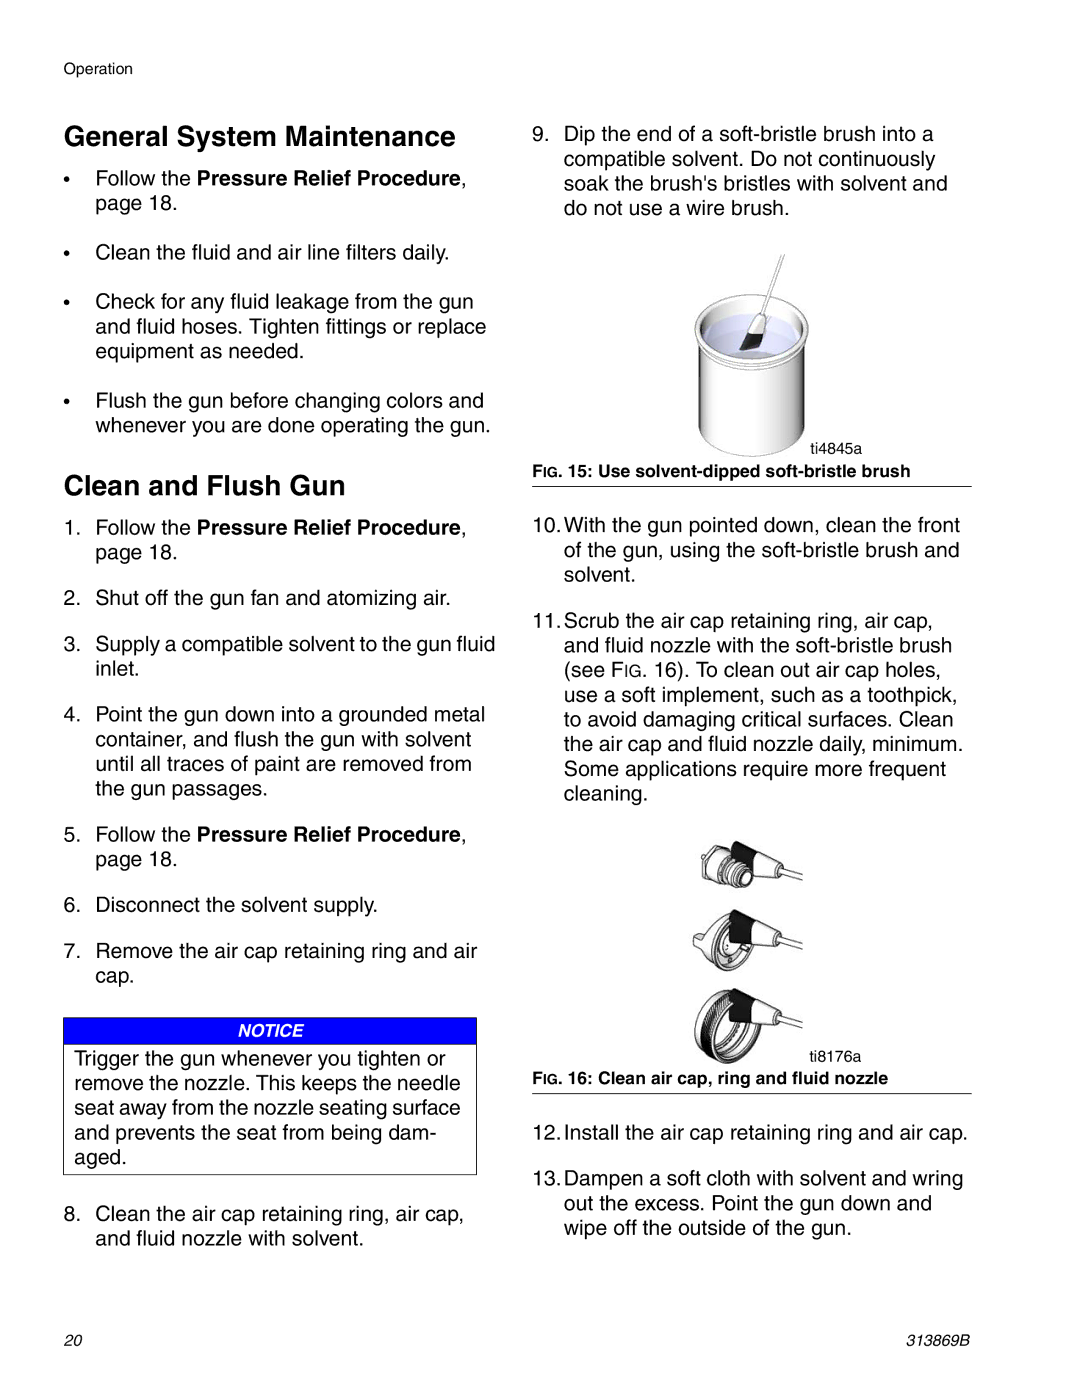
11.Scrub the air cap retaining ring, air cap, and fluid nozzle with the
ti8176a
FIG. 16: Clean air cap, ring and fluid nozzle
12.Install the air cap retaining ring and air cap.
13.Dampen a soft cloth with solvent and wring out the excess. Point the gun down and wipe off the outside of the gun.
20 | 313869B |