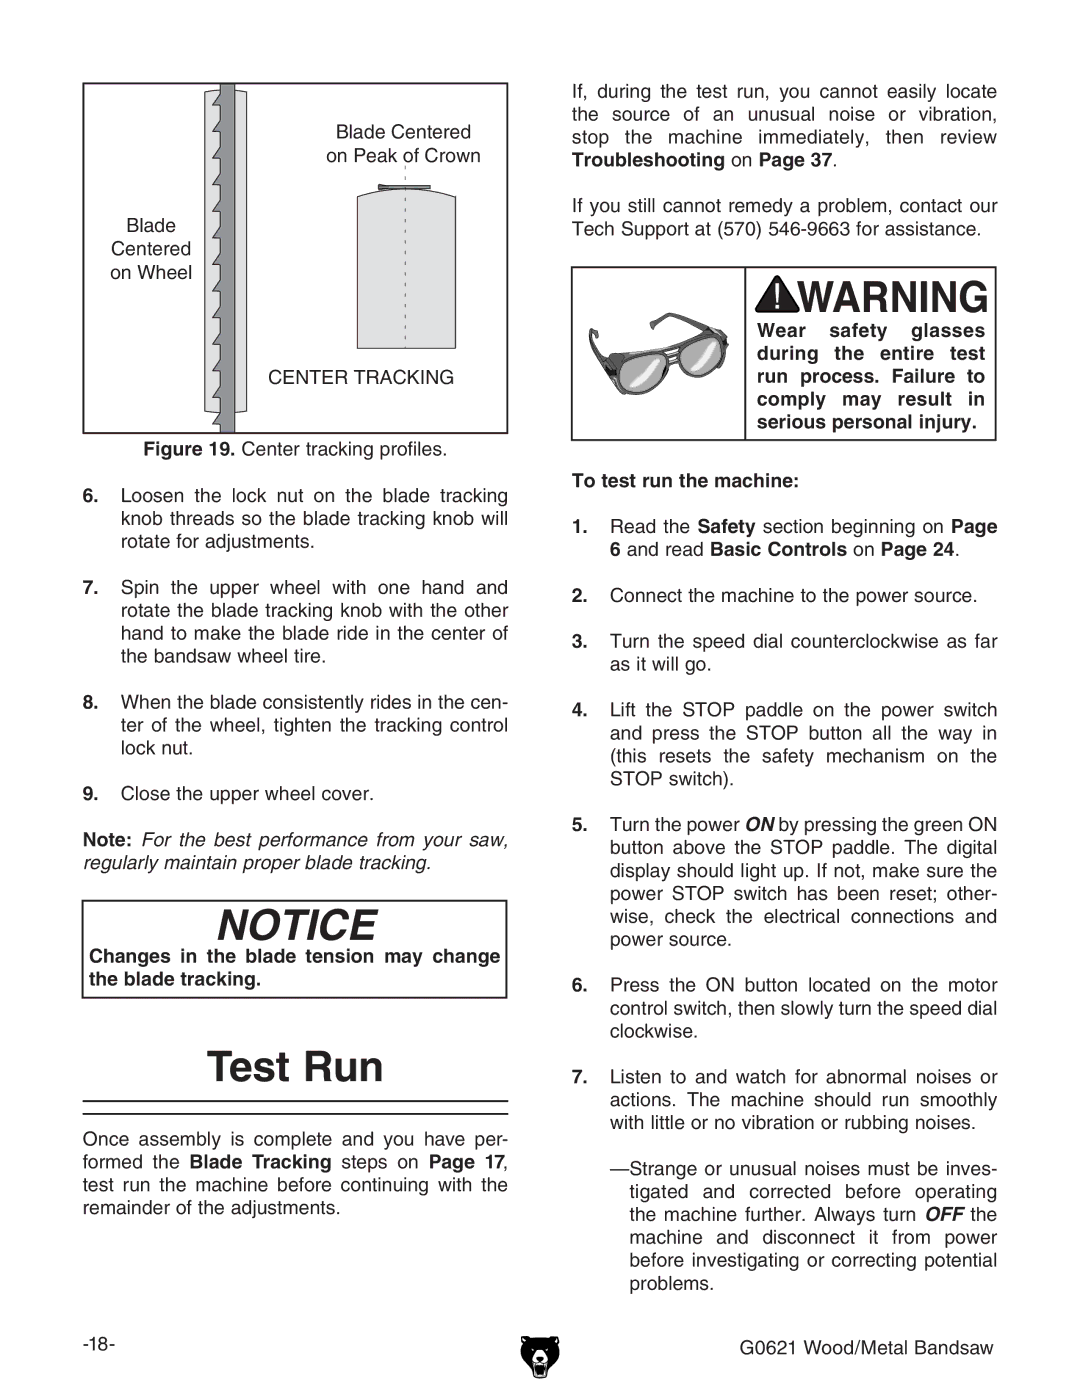
Blade Centered
on Peak of Crown
Blade
Centered on Wheel
CENTER TRACKING
Figure 19. Center tracking profiles.
6.Loosen the lock nut on the blade tracking knob threads so the blade tracking knob will rotate for adjustments.
7.Spin the upper wheel with one hand and rotate the blade tracking knob with the other hand to make the blade ride in the center of the bandsaw wheel tire.
8.When the blade consistently rides in the cen- ter of the wheel, tighten the tracking control lock nut.
9.Close the upper wheel cover.
Note: For the best performance from your saw, regularly maintain proper blade tracking.
NOTICE
Changes in the blade tension may change the blade tracking.
Test Run
Once assembly is complete and you have per- formed the Blade Tracking steps on Page 17, test run the machine before continuing with the remainder of the adjustments.
If, during the test run, you cannot easily locate the source of an unusual noise or vibration, stop the machine immediately, then review Troubleshooting on Page 37.
If you still cannot remedy a problem, contact our Tech Support at (570)
Wear safety glasses during the entire test run process. Failure to comply may result in serious personal injury.
To test run the machine:
1.Read the Safety section beginning on Page 6 and read Basic Controls on Page 24.
2.Connect the machine to the power source.
3.Turn the speed dial counterclockwise as far as it will go.
4.Lift the STOP paddle on the power switch and press the STOP button all the way in (this resets the safety mechanism on the STOP switch).
5.Turn the power ON by pressing the green ON button above the STOP paddle. The digital display should light up. If not, make sure the power STOP switch has been reset; other- wise, check the electrical connections and power source.
6.Press the ON button located on the motor control switch, then slowly turn the speed dial clockwise.
7.Listen to and watch for abnormal noises or actions. The machine should run smoothly with little or no vibration or rubbing noises.
