Chip Characteristics
If chips produced by your operation are blue and burnt and overheated, but the cutting speed is correct, reduce the feed rate until the chips are silver.
If the chips are powdery, increase the feed rate so the chips are more coarse but not overheated.
Loading/Unloading
Tooling
Your mill is equipped with a
Figure 31. Drawbar. |
|
Tools Needed | Qty |
Wrench 19mm | 1 |
Loading Tooling
1.DISCONNECT MILL FROM POWER!
2.Clean any debris or oily substances from the mating surfaces of the spindle and tool tapers.
Cutting tools are sharp and can quick- ly injure your hands. Always protect your hands when handling cutting tools.
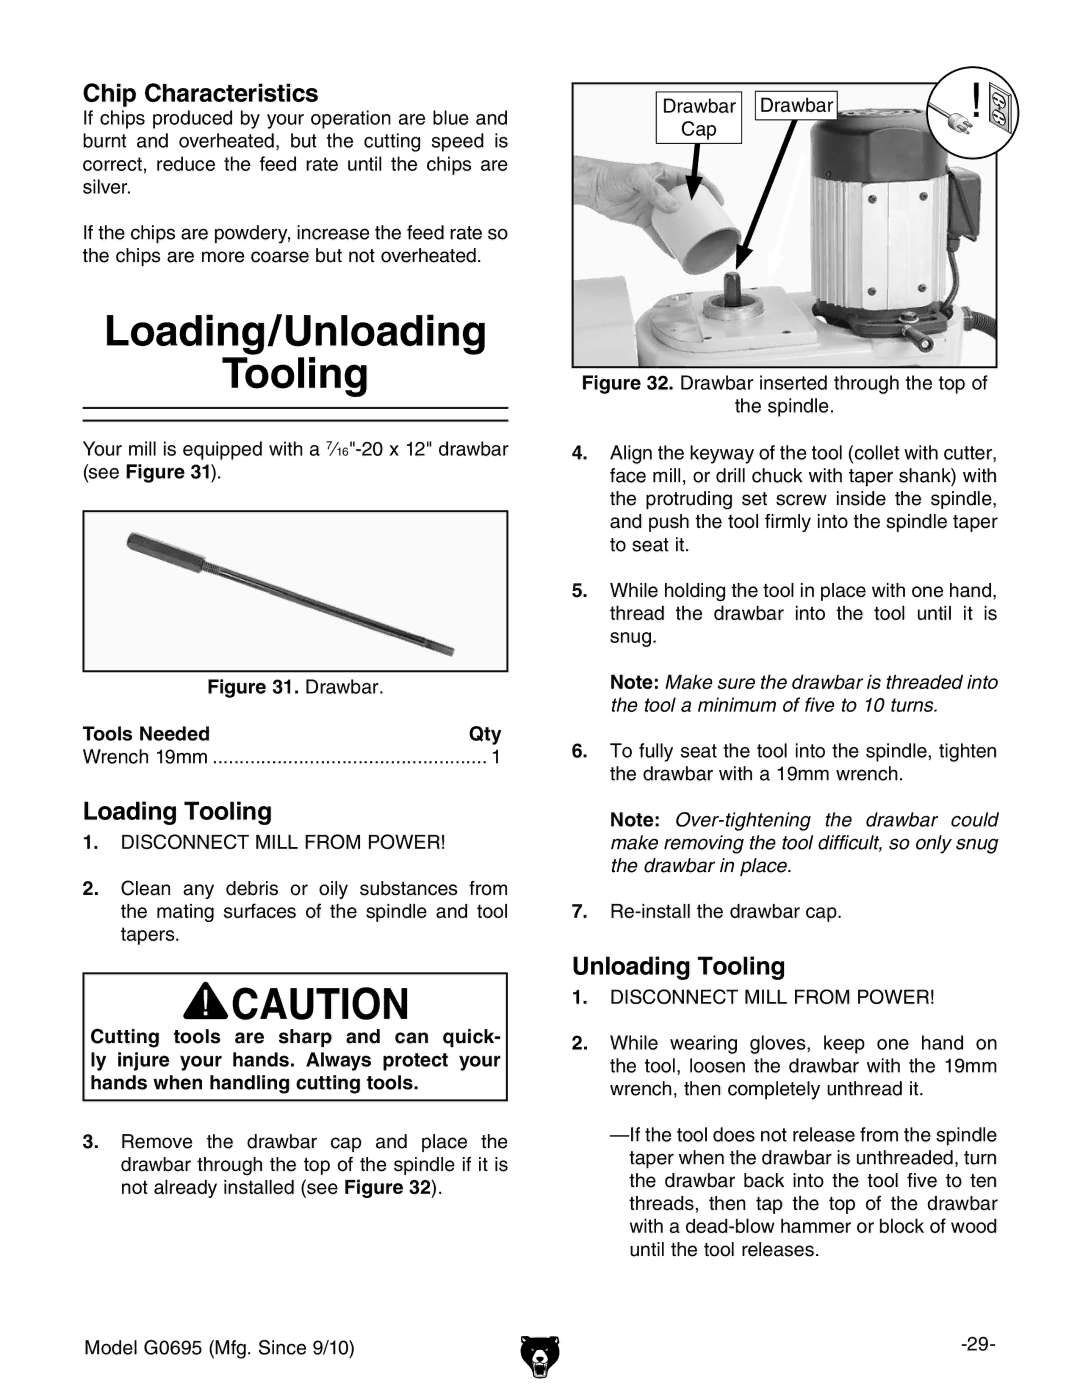
3.Remove the drawbar cap and place the drawbar through the top of the spindle if it is not already installed (see Figure 32).
Model G0695 (Mfg. Since 9/10)
Drawbar Drawbar
Cap
Figure 32. Drawbar inserted through the top of
the spindle.
4.Align the keyway of the tool (collet with cutter, face mill, or drill chuck with taper shank) with the protruding set screw inside the spindle, and push the tool firmly into the spindle taper to seat it.
5.While holding the tool in place with one hand, thread the drawbar into the tool until it is snug.
Note: Make sure the drawbar is threaded into the tool a minimum of five to 10 turns.
6.To fully seat the tool into the spindle, tighten the drawbar with a 19mm wrench.
Note:
7.Re-install the drawbar cap.
Unloading Tooling
1.DISCONNECT MILL FROM POWER!
2.While wearing gloves, keep one hand on the tool, loosen the drawbar with the 19mm wrench, then completely unthread it.