INSTALLATION
IMPORTANT NOTE: All components, including the DMC 1000, should be turned off and unplugged from AC power before beginning installation. Do not plug any components back in until after all connections are completed.
Step One – Placement
Due to the heat generated by other system components, place the DMC 1000 on its own shelf rather than stacking it directly on another component. We do not recommend stacking other components on top of the DMC 1000.
The DMC 1000 may be placed in a rack. See the Technical Specifications for dimensions.
Step Two – Connect the DMC 1000 to an A/V Receiver or Processor (Preferred)
If the receiver is
Figure 1 – HDMI Output
If the receiver has only a DVI input, use an
If the receiver does not have an HDMI or DVI input, select one video connection, in order of preference: component video,
Figure 2 – Component, S- and Composite Video Outputs
For
Figure 3 – Coaxial and Optical Digital Audio Outputs
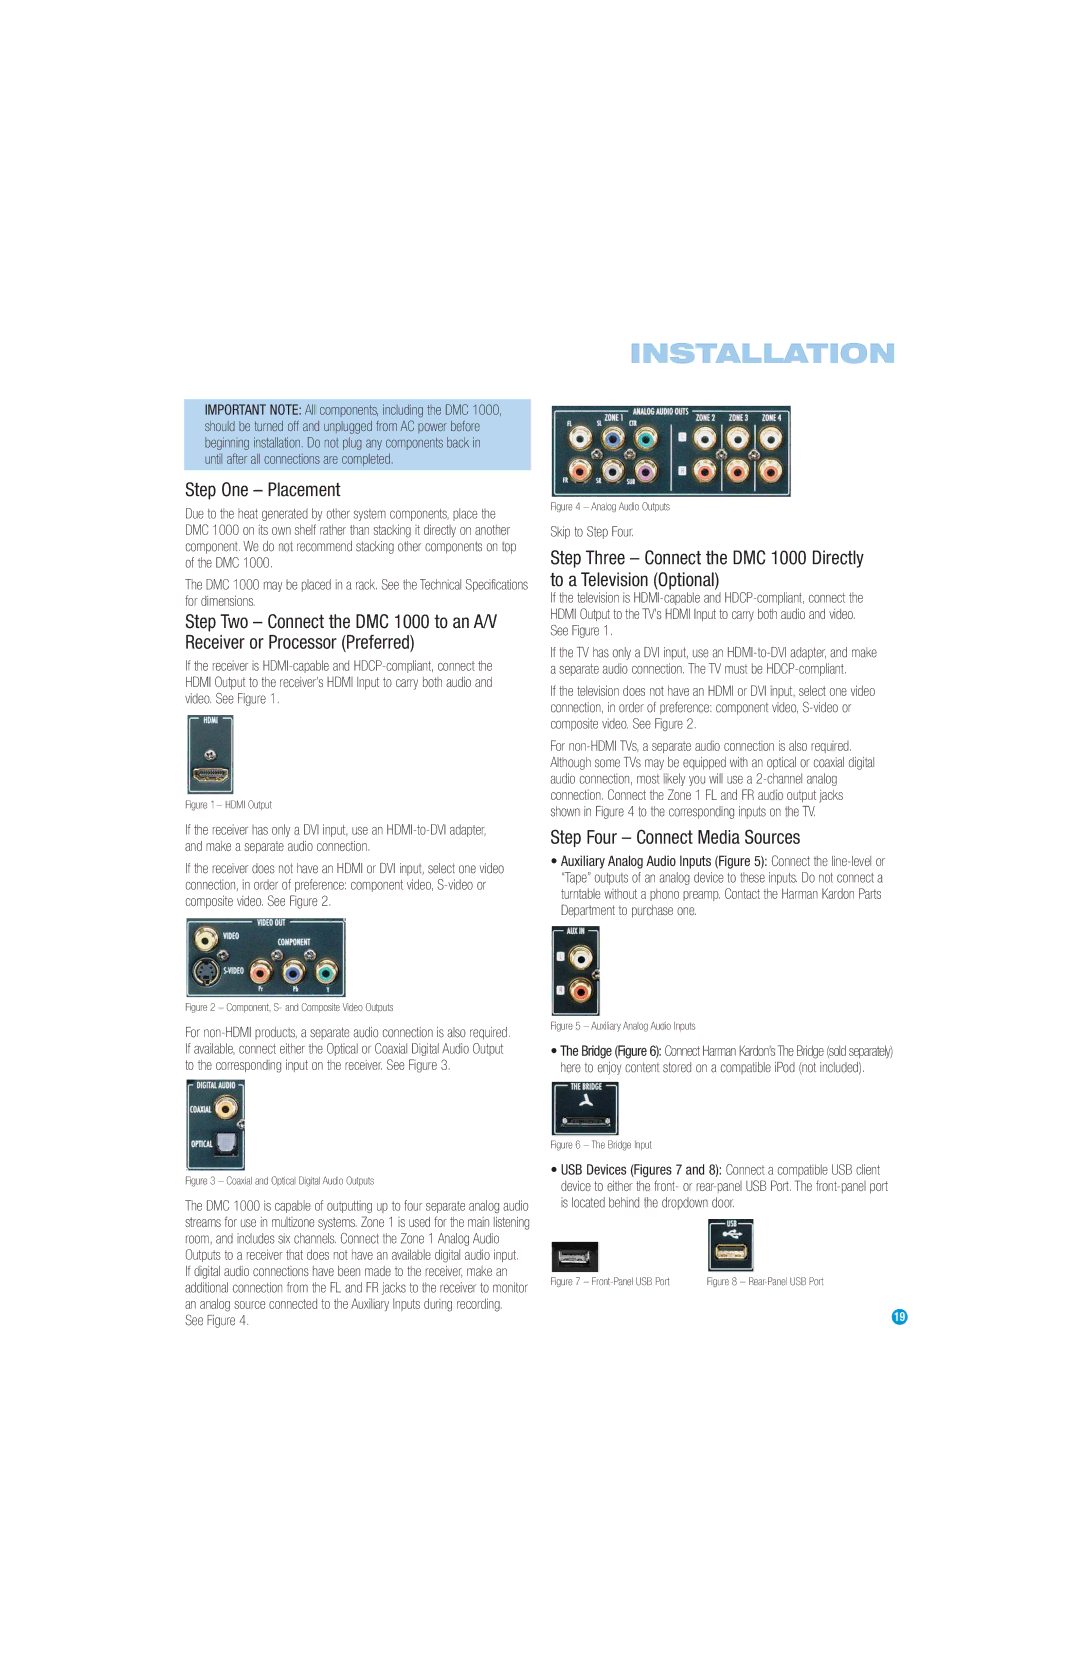
The DMC 1000 is capable of outputting up to four separate analog audio streams for use in multizone systems. Zone 1 is used for the main listening room, and includes six channels. Connect the Zone 1 Analog Audio Outputs to a receiver that does not have an available digital audio input. If digital audio connections have been made to the receiver, make an additional connection from the FL and FR jacks to the receiver to monitor an analog source connected to the Auxiliary Inputs during recording.
See Figure 4.
Figure 4 – Analog Audio Outputs
Skip to Step Four.
Step Three – Connect the DMC 1000 Directly to a Television (Optional)
If the television is
If the TV has only a DVI input, use an
If the television does not have an HDMI or DVI input, select one video connection, in order of preference: component video,
For
Step Four – Connect Media Sources
•Auxiliary Analog Audio Inputs (Figure 5): Connect the
Figure 5 – Auxiliary Analog Audio Inputs
•The Bridge (Figure 6): Connect Harman Kardon’s The Bridge (sold separately) here to enjoy content stored on a compatible iPod (not included).
Figure 6 – The Bridge Input
•USB Devices (Figures 7 and 8): Connect a compatible USB client device to either the front- or
Figure 7 – | Figure 8 – |
19