INITIAL SETUP
Video Noise Reduction: We recommend that you leave this setting at the default “Off”. If video signal noise is observed when using the analog video outputs, turn this setting on to reduce the noise and improve the picture quality.
Step Seven – General Setup
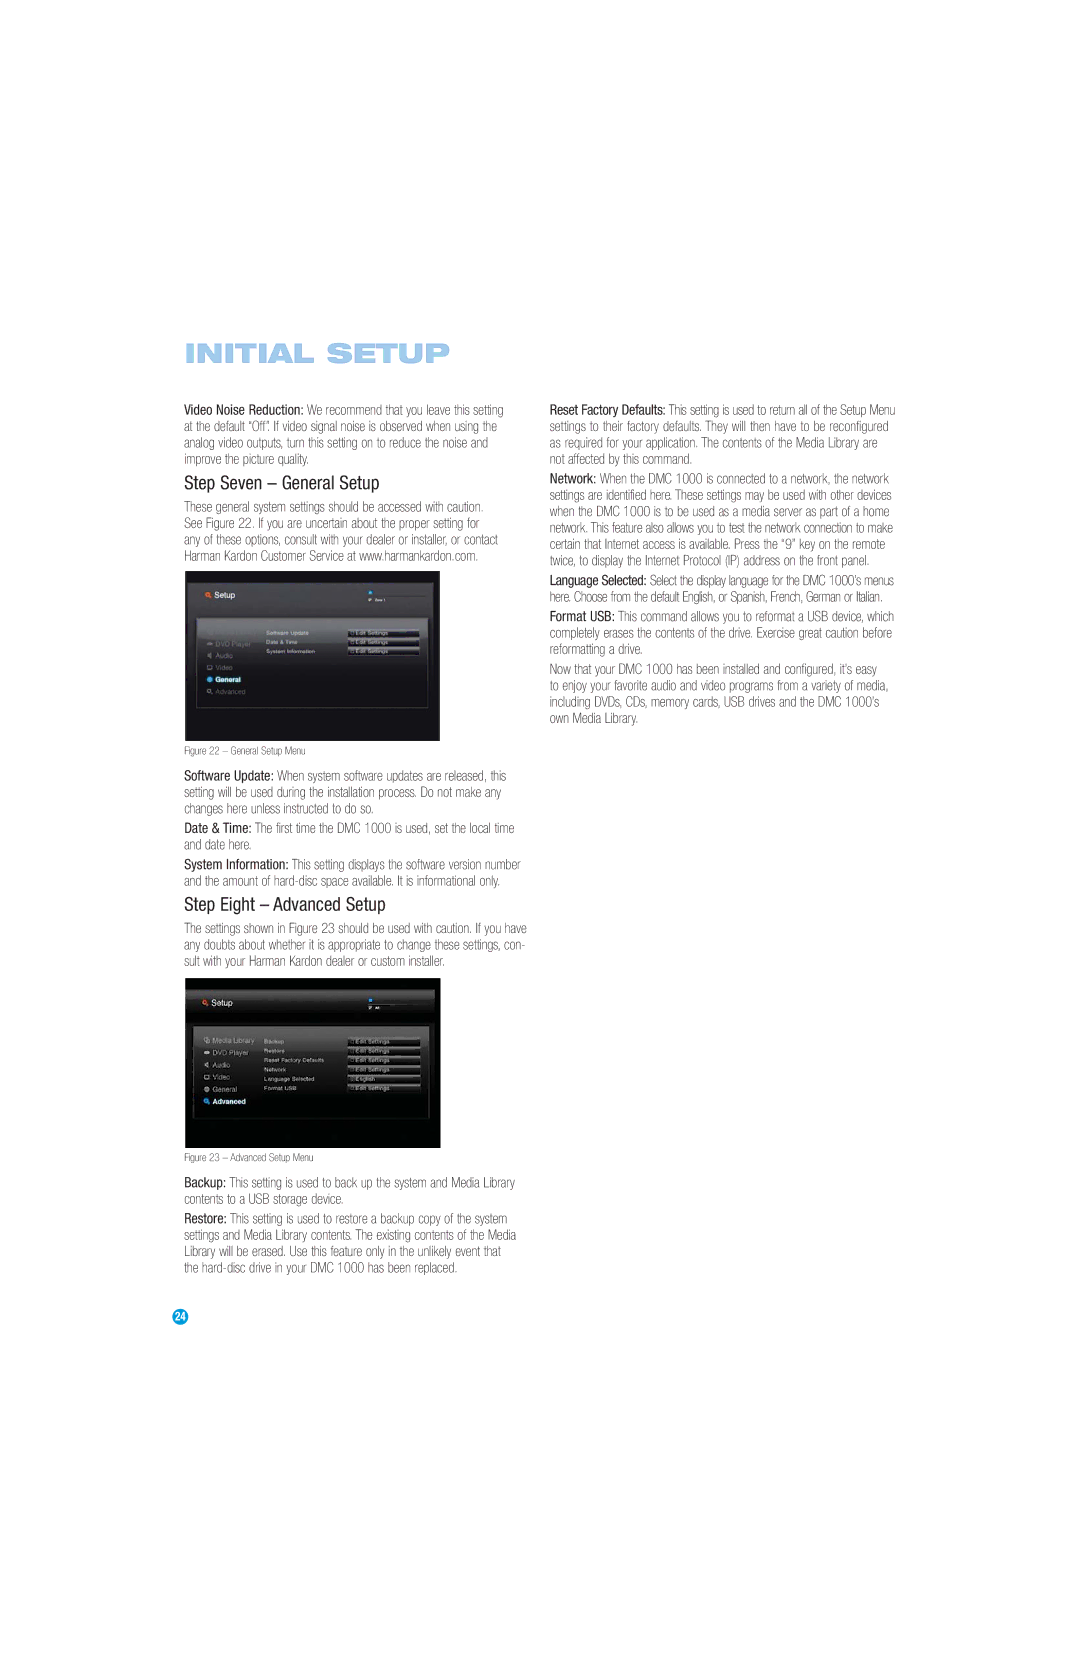
These general system settings should be accessed with caution. See Figure 22. If you are uncertain about the proper setting for any of these options, consult with your dealer or installer, or contact Harman Kardon Customer Service at www.harmankardon.com.
Figure 22 – General Setup Menu
Software Update: When system software updates are released, this setting will be used during the installation process. Do not make any changes here unless instructed to do so.
Date & Time: The first time the DMC 1000 is used, set the local time and date here.
System Information: This setting displays the software version number and the amount of
Step Eight – Advanced Setup
The settings shown in Figure 23 should be used with caution. If you have any doubts about whether it is appropriate to change these settings, con- sult with your Harman Kardon dealer or custom installer.
Reset Factory Defaults: This setting is used to return all of the Setup Menu settings to their factory defaults. They will then have to be reconfigured as required for your application. The contents of the Media Library are not affected by this command.
Network: When the DMC 1000 is connected to a network, the network settings are identified here. These settings may be used with other devices when the DMC 1000 is to be used as a media server as part of a home network. This feature also allows you to test the network connection to make certain that Internet access is available. Press the “9” key on the remote twice, to display the Internet Protocol (IP) address on the front panel.
Language Selected: Select the display language for the DMC 1000’s menus here. Choose from the default English, or Spanish, French, German or Italian.
Format USB: This command allows you to reformat a USB device, which completely erases the contents of the drive. Exercise great caution before reformatting a drive.
Now that your DMC 1000 has been installed and configured, it’s easy to enjoy your favorite audio and video programs from a variety of media, including DVDs, CDs, memory cards, USB drives and the DMC 1000’s own Media Library.
Figure 23 – Advanced Setup Menu
Backup: This setting is used to back up the system and Media Library contents to a USB storage device.
Restore: This setting is used to restore a backup copy of the system settings and Media Library contents. The existing contents of the Media Library will be erased. Use this feature only in the unlikely event that the
24