•Film: Choose this option for material that was originally shot on film, even though you are viewing it on video via a DVD.
•Video: Choose this option for material that was shot directly to video, such as concerts and sports programming.
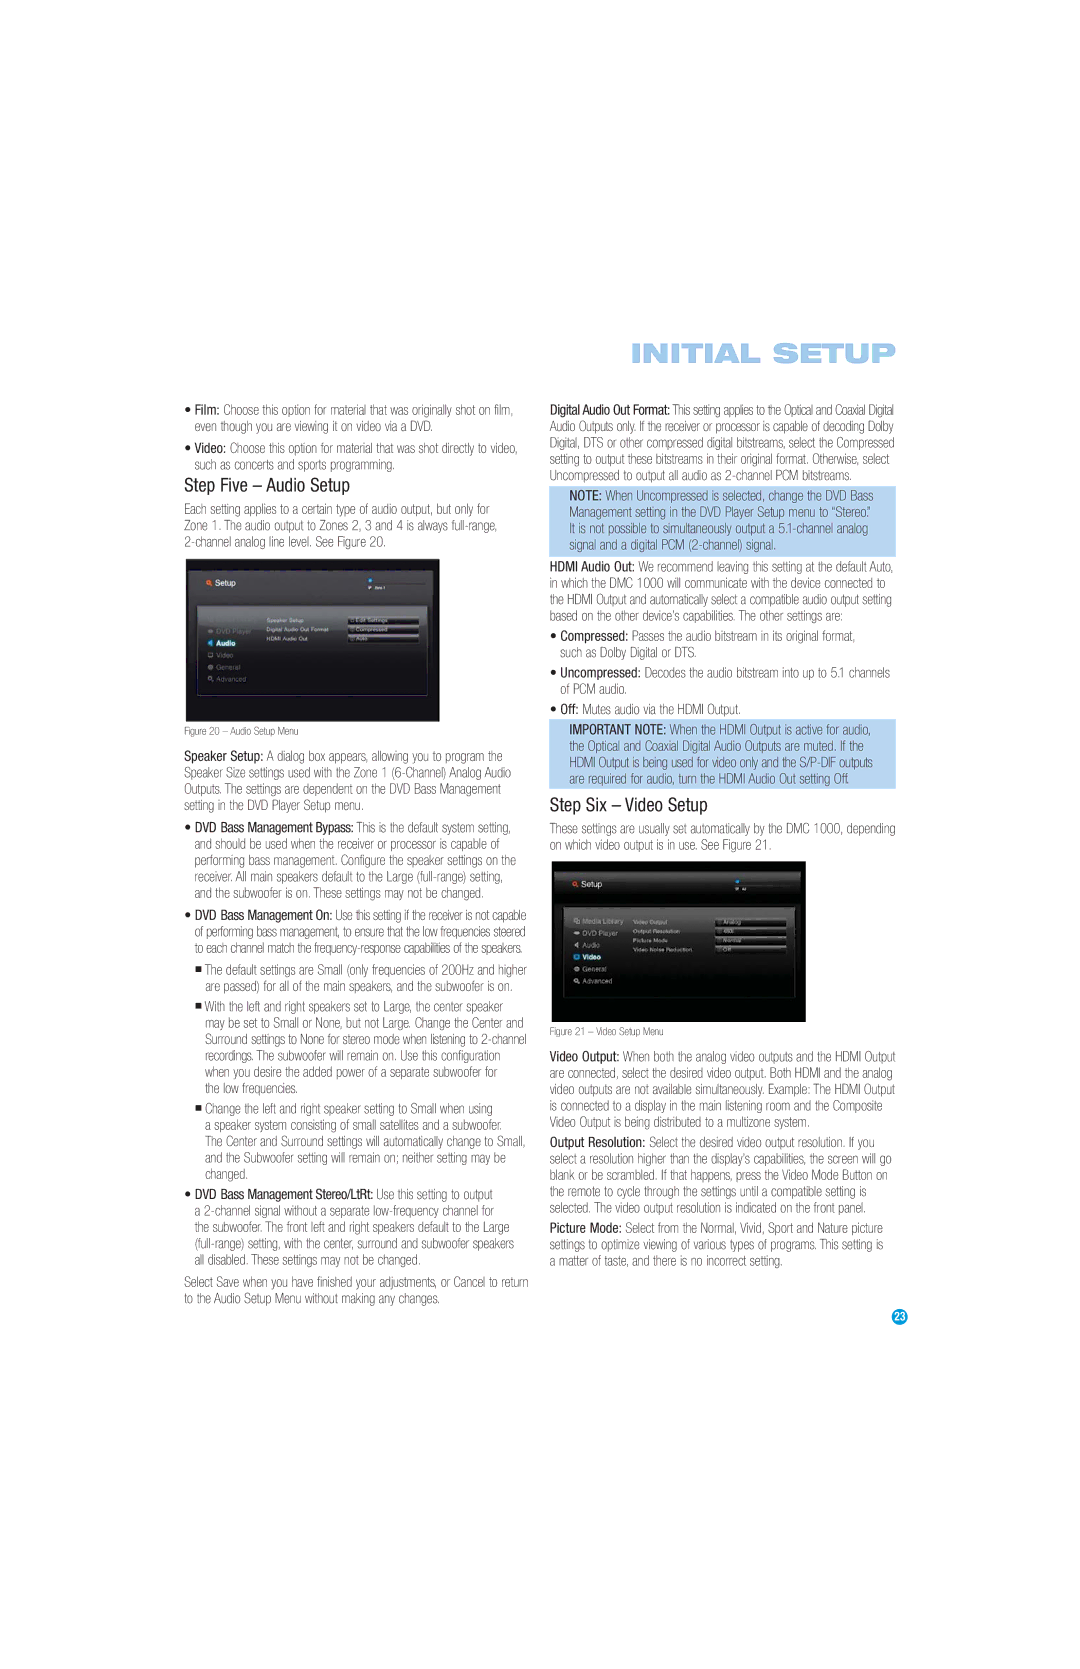
Step Five – Audio Setup
Each setting applies to a certain type of audio output, but only for Zone 1. The audio output to Zones 2, 3 and 4 is always
Figure 20 – Audio Setup Menu
Speaker Setup: A dialog box appears, allowing you to program the Speaker Size settings used with the Zone 1 (6-Channel) Analog Audio Outputs. The settings are dependent on the DVD Bass Management setting in the DVD Player Setup menu.
•DVD Bass Management Bypass: This is the default system setting, and should be used when the receiver or processor is capable of performing bass management. Configure the speaker settings on the receiver. All main speakers default to the Large
•DVD Bass Management On: Use this setting if the receiver is not capable of performing bass management, to ensure that the low frequencies steered to each channel match the
■The default settings are Small (only frequencies of 200Hz and higher are passed) for all of the main speakers, and the subwoofer is on.
■With the left and right speakers set to Large, the center speaker may be set to Small or None, but not Large. Change the Center and Surround settings to None for stereo mode when listening to
the low frequencies.
■Change the left and right speaker setting to Small when using a speaker system consisting of small satellites and a subwoofer.
The Center and Surround settings will automatically change to Small, and the Subwoofer setting will remain on; neither setting may be changed.
•DVD Bass Management Stereo/LtRt: Use this setting to output a
Select Save when you have finished your adjustments, or Cancel to return to the Audio Setup Menu without making any changes.
INITIAL SETUP
Digital Audio Out Format: This setting applies to the Optical and Coaxial Digital Audio Outputs only. If the receiver or processor is capable of decoding Dolby Digital, DTS or other compressed digital bitstreams, select the Compressed setting to output these bitstreams in their original format. Otherwise, select Uncompressed to output all audio as
NOTE: When Uncompressed is selected, change the DVD Bass Management setting in the DVD Player Setup menu to “Stereo.” It is not possible to simultaneously output a
HDMI Audio Out: We recommend leaving this setting at the default Auto, in which the DMC 1000 will communicate with the device connected to the HDMI Output and automatically select a compatible audio output setting based on the other device’s capabilities. The other settings are:
•Compressed: Passes the audio bitstream in its original format, such as Dolby Digital or DTS.
•Uncompressed: Decodes the audio bitstream into up to 5.1 channels of PCM audio.
•Off: Mutes audio via the HDMI Output.
IMPORTANT NOTE: When the HDMI Output is active for audio, the Optical and Coaxial Digital Audio Outputs are muted. If the HDMI Output is being used for video only and the
Step Six – Video Setup
These settings are usually set automatically by the DMC 1000, depending on which video output is in use. See Figure 21.
Figure 21 – Video Setup Menu
Video Output: When both the analog video outputs and the HDMI Output are connected, select the desired video output. Both HDMI and the analog video outputs are not available simultaneously. Example: The HDMI Output is connected to a display in the main listening room and the Composite Video Output is being distributed to a multizone system.
Output Resolution: Select the desired video output resolution. If you select a resolution higher than the display’s capabilities, the screen will go blank or be scrambled. If that happens, press the Video Mode Button on the remote to cycle through the settings until a compatible setting is selected. The video output resolution is indicated on the front panel.
Picture Mode: Select from the Normal, Vivid, Sport and Nature picture settings to optimize viewing of various types of programs. This setting is a matter of taste, and there is no incorrect setting.
23