14 Appliance Setup
A. Remove Glass Assembly
See Section 12.H.
B. Remove the Shipping Materials
Remove shipping materials from inside or underneath the firebox.
C. Clean the Appliance
Clean/vacuum any sawdust that may have accumulated inside the firebox or underneath in the control cavity.
D. Accessories
Install approved accessories per instructions included with accessories. Refer to Section 16.
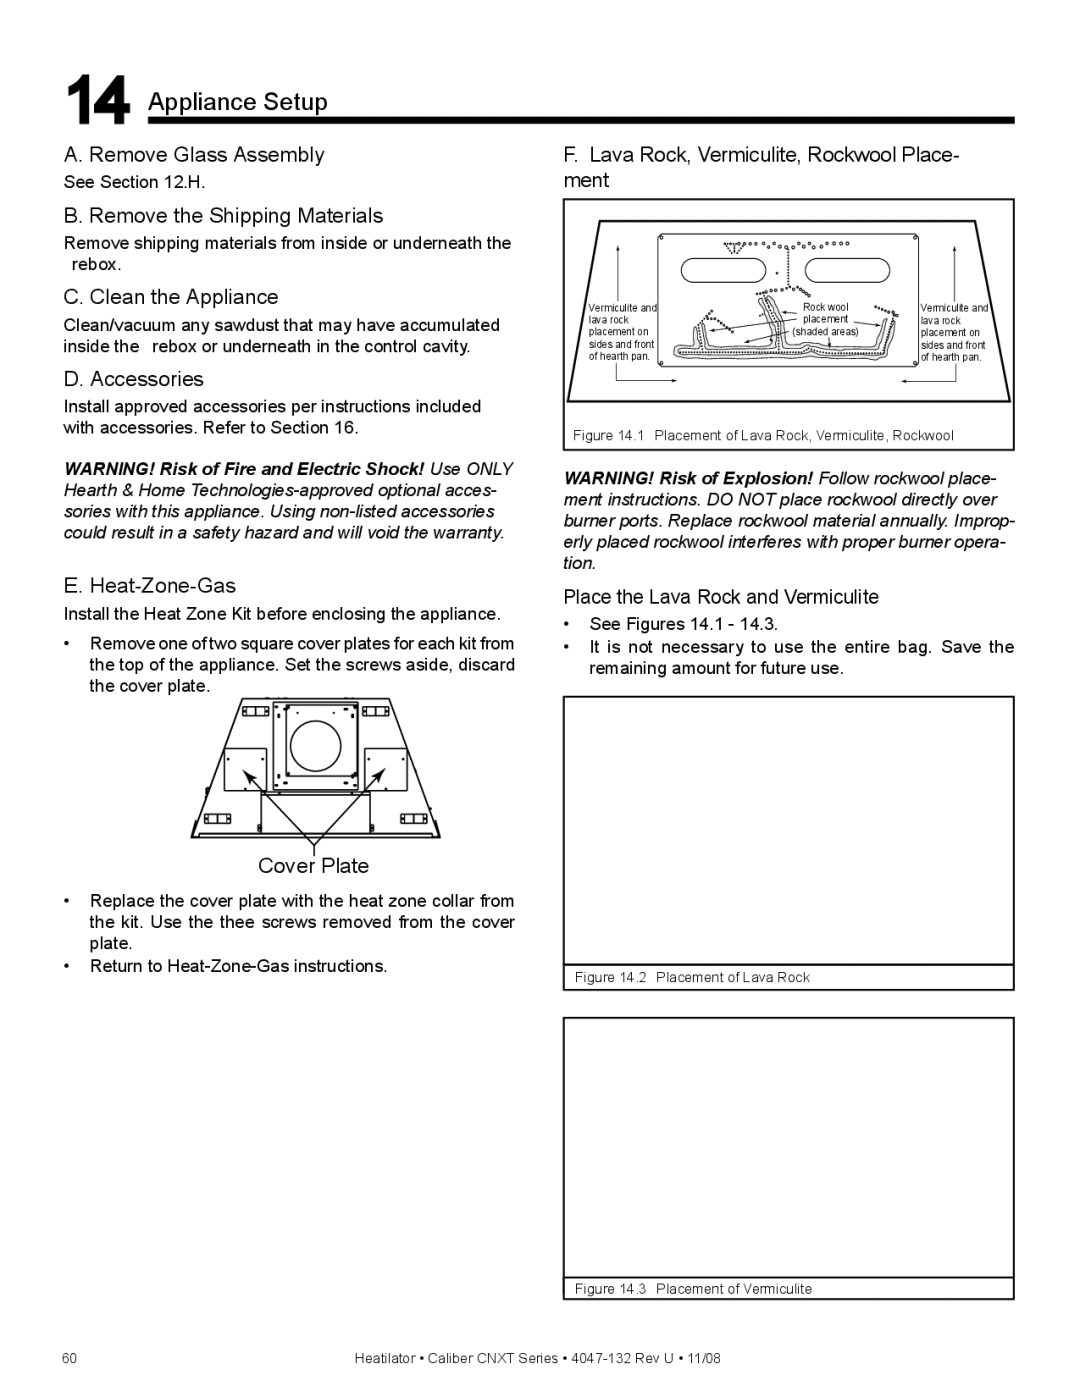
F.Lava Rock, Vermiculite, Rockwool Place- ment
Vermiculite and | Rock wool | Vermiculite and |
lava rock | placement | lava rock |
placement on | (shaded areas) | placement on |
sides and front |
| sides and front |
of hearth pan. |
| of hearth pan. |
Figure 14.1 Placement of Lava Rock, Vermiculite, Rockwool | ||
WARNING! Risk of Fire and Electric Shock! Use ONLY Hearth & Home
E. Heat-Zone-Gas
Install the Heat Zone Kit before enclosing the appliance.
•Remove one of two square cover plates for each kit from the top of the appliance. Set the screws aside, discard the cover plate.
Cover Plate
•Replace the cover plate with the heat zone collar from the kit. Use the thee screws removed from the cover plate.
•Return to
WARNING! Risk of Explosion! Follow rockwool place- ment instructions. DO NOT place rockwool directly over burner ports. Replace rockwool material annually. Improp- erly placed rockwool interferes with proper burner opera- tion.
Place the Lava Rock and Vermiculite
•See Figures 14.1 - 14.3.
•It is not necessary to use the entire bag. Save the remaining amount for future use.
Figure 14.2 Placement of Lava Rock
Figure 14.3 Placement of Vermiculite
60 | Heatilator • Caliber CNXT Series • |
