English
Turning DVD Video Camera/Recorder On and Off
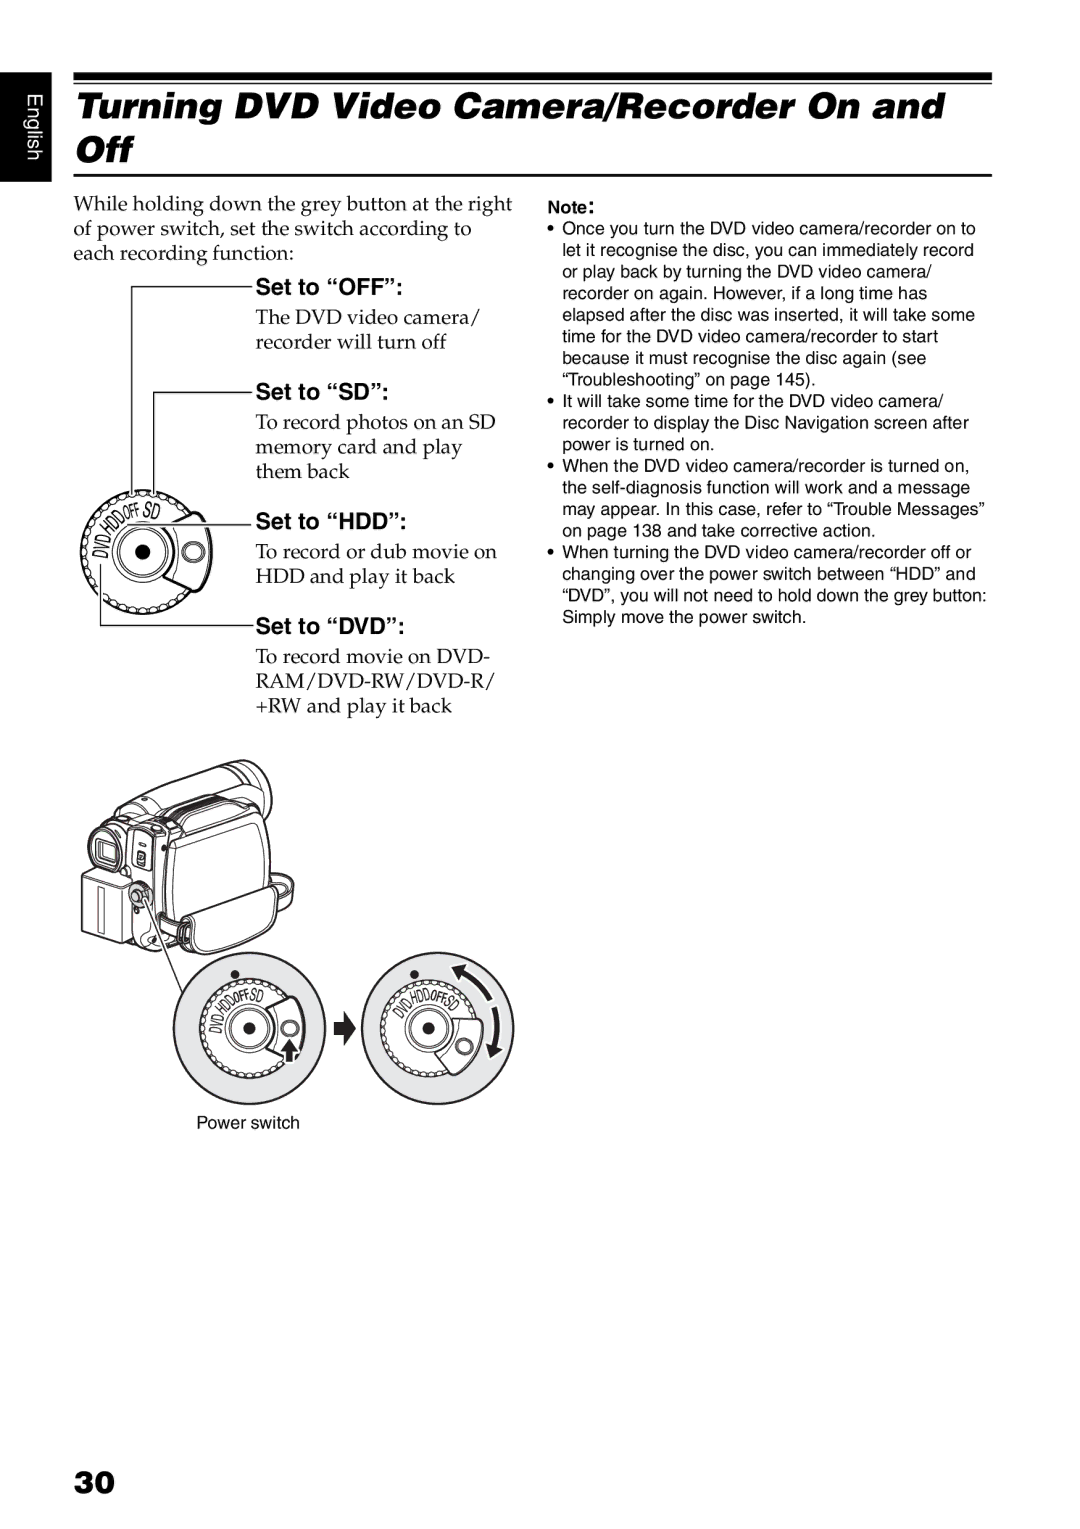
While holding down the grey button at the right of power switch, set the switch according to each recording function:
Set to “OFF”:
The DVD video camera/ recorder will turn off
 Set to “SD”:
To record photos on an SD memory card and play them back


 Set to “HDD”:
To record or dub movie on
HDD and play it back
Set to “DVD”:
To record movie on DVD-
Note:
•Once you turn the DVD video camera/recorder on to let it recognise the disc, you can immediately record or play back by turning the DVD video camera/ recorder on again. However, if a long time has elapsed after the disc was inserted, it will take some time for the DVD video camera/recorder to start because it must recognise the disc again (see “Troubleshooting” on page 145).
•It will take some time for the DVD video camera/ recorder to display the Disc Navigation screen after power is turned on.
•When the DVD video camera/recorder is turned on, the
•When turning the DVD video camera/recorder off or changing over the power switch between “HDD” and “DVD”, you will not need to hold down the grey button: Simply move the power switch.
Power switch
30