SETUP AREAS
To configure the system for multiple areas, from the Installer Setup menu, press the 4 (AREA) key. The number of areas must be specified. Also, consoles, zones, units, thermostats, and buttons must be assigned to areas. By default, the system is setup for one area.
The display prompts for the number of areas that will be used:
NUMBER OF AREAS: | 1 |
|
If you choose 2, the Setup Areas menu is displayed:
SETUP AREAS | 3=BTTN ↓ | |
1=CTRL | 2=ZONES | |
4=CONS | 5=TEMP | 8=MSG |
|
| ↑ |
SETUP AREAS: CONTROL |
|
|
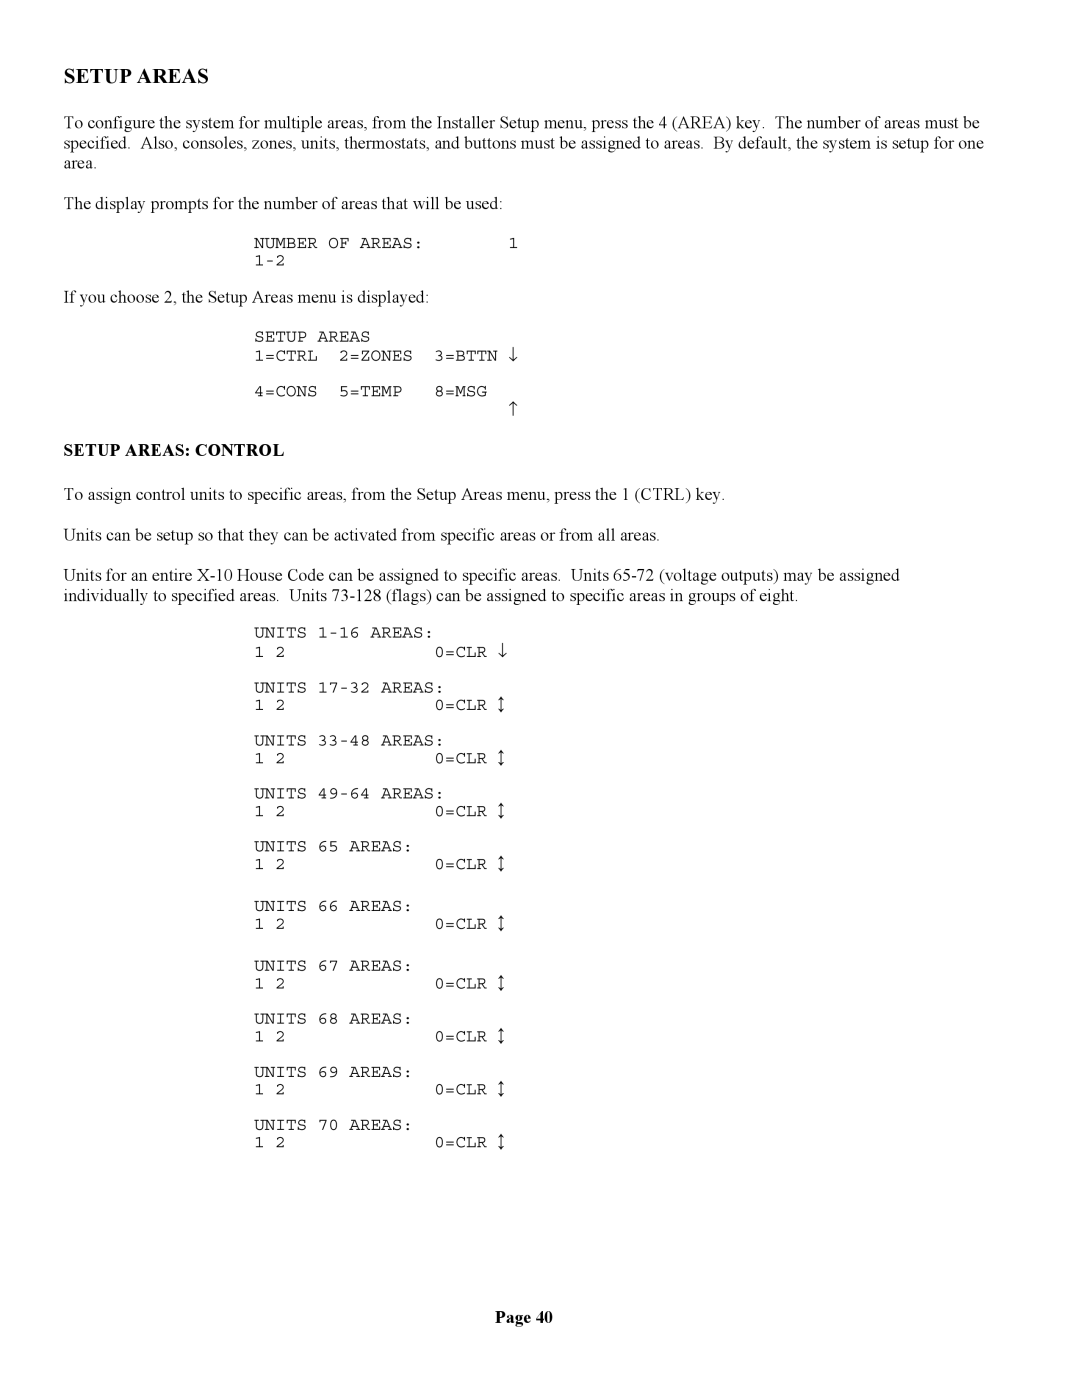
To assign control units to specific areas, from the Setup Areas menu, press the 1 (CTRL) key.
Units can be setup so that they can be activated from specific areas or from all areas.
Units for an entire
UNITS | 0=CLR ↓ | |
1 | 2 | |
UNITS | ||
1 | 2 | 0=CLR ↕ |
UNITS | ||
1 | 2 | 0=CLR ↕ |
UNITS | ||
1 | 2 | 0=CLR ↕ |
UNITS 65 AREAS: | 0=CLR ↕ | |
1 | 2 | |
UNITS 66 AREAS: | 0=CLR ↕ | |
1 | 2 | |
UNITS 67 AREAS: | 0=CLR ↕ | |
1 | 2 | |
UNITS 68 AREAS: | 0=CLR ↕ | |
1 | 2 | |
UNITS 69 AREAS: | 0=CLR ↕ | |
1 | 2 | |
UNITS 70 AREAS: | 0=CLR ↕ | |
1 | 2 | |
Page 40
