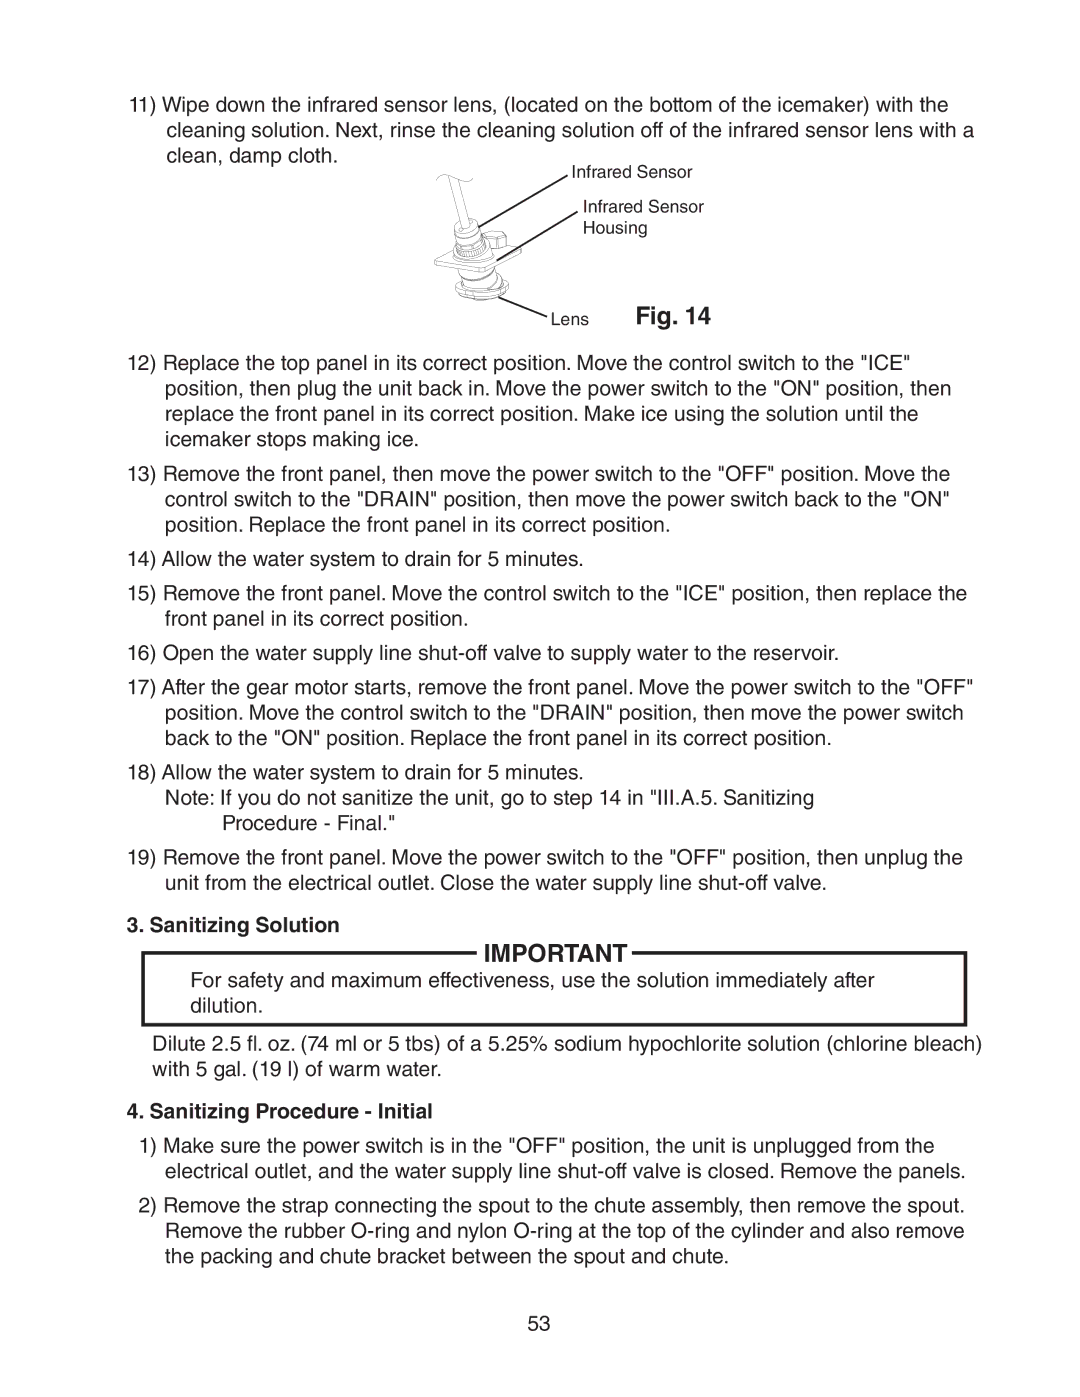
Lens | Fig. 14 |
12)Replace the top panel in its correct position. Move the control switch to the "ICE" position, then plug the unit back in. Move the power switch to the "ON" position, then replace the front panel in its correct position. Make ice using the solution until the icemaker stops making ice.
13)Remove the front panel, then move the power switch to the "OFF" position. Move the control switch to the "DRAIN" position, then move the power switch back to the "ON" position. Replace the front panel in its correct position.
14)Allow the water system to drain for 5 minutes.
15)Remove the front panel. Move the control switch to the "ICE" position, then replace the front panel in its correct position.
16)Open the water supply line
17)After the gear motor starts, remove the front panel. Move the power switch to the "OFF" position. Move the control switch to the "DRAIN" position, then move the power switch back to the "ON" position. Replace the front panel in its correct position.
18)Allow the water system to drain for 5 minutes.
Note: If you do not sanitize the unit, go to step 14 in "III.A.5. Sanitizing Procedure ‑ Final."
19)Remove the front panel. Move the power switch to the "OFF" position, then unplug the unit from the electrical outlet. Close the water supply line
3. Sanitizing Solution
IMPORTANT
For safety and maximum effectiveness, use the solution immediately after dilution.
Dilute 2.5 fl. oz. (74 ml or 5 tbs) of a 5.25% sodium hypochlorite solution (chlorine bleach) with 5 gal. (19 l) of warm water.
4.Sanitizing Procedure - Initial
1)Make sure the power switch is in the "OFF" position, the unit is unplugged from the electrical outlet, and the water supply line
2)Remove the strap connecting the spout to the chute assembly, then remove the spout. Remove the rubber
53
