NOTE | If these steps do not correct the problem, contact an | |||||||
| representative. | |||||||
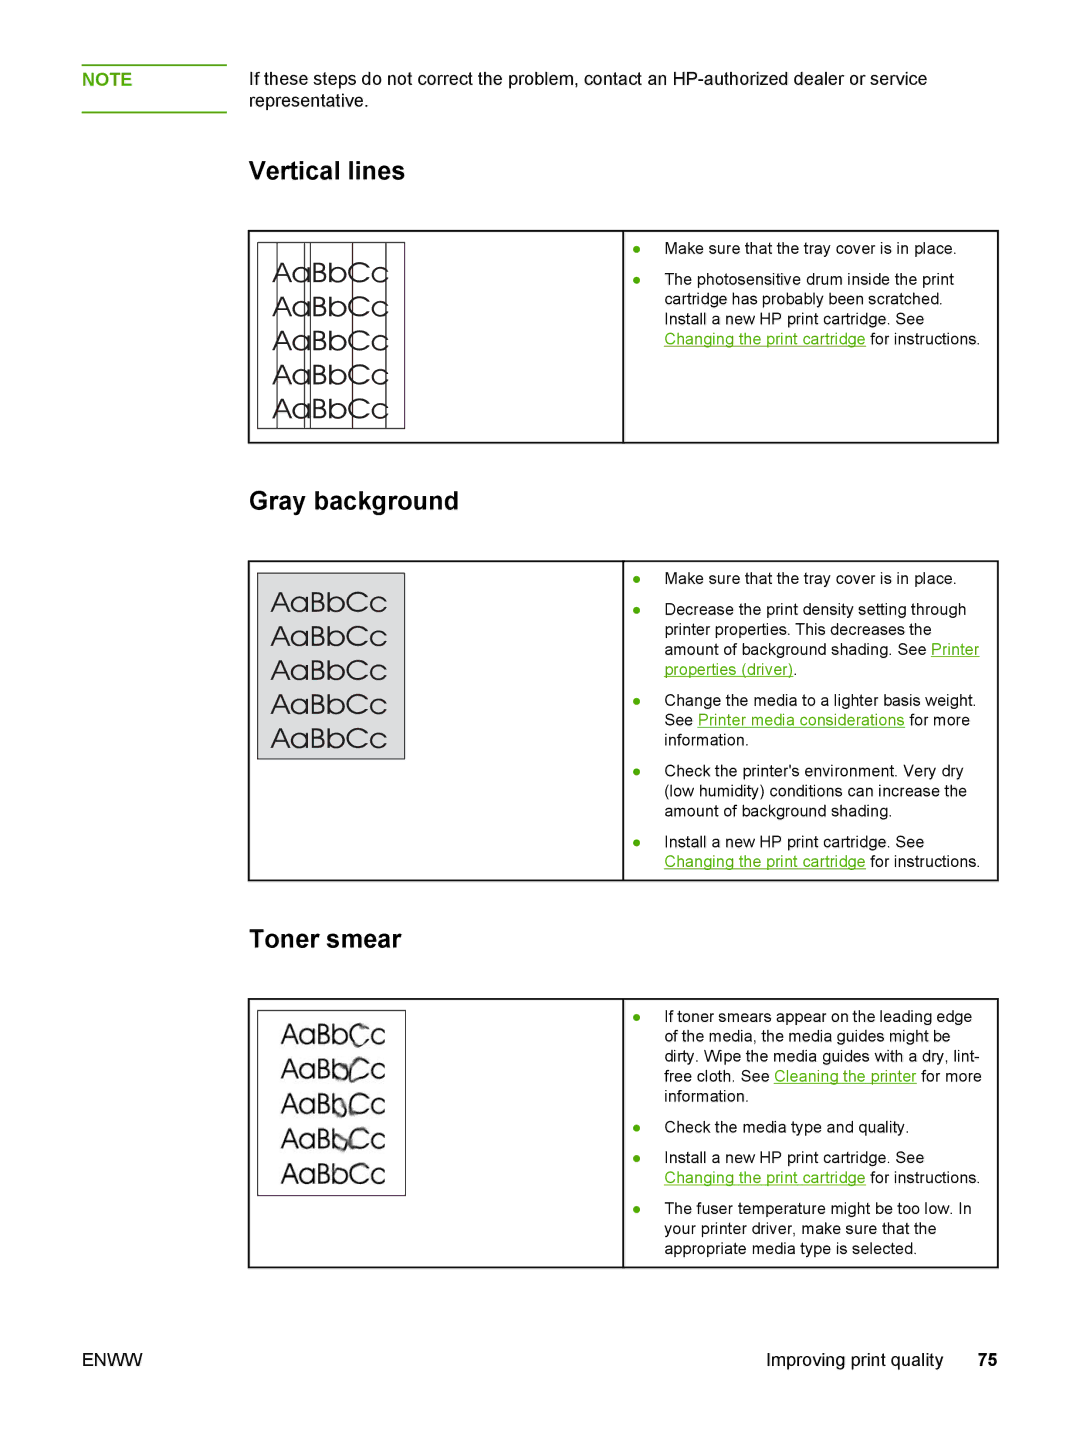
| Vertical lines | |||||||
|
|
|
|
|
|
|
| ● Make sure that the tray cover is in place. |
|
|
|
|
|
|
|
| |
|
|
|
|
|
|
|
| ● The photosensitive drum inside the print |
|
|
|
|
|
|
|
| cartridge has probably been scratched. |
|
|
|
|
|
|
|
| Install a new HP print cartridge. See |
|
|
|
|
|
|
|
| Changing the print cartridge for instructions. |
|
|
|
|
|
|
|
|
|
Gray background
● Make sure that the tray cover is in place.
● Decrease the print density setting through printer properties. This decreases the amount of background shading. See Printer properties (driver).
● Change the media to a lighter basis weight. See Printer media considerations for more information.
● Check the printer's environment. Very dry (low humidity) conditions can increase the amount of background shading.
● Install a new HP print cartridge. See Changing the print cartridge for instructions.
Toner smear
● If toner smears appear on the leading edge of the media, the media guides might be dirty. Wipe the media guides with a dry, lint- free cloth. See Cleaning the printer for more information.
● Check the media type and quality.
● Install a new HP print cartridge. See Changing the print cartridge for instructions.
● The fuser temperature might be too low. In your printer driver, make sure that the appropriate media type is selected.
ENWW | Improving print quality 75 |
