
C4640, C4680, C4650 specifications
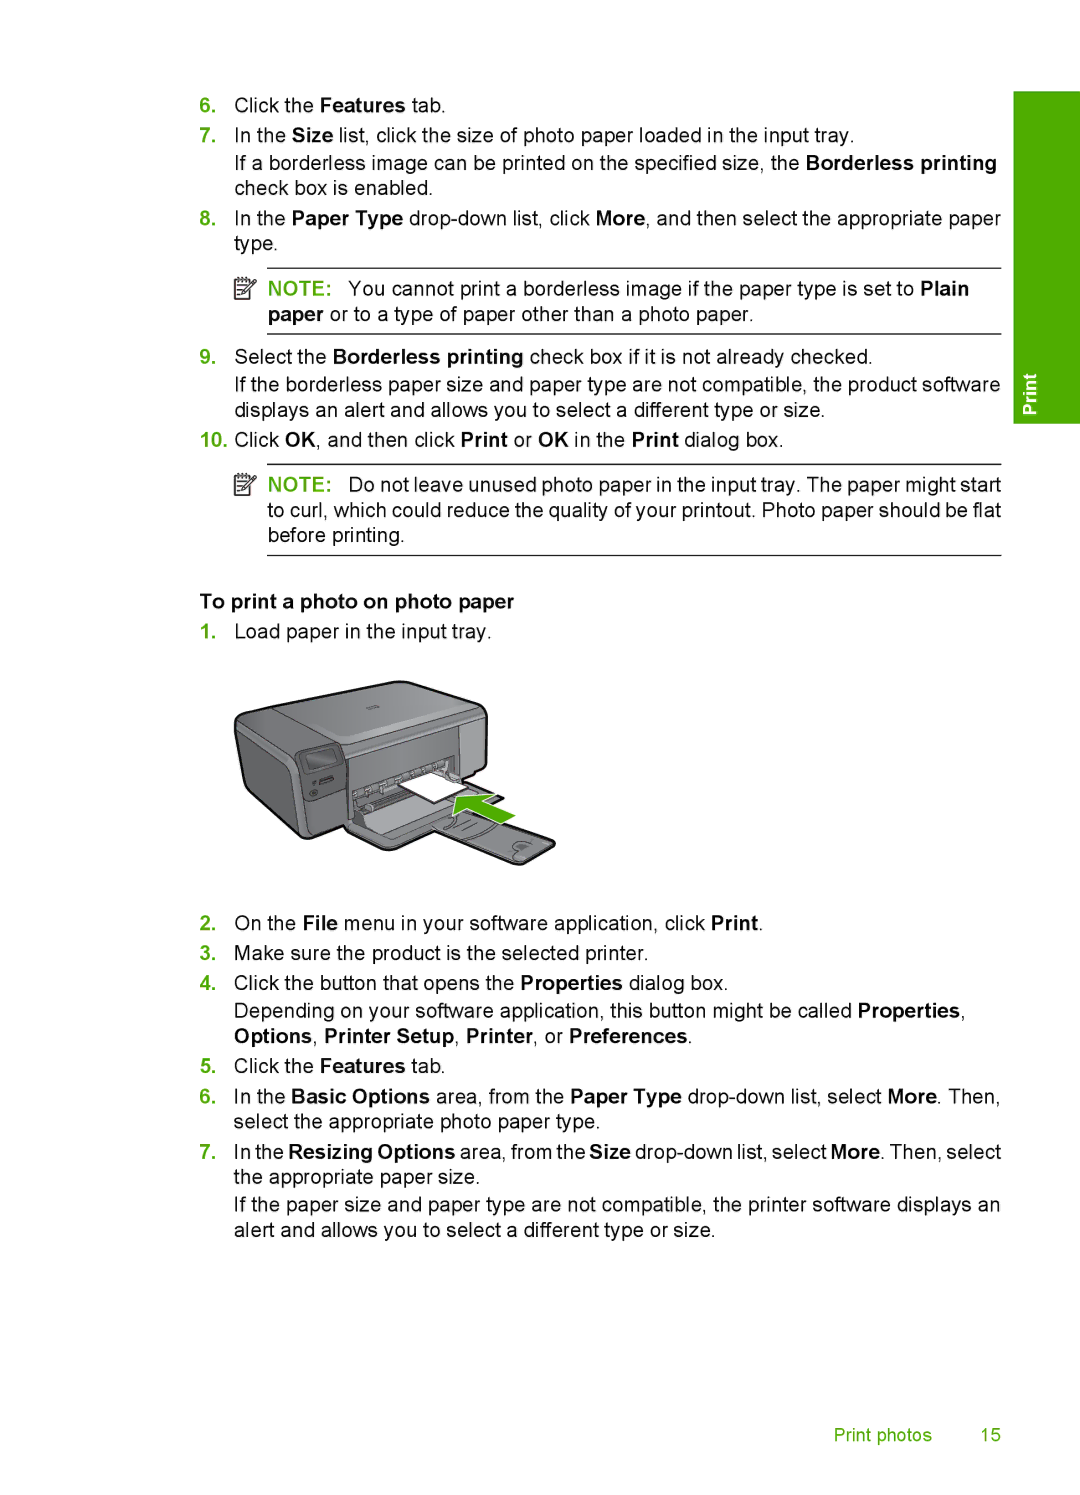
The HP C4600 and C4680 printers are versatile and efficient all-in-one inkjet devices that cater to both home and office needs. Renowned for their multifunctionality, these printers provide capabilities such as printing, scanning, and copying, thereby eliminating the need for multiple devices and saving valuable space.Both models are characterized by their compact and sleek design, making them suitable for various environments. The C4600 is geared towards users seeking reliable performance in a compact package, while the C4680 builds on this foundation with added features and enhanced functionality. One of the key aspects of these printers is their user-friendly interface, which typically includes a straightforward control panel for easy navigation and management of print jobs.
The printing technology employed in the HP C4600 and C4680 models utilizes thermal inkjet technology, ensuring sharp, vibrant prints with accurate color reproduction. Users can expect high-quality documents with resolutions reaching up to 4800 x 1200 optimized dpi. This level of detail makes these printers suitable for both text documents and color images, allowing for professional-quality output.
In terms of speed, both models are competitive within their class, with the C4680 often exhibiting faster print rates compared to the C4600. The C4600 can typically produce about 30 pages per minute for black and white prints, while the C4680's speed can be slightly higher for color and monochrome documents.
Connectivity is another area where these printers shine. They support USB connections for direct printing from computers, but many users appreciate the wireless capabilities of the C4680, which allows for seamless printing from smartphones and tablets. This wireless technology enables easy access to printing tasks from anywhere within the home or office, enhancing productivity.
One notable characteristic is the energy efficiency of both models, which is in line with HP’s commitment to environmentally-friendly practices. They often feature energy-saving modes that automatically reduce power consumption during idle times, contributing to lower energy bills and a smaller carbon footprint.
In summary, the HP C4600 and C4680 printers combine functionality, ease of use, and quality, making them excellent choices for users looking for reliable all-in-one solutions. With their robust printing technologies, user-friendly features, and connectivity options, they cater well to diverse printing needs while ensuring excellent output quality and efficiency.