Using TouchPad gestures
A TouchPad allows you to control the pointing device on the screen using your fingers.
![]()
![]() TIP: Use the left and right buttons on the TouchPad as you would use the corresponding buttons on
TIP: Use the left and right buttons on the TouchPad as you would use the corresponding buttons on ![]()
![]()
![]()
![]() a external mouse.
a external mouse.
![]() NOTE: TouchPad gestures are not supported in all apps.
NOTE: TouchPad gestures are not supported in all apps.
To view a demonstration of each gesture:
1.From the Start screen, type c to display the Apps list. Select Control Panel, and then select Hardware and Sound.
2.Select Synaptics TouchPad.
3.Click a gesture to activate the demonstration.
To turn a gesture off or on:
1.From the Synaptics TouchPad screen, select or clear the check box next to the gesture that you want to turn on or off.
2.Click apply, and then click OK.
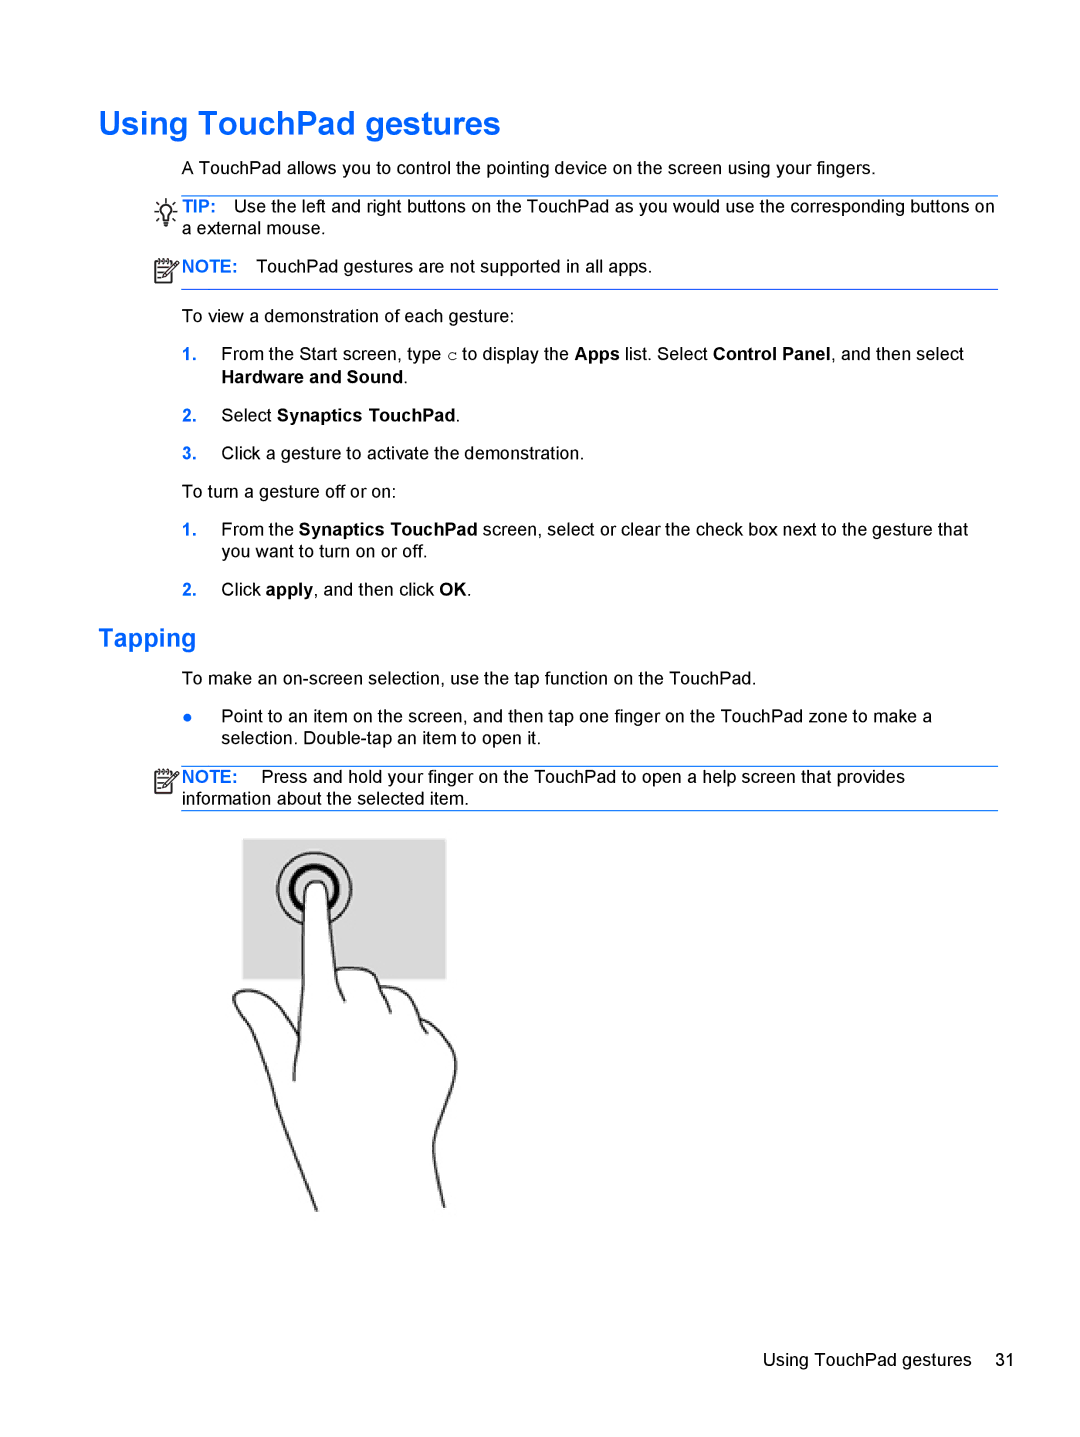
Tapping
To make an
●Point to an item on the screen, and then tap one finger on the TouchPad zone to make a selection.
![]()
![]()
![]()
![]() NOTE: Press and hold your finger on the TouchPad to open a help screen that provides information about the selected item.
NOTE: Press and hold your finger on the TouchPad to open a help screen that provides information about the selected item.
Using TouchPad gestures 31