8.Install four M3 metric guide screws in the lower holes on each side of the drive. HP has provided four extra M3 metric guide screws on the front of the chassis, under the front bezel. The M3 metric guide screws are black. Refer to Installing and Removing Drives on page 39 for an illustration of the extra M3 metric guide screws location.


 NOTE: When replacing the drive, transfer the four M3 metric guide screws from the old drive to the new one.
CAUTION: Use only 5-mm long screws as guide screws. Longer screws can damage the internal components of the drive.
Figure 2-51Installing Guide Screws in the Optical Drive
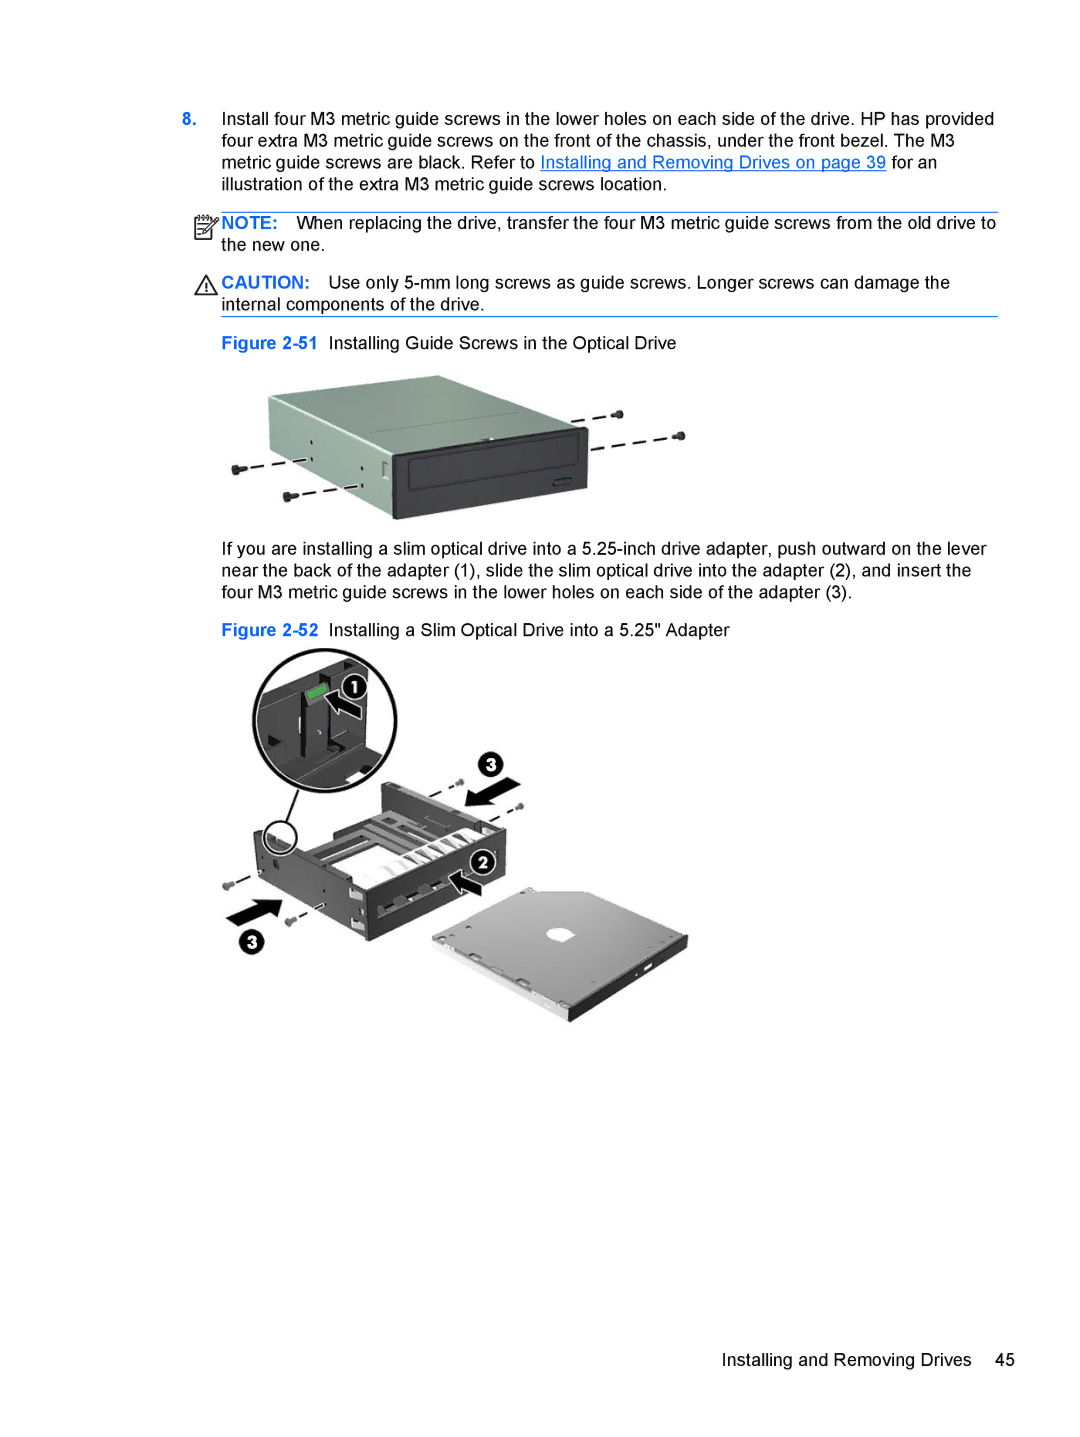
If you are installing a slim optical drive into a 5.25-inch drive adapter, push outward on the lever near the back of the adapter (1), slide the slim optical drive into the adapter (2), and insert the four M3 metric guide screws in the lower holes on each side of the adapter (3).
Figure 2-52Installing a Slim Optical Drive into a 5.25" Adapter
Installing and Removing Drives 45