10Poster Designer Pro QuickStart Guide
Working with text
In this section, we’ll edit and resize the text placeholders, and apply formatting and color. We’ll be working with artistic text and frame text.
To select, edit, and format text:
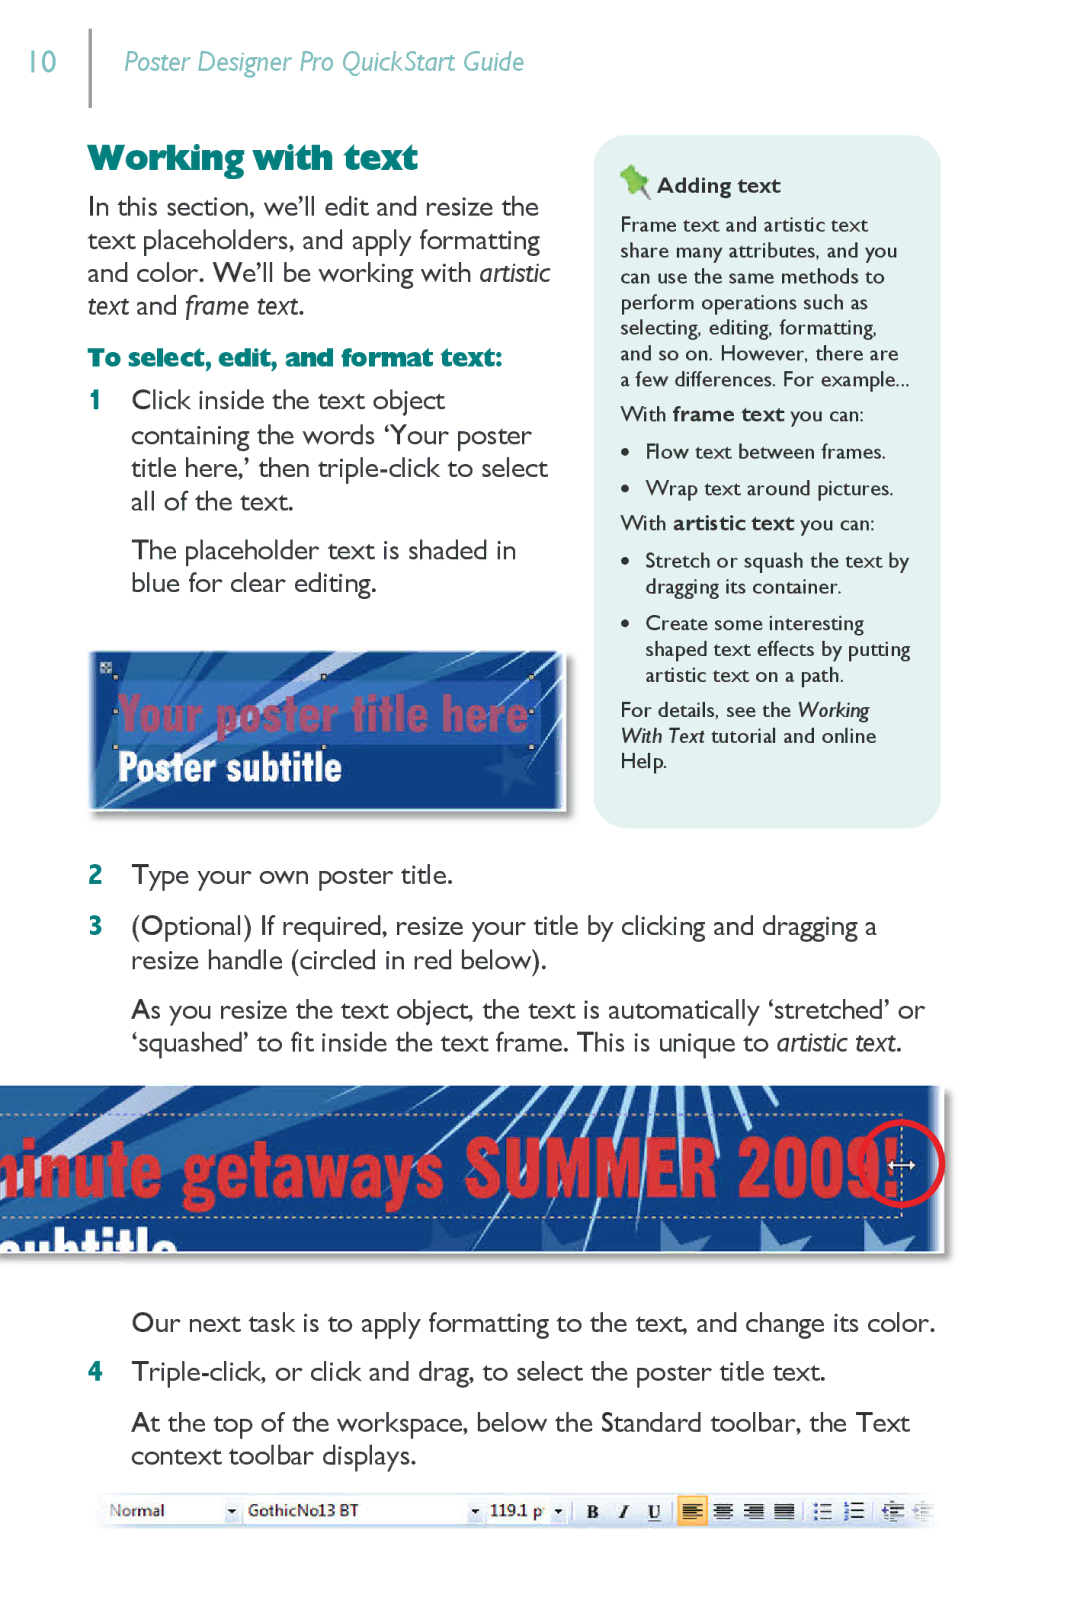
1Click inside the text object containing the words ‘Your poster title here,’ then
The placeholder text is shaded in blue for clear editing.
 Adding text
Frame text and artistic text share many attributes, and you can use the same methods to perform operations such as selecting, editing, formatting, and so on. However, there are a few differences. For example...
With frame text you can:
∙Flow text between frames.
∙Wrap text around pictures. With artistic text you can:
∙Stretch or squash the text by dragging its container.
∙Create some interesting shaped text effects by putting artistic text on a path.
For details, see the Working With Text tutorial and online Help.
2Type your own poster title.
3(Optional) If required, resize your title by clicking and dragging a resize handle (circled in red below).
As you resize the text object, the text is automatically ‘stretched’ or ‘squashed’ to fit inside the text frame. This is unique to artistic text.
Our next task is to apply formatting to the text, and change its color.
4
At the top of the workspace, below the Standard toolbar, the Text context toolbar displays.
