MAINTENANCE
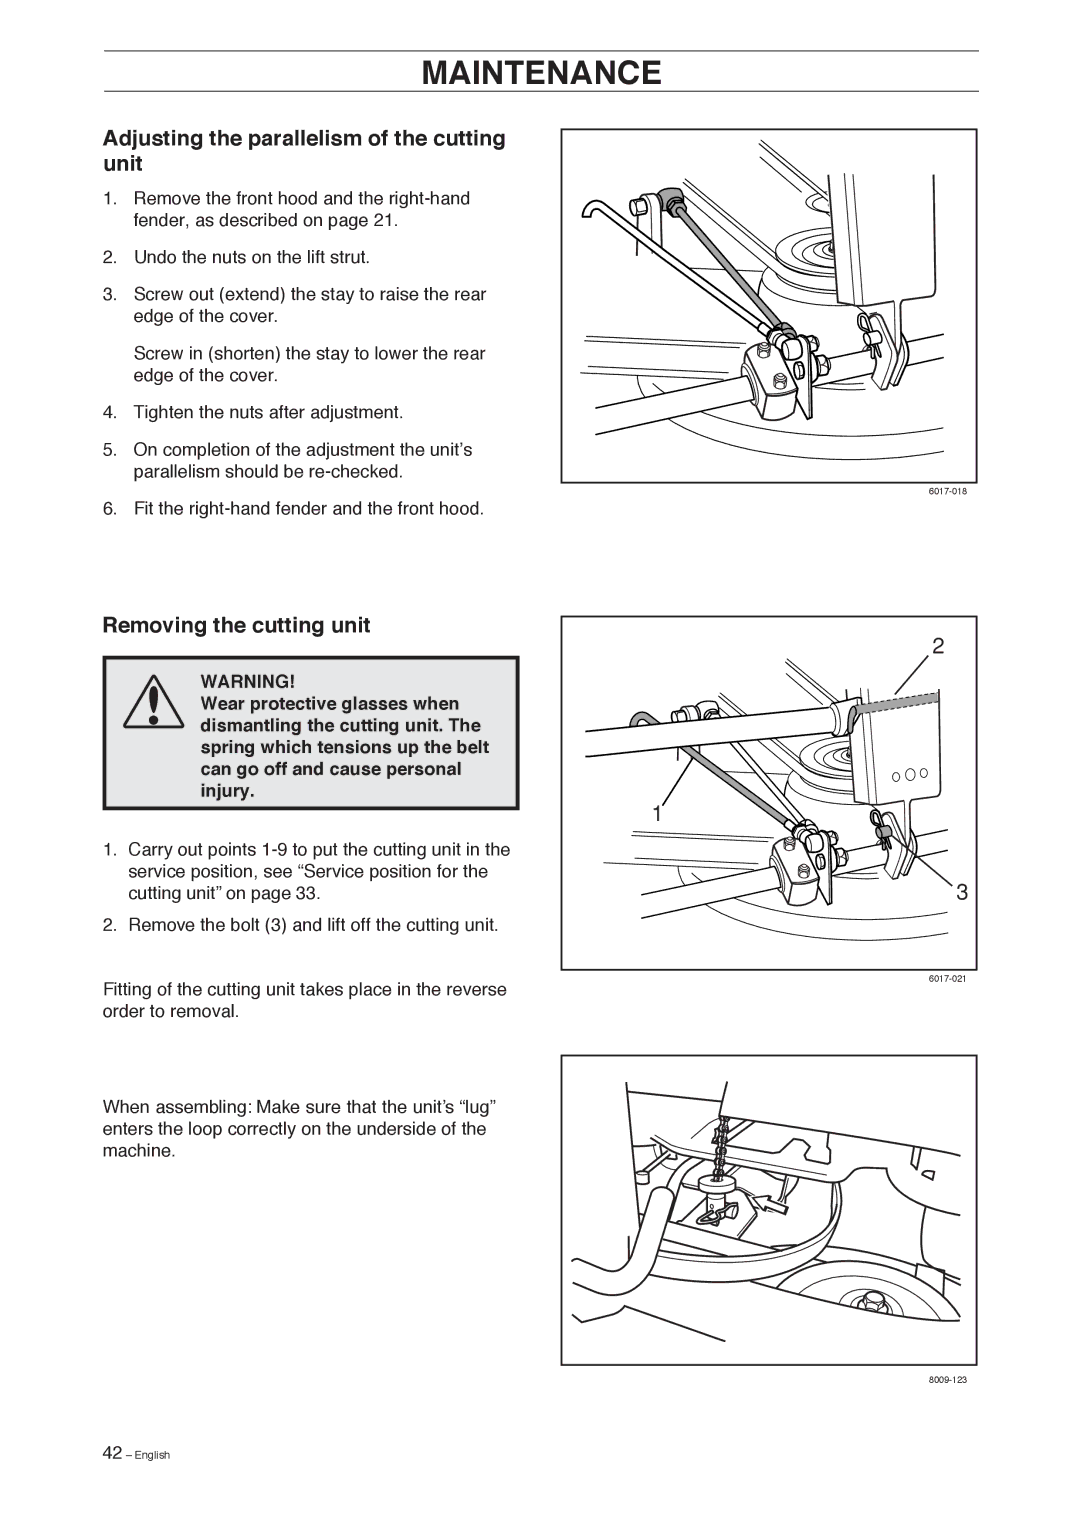
Adjusting the parallelism of the cutting unit
1.Remove the front hood and the
2.Undo the nuts on the lift strut.
3.Screw out (extend) the stay to raise the rear edge of the cover.
Screw in (shorten) the stay to lower the rear edge of the cover.
4.Tighten the nuts after adjustment.
5.On completion of the adjustment the unit’s parallelism should be
6.Fit the
Removing the cutting unit
WARNING!
Wear protective glasses when dismantling the cutting unit. The spring which tensions up the belt can go off and cause personal injury.
1.Carry out points
2.Remove the bolt (3) and lift off the cutting unit.
Fitting of the cutting unit takes place in the reverse order to removal.
When assembling: Make sure that the unit’s “lug” enters the loop correctly on the underside of the machine.
2 |
1 |
3 |
42 – English