2. PRESENTATION
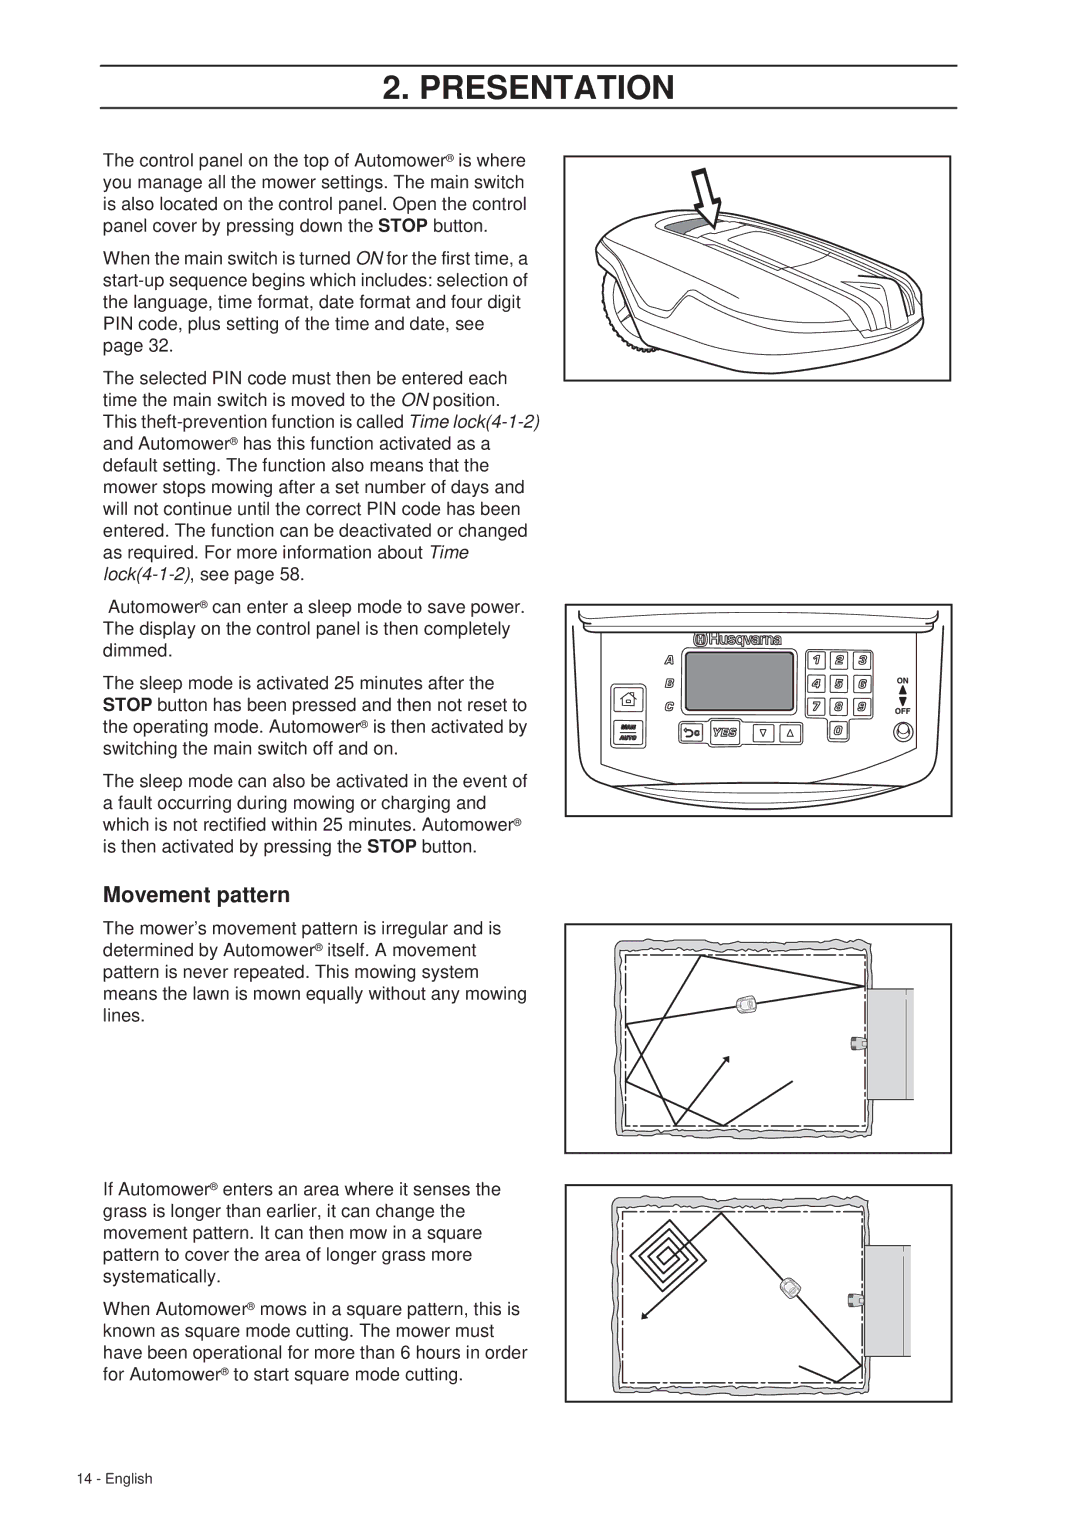
The control panel on the top of Automower® is where you manage all the mower settings. The main switch is also located on the control panel. Open the control panel cover by pressing down the STOP button.
When the main switch is turned ON for the first time, a
The selected PIN code must then be entered each time the main switch is moved to the ON position. This
Automower® can enter a sleep mode to save power. The display on the control panel is then completely dimmed.
The sleep mode is activated 25 minutes after the STOP button has been pressed and then not reset to the operating mode. Automower® is then activated by switching the main switch off and on.
The sleep mode can also be activated in the event of a fault occurring during mowing or charging and which is not rectified within 25 minutes. Automower® is then activated by pressing the STOP button.
Movement pattern
The mower’s movement pattern is irregular and is determined by Automower® itself. A movement pattern is never repeated. This mowing system means the lawn is mown equally without any mowing lines.
If Automower® enters an area where it senses the grass is longer than earlier, it can change the movement pattern. It can then mow in a square pattern to cover the area of longer grass more systematically.
When Automower® mows in a square pattern, this is known as square mode cutting. The mower must have been operational for more than 6 hours in order for Automower® to start square mode cutting.
14 - English
