Default Settings

The Omni reader is shipped from the factory with the default settings already programmed. In the following sections, the default settings are shown in boldface. For a list of default settings, see Appendix A (for bar codes) and/or Appendix B (for magnetic stripes). In order to modify these settings, the host computer and keyboard must be IBM PC/AT compatible.

If you have a different keyboard, you must use an AT-compatible keyboard to first change the configuration settings, and changing the default terminal type last. After changing terminal type, you must then connect the reader to the appropriate computer. (Most keyboards on PCs with 5 pin DIN and 6 pin MiniDIN connectors are AT compatible.)

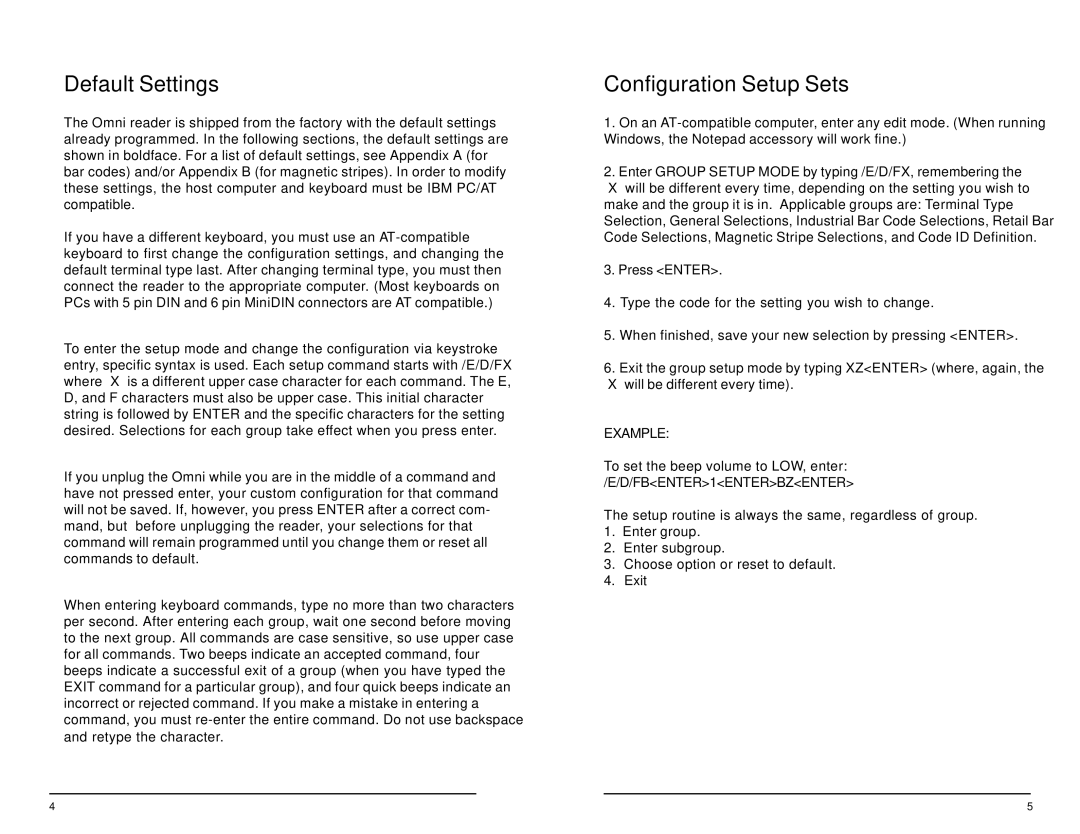
To enter the setup mode and change the configuration via keystroke entry, specific syntax is used. Each setup command starts with /E/D/FX where “X” is a different upper case character for each command. The E, D, and F characters must also be upper case. This initial character string is followed by ENTER and the specific characters for the setting desired. Selections for each group take effect when you press enter.

If you unplug the Omni while you are in the middle of a command and have not pressed enter, your custom configuration for that command will not be saved. If, however, you press ENTER after a correct com- mand, but before unplugging the reader, your selections for that command will remain programmed until you change them or reset all commands to default.

When entering keyboard commands, type no more than two characters per second. After entering each group, wait one second before moving to the next group. All commands are case sensitive, so use upper case for all commands. Two beeps indicate an accepted command, four beeps indicate a successful exit of a group (when you have typed the EXIT command for a particular group), and four quick beeps indicate an incorrect or rejected command. If you make a mistake in entering a command, you must re-enter the entire command. Do not use backspace and retype the character.

Configuration Setup Sets

1.On an AT-compatible computer, enter any edit mode. (When running Windows, the Notepad accessory will work fine.)

2.Enter GROUP SETUP MODE by typing /E/D/FX, remembering the “X” will be different every time, depending on the setting you wish to make and the group it is in. Applicable groups are: Terminal Type Selection, General Selections, Industrial Bar Code Selections, Retail Bar Code Selections, Magnetic Stripe Selections, and Code ID Definition.

3.Press <ENTER>.

4.Type the code for the setting you wish to change.

5.When finished, save your new selection by pressing <ENTER>.

6.Exit the group setup mode by typing XZ<ENTER> (where, again, the “X” will be different every time).

EXAMPLE:

To set the beep volume to LOW, enter: /E/D/FB<ENTER>1<ENTER>BZ<ENTER>

The setup routine is always the same, regardless of group.

1.Enter group.

2.Enter subgroup.

3.Choose option or reset to default.

4.Exit

4

5

Page 5
Image 5
ID Tech 70, 25, 60, 50, 30, 80 user manual Default Settings, Configuration Setup Sets, Example

30, 70, 60, 80, 50 specifications

ID Tech is a leading provider of payment solutions, and their ID Tech 70, 30, 50, 25, and 60 series terminals represent the forefront of mobile and secure payment technology. Each model in this series is designed with unique features catering to various business needs, ensuring that payment processing remains seamless and efficient.

The ID Tech 70 is characterized by its robust construction and reliability, making it suitable for both retail and hospitality sectors. It supports various payment methods, including magnetic stripe, EMV chip cards, and contactless payments, ensuring a versatile solution for modern businesses. One of its standout features is the dual interface, which allows for quick transactions while enhancing security through encryption technologies.

Moving to the ID Tech 30, this model is known for its compact design and portability, making it an excellent choice for businesses on the go. Its lightweight nature does not compromise functionality, as it supports all traditional forms of payment along with NFC-enabled transactions. The integration capabilities of the ID Tech 30 are impressive, allowing businesses to easily connect to existing POS systems or mobile devices.

The ID Tech 50 is designed for a more demanding environment, with an emphasis on durability and advanced security features. It includes advanced encryption and tokenization to protect sensitive cardholder information during transactions. Additionally, its large display screen improves user interaction, and its ergonomic design ensures comfort during prolonged usage.

The ID Tech 25 is an entry-level model that offers essential functionalities at an affordable price point. It supports magnetic stripe and EMV payments, making it a solid choice for small businesses looking to upgrade their payment systems without overspending. The ID Tech 25’s simplicity allows for quick setup and ease of use, which is ideal for businesses new to digital payments.

Finally, the ID Tech 60 is a premium solution featuring advanced payment technology coupled with a larger interface for showcasing promotional content. It supports multi-currency transactions, making it perfect for businesses with international customers. Its enhanced security measures ensure protection against fraud, while the integration of loyalty programs adds further value to the customer experience.

In summary, the ID Tech series, with its 70, 30, 50, 25, and 60 models, offers a comprehensive range of payment solutions tailored to various business needs. Each terminal provides unique features and cutting-edge technologies, ensuring secure and efficient payment processing suitable for any environment. With ongoing innovations in payment technology, ID Tech remains a trusted choice for businesses aiming to stay ahead in the digital payment landscape.